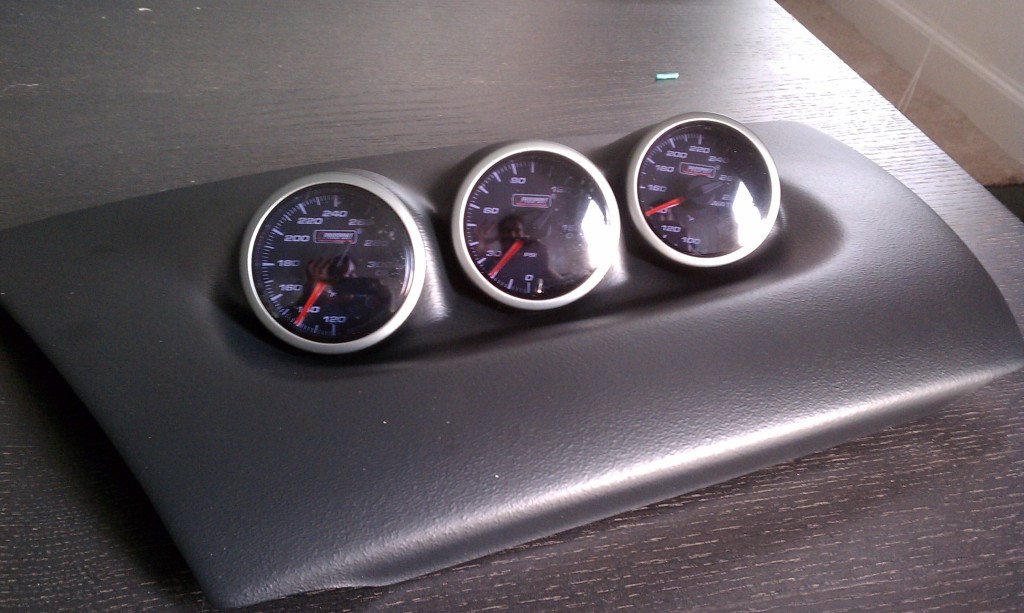
2009 - 2011 RX8 Gauge Pod - Items Used
Article Index
Items Used
There are a significant number of parts that were used in this installation:
- Prosport Halo Oil Temp Gauge - http://prosportgauges.com/halo...gauge.aspx
- Prosport Halo Oil Pressure Gauge - http://prosportgauges.com/halogauge.aspx
- Prosport Halo Water Temp Gauge - http://prosportgauges.com/halo...gauge.aspx
- Prosport Water Temp Adapter (Red) - http://prosportgauges.com/water-temp...e-adaptor.aspx
- Lotek Gauge Pod - http://www.gaugepods.com/
- Extra Speaker Grill (to hack up for a template) - Mazmart
- Metric Adapter For Oil Pan (To take average oil temp) - http://www.summitracing.com/parts/ATM-2267/
- Add a circuit - http://www.amazon.com/add...circuit
- 5A Mini fuse
Unfortunately, they don't make a Lotek pod for the 2009-2011 RX8, so there will be a bit of fabrication that is needed, which is why I ended up ordering an extra speaker grill. Also, on top of the hardware listed above, you will also need a rotary cutting tool like a Dremel, some silicone, plastic clamps, and a LOT of patience. Lastly, take great care to protect your eyes and your mouth, you don't want to be breathing in the plastic, and you sure don't want a piece of your cutting tool flying in your eye.
Laying Out the Design
Before we start masking in cutting, we need to get familiar with what the product is intended to look like. The first think I did was to lay the Lotek pod on the center dash to get an idea of where I need to make my cuts.

If you look closely, you can see that the bottom of the Lotek pod (the part that faces close to you) lines up with the top of the information display. What this meant was that it was safe to cut off the lip that peers down as it wont help anything with this model RX8. Next, now that we have an idea of how the pod is going to sit, it would be nice to get a dry fitting of the gauges to make sure that no additional modifications will be necessary.

I personally favor a nice angle to the gauges, but that's something we can play with at the end. For now, it looks like the gauges fit nicely and we wont have to do anything to have that happen. So the next step is to start masking and cutting!
 Mobile Menu