2009 - 2011 RX8 Battery Relocation
When it comes to helping in the weight distribution of the vehicle, and removing weight from
over the front axel, one popular modification is the relocation of the battery. This is just
a quick informational about my battery relocation, unfortunately not much of a DIY since most
of the work is fishing wires through small areas.
There are a few tools required to be able to do this job successfully.
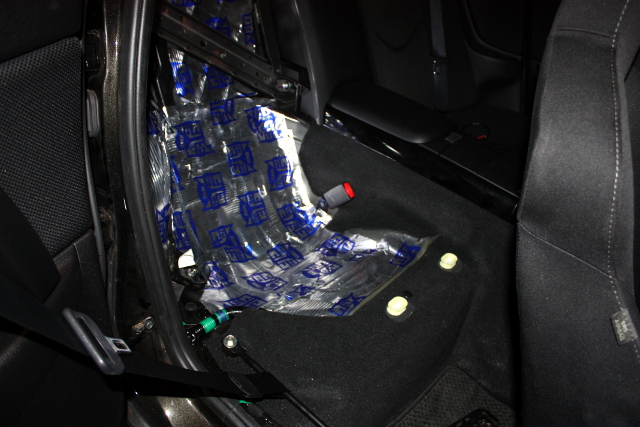
This job is not very difficult, more time is spent removing interior components like the rear
seats and the side rail trim.
Once the trim piece are removed, you can easily pull the welding cable up towards
the front of the car from the trunk. What I did was take the wire up the passenger side
rail and then behind the dash, over to the driver side, and through the firewall grommet. Once
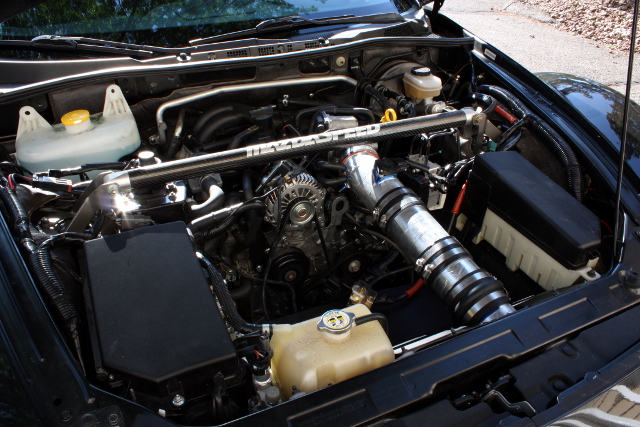
in the engine bay I ground off some paint from the car frame, and hooked up the ground wires.
For the positive cable, I attached the OEM positive wire harness to a distribution block and
connecte the positive relocation wire to the block.
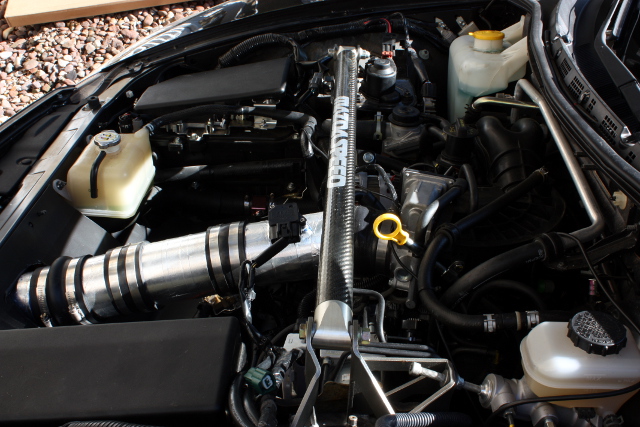
What I did afterwards was fabricate a little aluminum plate that bolts to the oem battery and
airbox locations. This helps to hide away some wires and protect the engine bay.
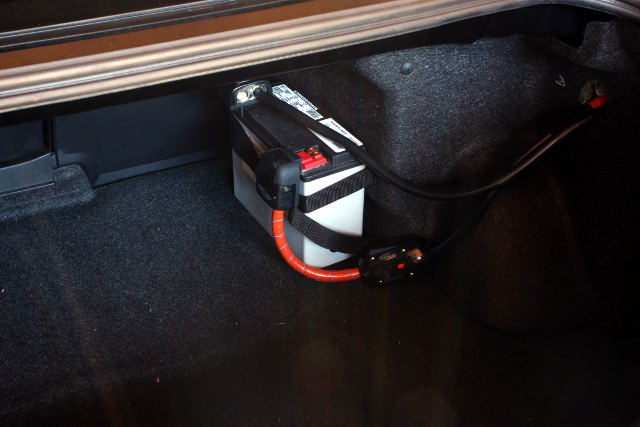
Lastly, for added safety, the circuit breaker was added close to the battery on the positive
cable. This will prevent the wire from transferring a dangerous short through the passenger
compartment should something happen.
When I first completed the mod, the car was very slow to crank and turn over. This is a big
sign of a ground issue. After realizing that the block didn't have a good ground to the frame,
I added a short length of 4AWG wire to the block from the frame where I ran up the negative wire.
Once that was done, the car turns over a lot better now. I will have to give it a few more days
to make sure that the battery stays strong enough for daily use or if we may need to run a ground
directly to the starter.

Battery Relocation
Required Tools
Trunk Relocation


Results
 Mobile Menu