RX8 LS2 Ignition

-
Installing LS2 Ignition System
It is common knowledge that the OEM ignition coils on the RX8 have a very short shelf life
and are supposed to be replaced between 25k to 30k miles to keep them performing at their
optimal levels. Neglecting the coils can lead to many issues like misfires, decreased performance,
and even engine failure or catalytic converter failure. This DIY removes the OEM coil packs
from a 2010 RX8, and replaces them with an LS2 ignition system. Although there are a few
companies that make this kit ready for purchase, I decided to fabricate the system myself in order
to save money. This DIY will show you my fabrication of the coil bracket, as well as the spark
plug wires and installation of the coils.
-
Requirements
Before we get started, there are a few things that are needed:
- A set of 4 LS2 (D585) coilpacks, http://www.amazon.com/ACDelco-D585-Ignition-Coil/dp/B000BYD3Y0
- 12' of MSD ignition wire, http://www.summitracing.com/parts/MSD-34039/
- 90 degree Spark Plug Boots, http://www.summitracing.com/parts/TAY-46061/
- 45 degree Coil Boots, http://www.summitracing.com/parts/TAY-46069/
- Spark Plug Crimping Tool, http://www.summitracing.com/parts/TAY-43390/
- RX8 to LS2 Wiring Harness, http://myworld.ebay.com/autowiringsolutions_aws/?_trksid=p4340.l2559
- OEM Rx8 Coil Bracket, http://www.mazdapartswholesale.com/OEMParts/mazda-136/N/N3R118105.html
- A Sheet of Aluminum (Local Hardware Store)
- 2 Threaded Dowels (Local Hardware Store)
-
Mockup
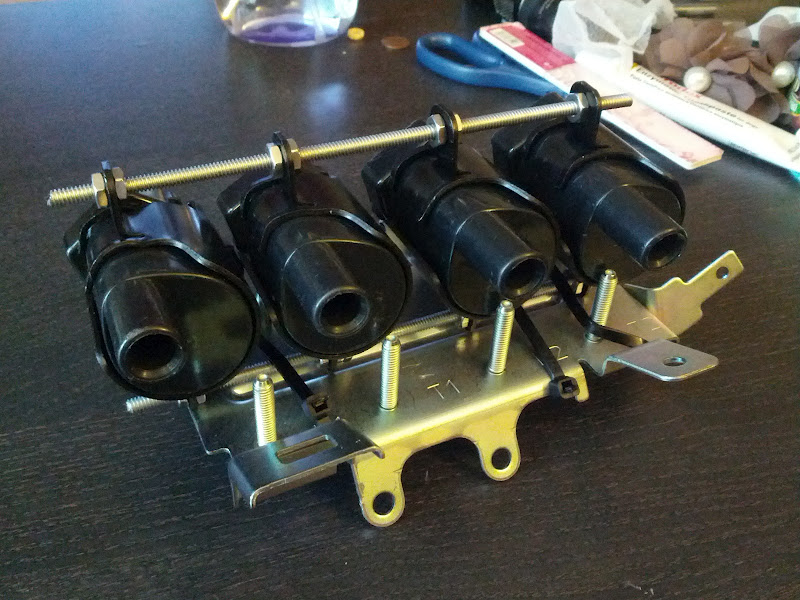
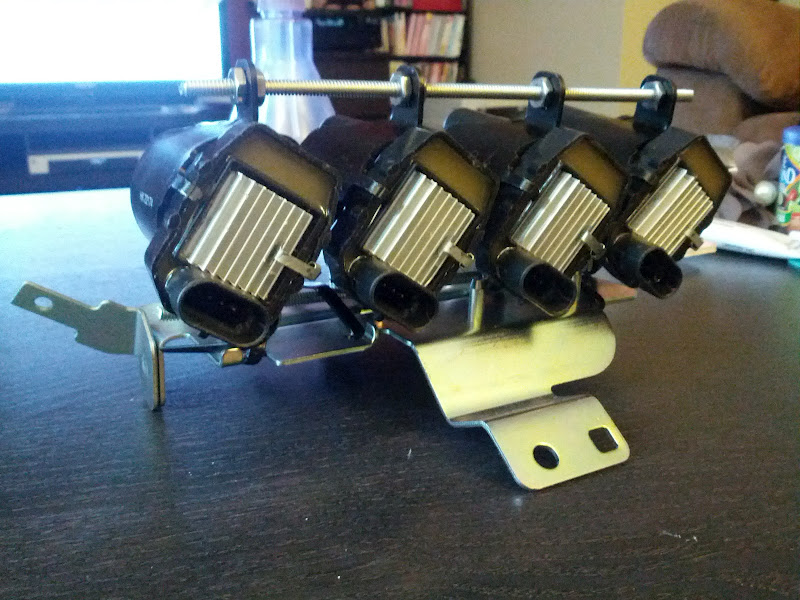
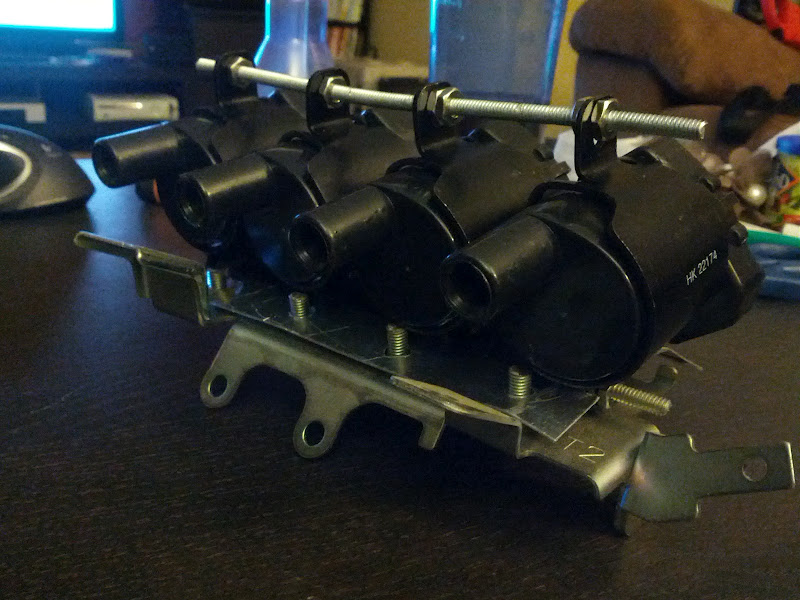
The goal was to replicate the OEM type mounting of the coils to prevent any type of
complications when it comes to installation. Here I mockup the coils with the OEM
bracket. To couple all of the coils together I used a screw dowel and a few nuts. This
keeps all of the coils nice and secure together.
-
Creating a Mounting Plate
Because zip ties, like the ones used in the mockup wouldn't be safe to use in the real world
it is necessary to try and create a way for the coils to be mounted on the OEM bracket. What
I did here was take a sheet of aluminum, trim it, and then drill out a few holes.
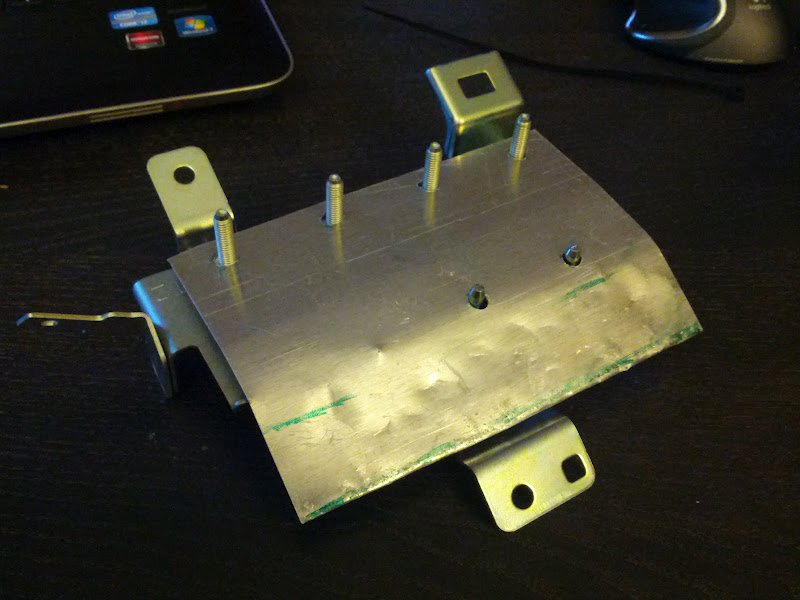
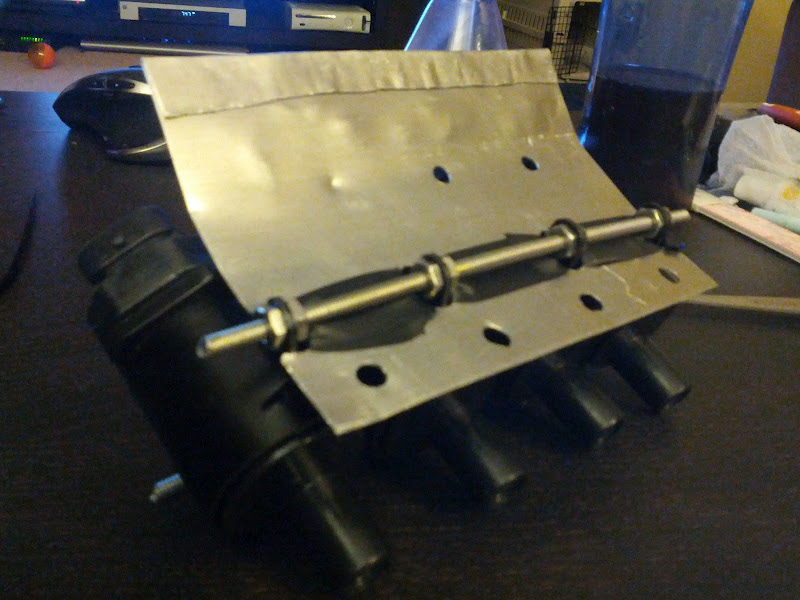
I then used the coils to align where on the mounting plate I would have to cut so that the mouting
tabs on the coils would go through the plate and I could use another screw dowel to secure
the coils.
-
Mounting Coils To Bracket
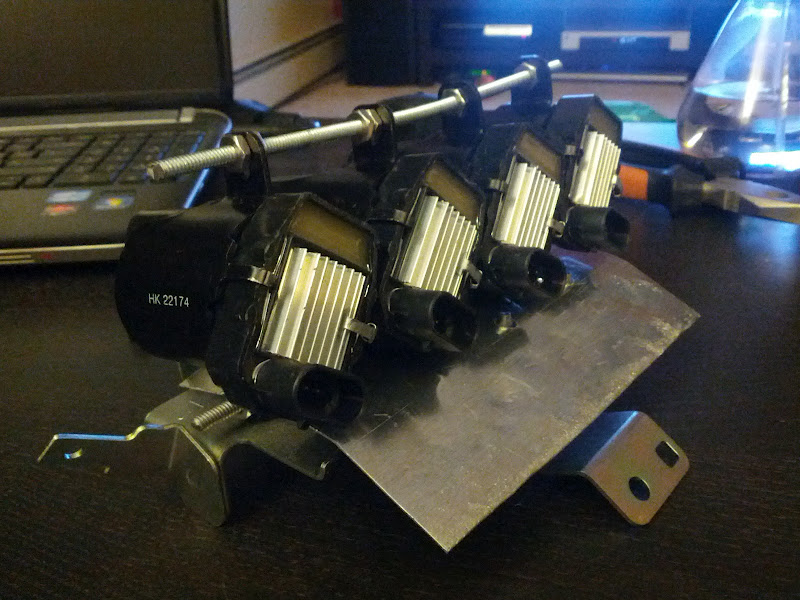
Now that the coils have been mounted on the plate, we can mount the plate to the OEM bracket.
If all of the measurements are correct, the plate should sit right on the OEM bracket nice and
snug. A few nuts were used to die down the plate to the bracket.
-
Creating The Spark Plug Wires
The OEM spark plug wires will not correctly mate with the newer coils. To resolve this issue
you can either buy a set of LS2 spark plug wires or make your own custom set. This is not a
very difficult task, and can be completed in just a few steps. I decided to use a standard
length of 16" to make each wire, this way making sure I have enough slack for each coil.
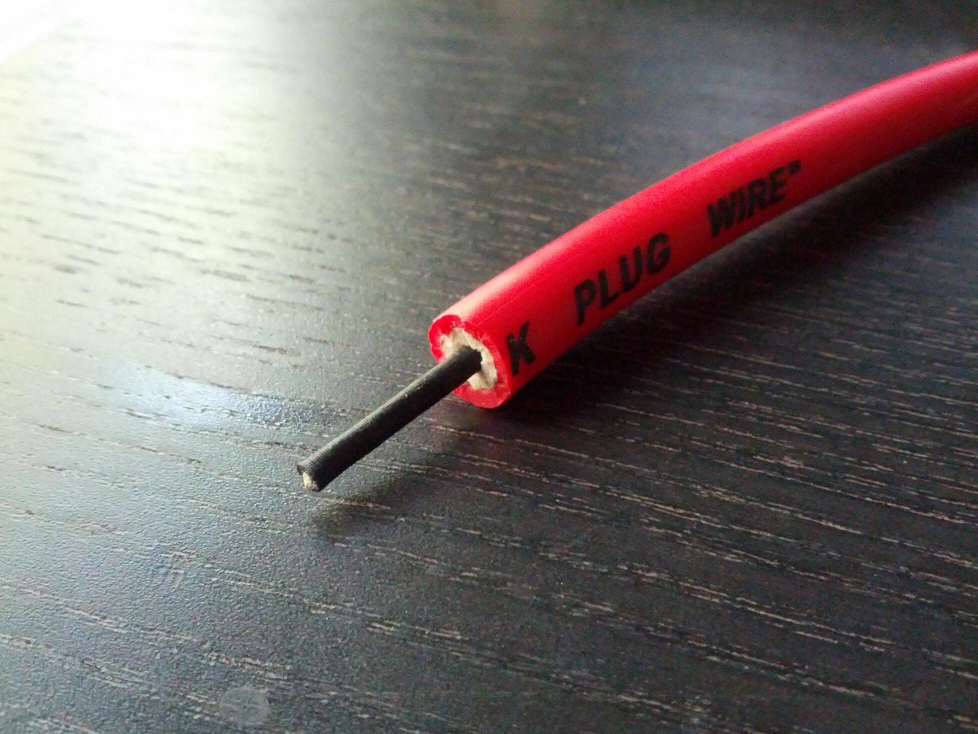
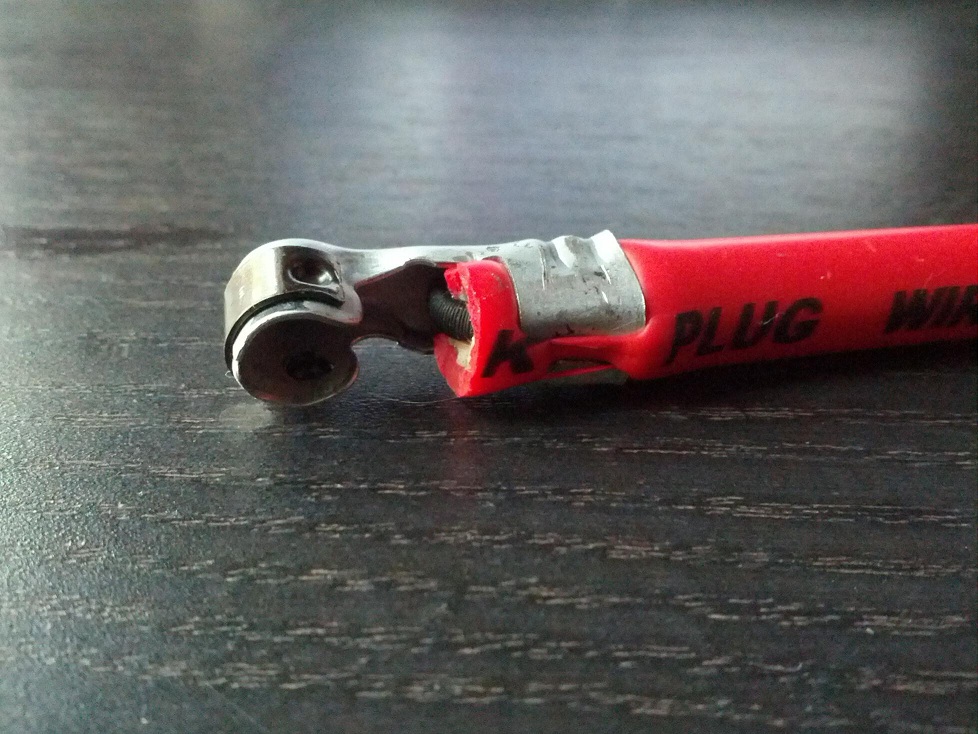
The first step is to strip a little less than 1/4" off of the strand of wire. This will expose
the core of the wire that will be used to bond to the boot contact.
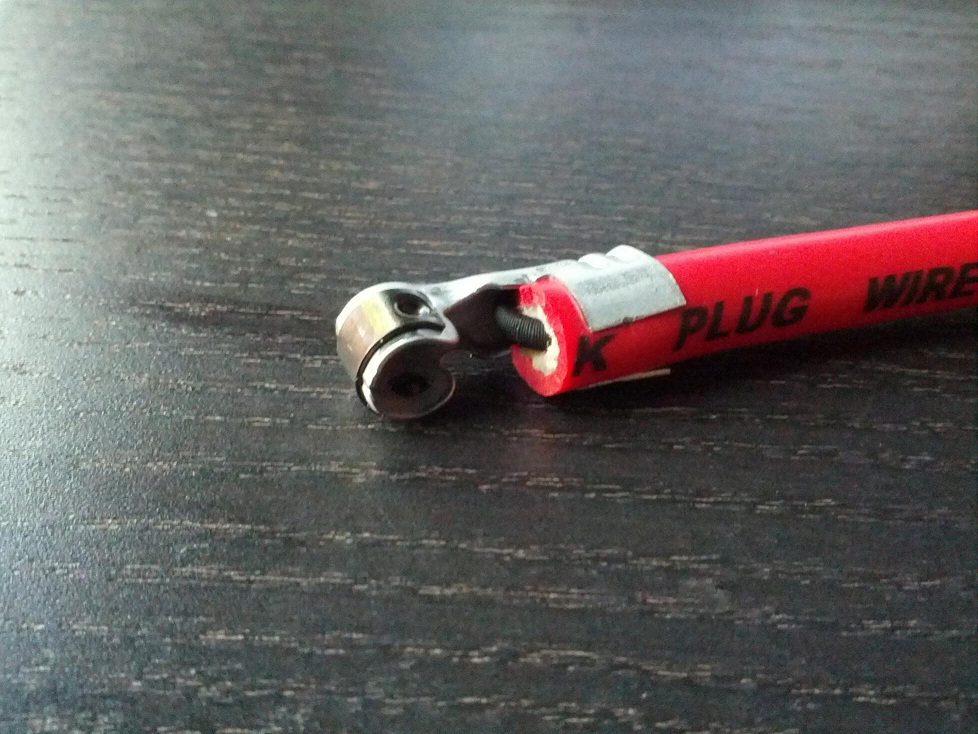
The next step is to fold back the core of the wire, and place the contact on the wire, and give
the contact a light pinch to gently mount the contact on and ensure that everything is lined
up properly.
Once you have confirmed that the core is properly folded back, and centered with the back side of
the boot contact, you can go ahead and use your crimp tool to tightly crimp the contact to the
wire
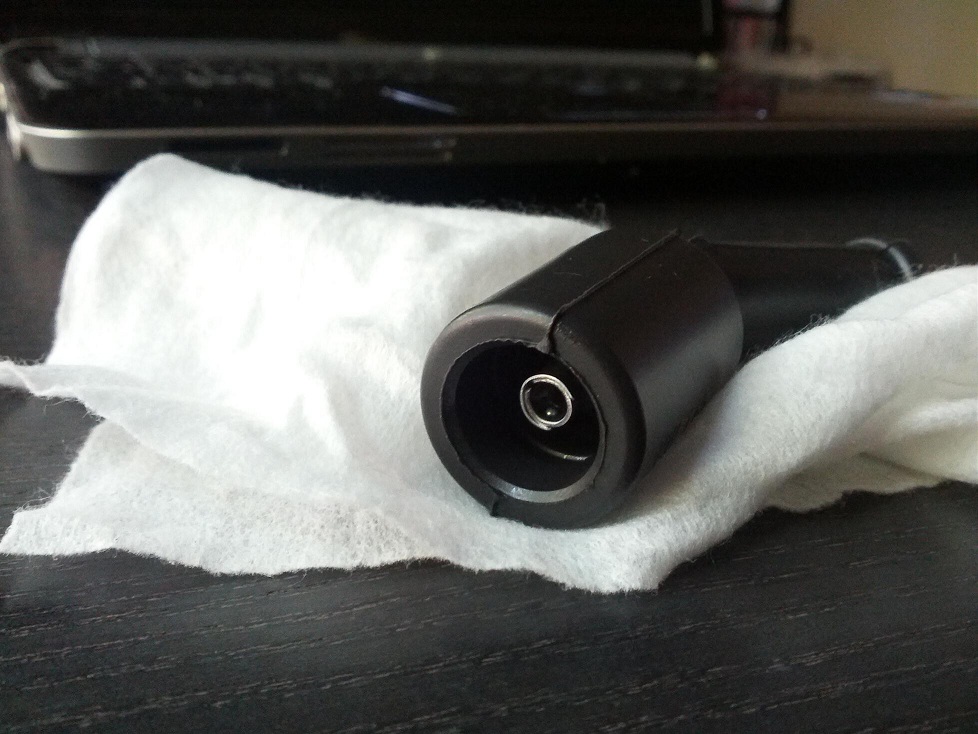
Now we can go ahead and slide the wire into the boot. To make this job easier, you can use some
WD40 to lubricate the interior walls of the boot. This will allow the wire to slide in with far
less force.
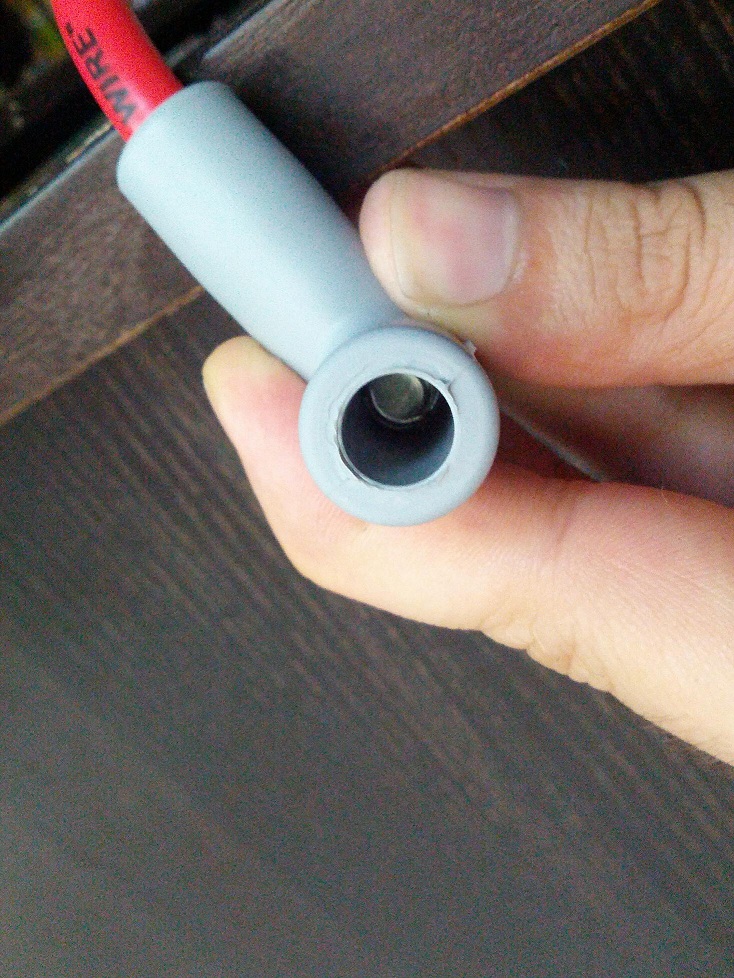
It is very important to make sure that the contacts are facing the correct direction, especially on
the spark plug boots. If you applied enough WD40, you should be able to turn the wire to the proper
alignment
Continue to do this for each wire and each end
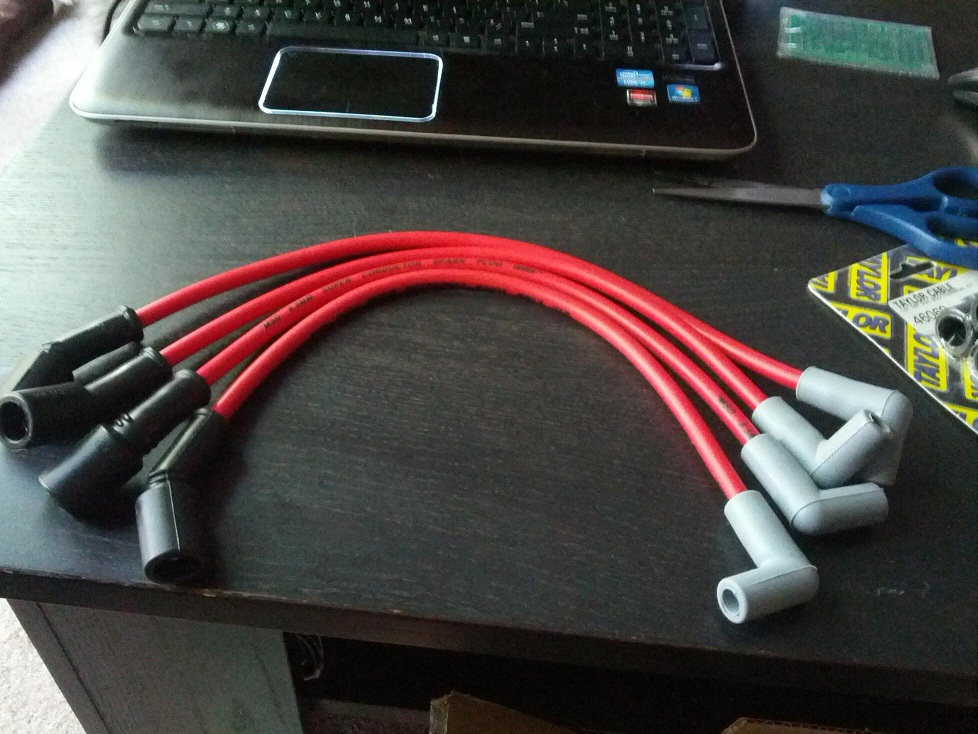
-
Assembling Everything
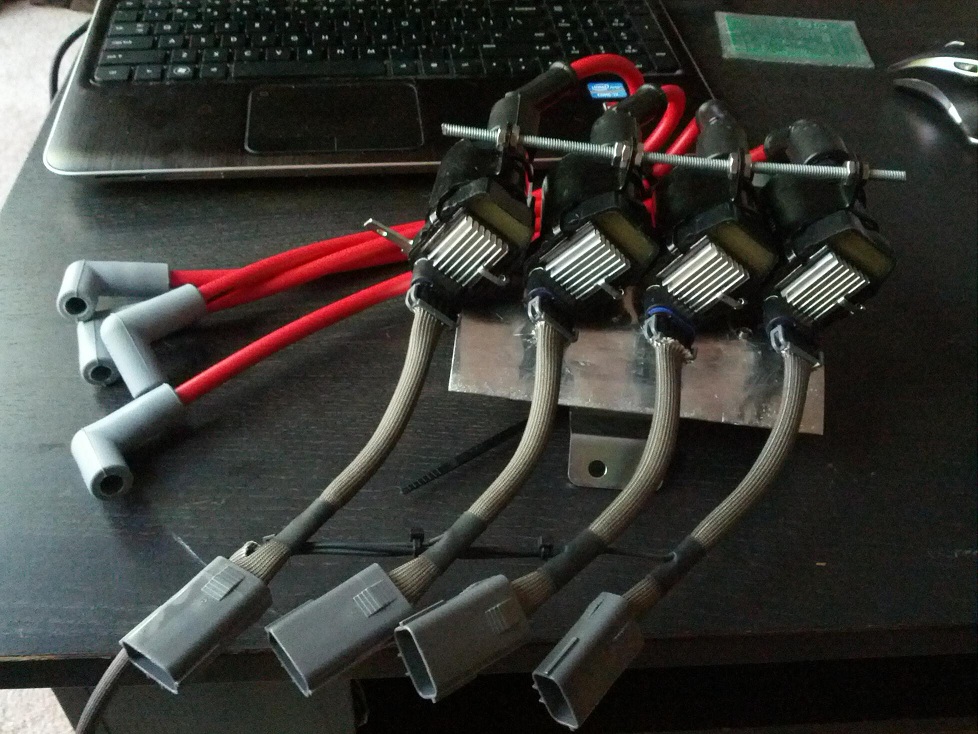
Now that all of the wires have been created, we are ready to assemble everything together to prepare
for installation. If you ordered the RX8 to LS2 harness, this job becomes very easy as all the
coil plugs snap right in.
-
Installation
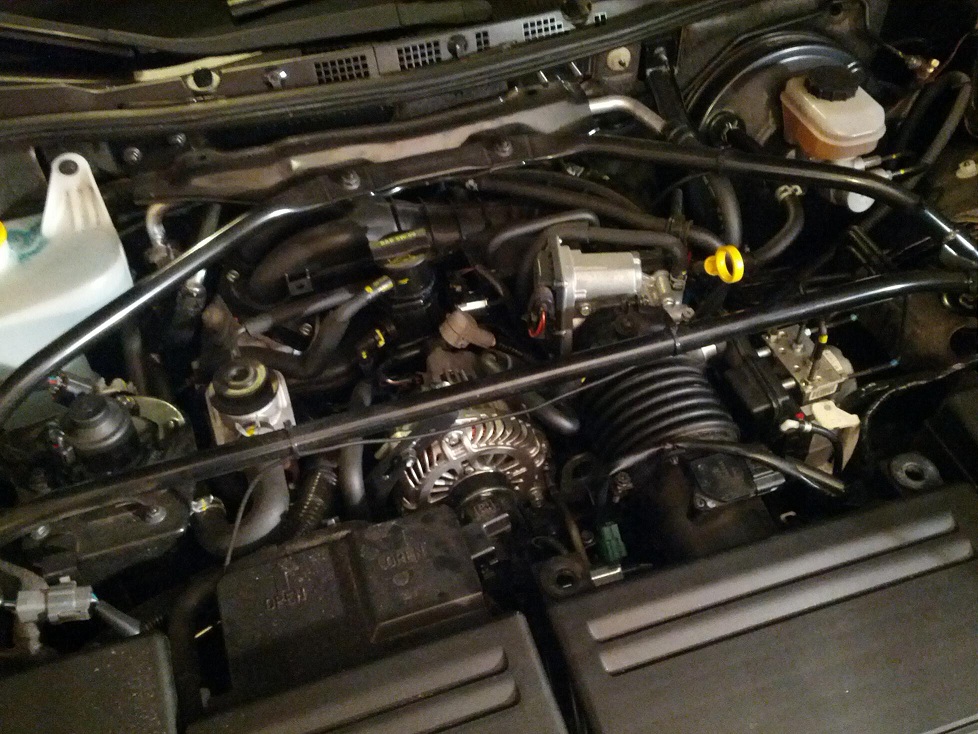
The final step is to install the coils which entails in the removal of the stock airbox, or aftermarket
air intake system. This will give you access to the OEM coilpacks and bracket. The bracket is held in by
2 screws and a nut.
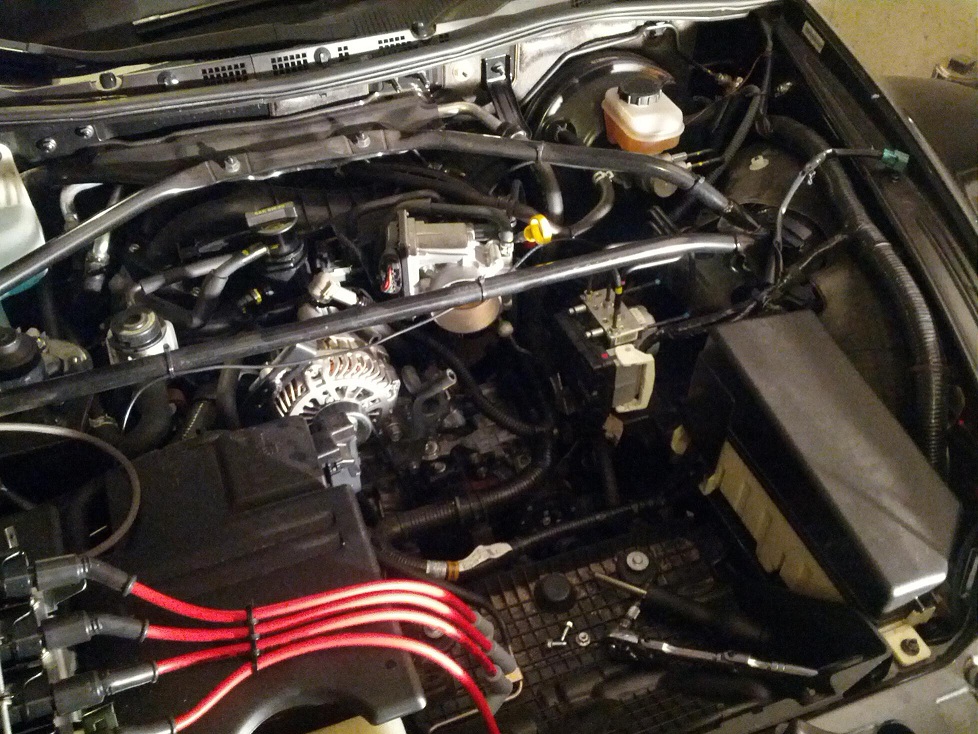
With the OEM coils and bracket removed, we can install the custom bracket in the same location. Because
I used the OEM bracket to mount my new coils, there should be little to no fitment issues, and the mounting
holes should line up.
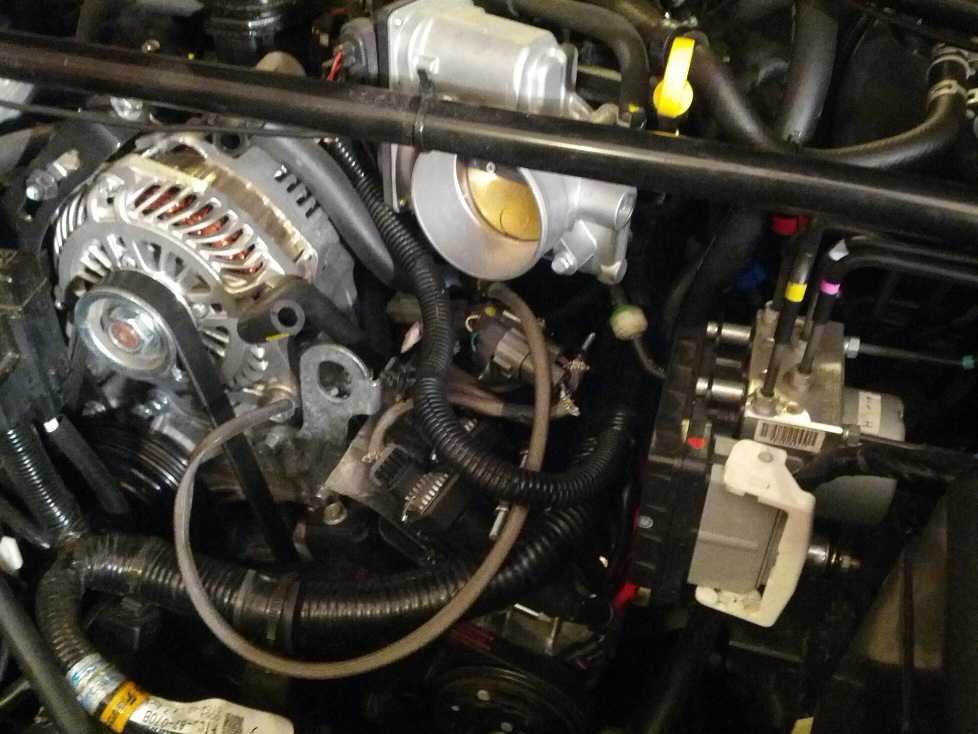
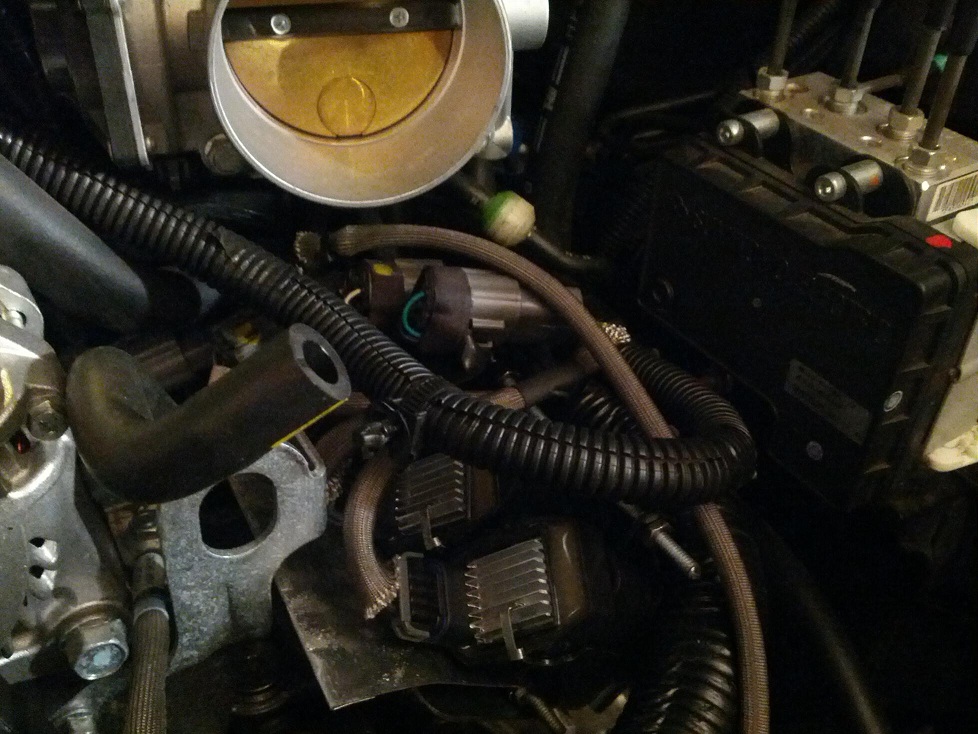
Once the new coils are mounted, the harness is pluggeed in, and the plug wires are installed, we are ready
to button her up and take her for a test drive. Before putting everything back together, I placed the
intake box back, and reconnected the MAF so that I could test to make sure the car runs without an issue.
After confirming, everything goes back into place like OEM.


 Mobile Menu


