2009 - 2011 AFE Short Shifter

-
Installing Axial Flow 2009-2011 Short Shifter
Unique modifications for a Series 2 (2009-2011) RX8 are scarce, and the modifications
that are available are generally foreign market parts and cost a lot of money. In an
effort to bring more modifications to the Series 2 RX8, Engineers at Axial Flow Engineering
(http://www.axialflow.com/) have developed a Short Throw Shifter. Documented on this page
is a Do-It-Yourself tutorial that describes how to install the Short Shifter.
-
Package Contents
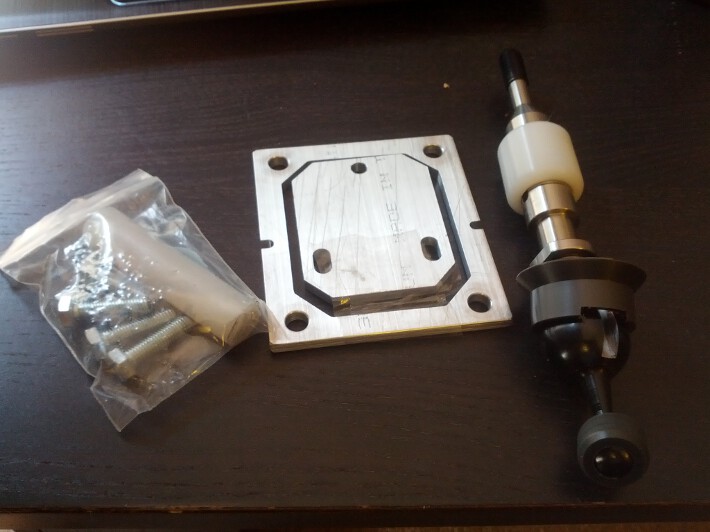
- AFE Short Shifter
- Spacer Plate (1)
- Long Pins (2)
- Long 13mm Bolts (4)
- Plastic Dowel (1)*
- Install Plate (1)*
* These items are used only during installation
-
Preparing The Center Console
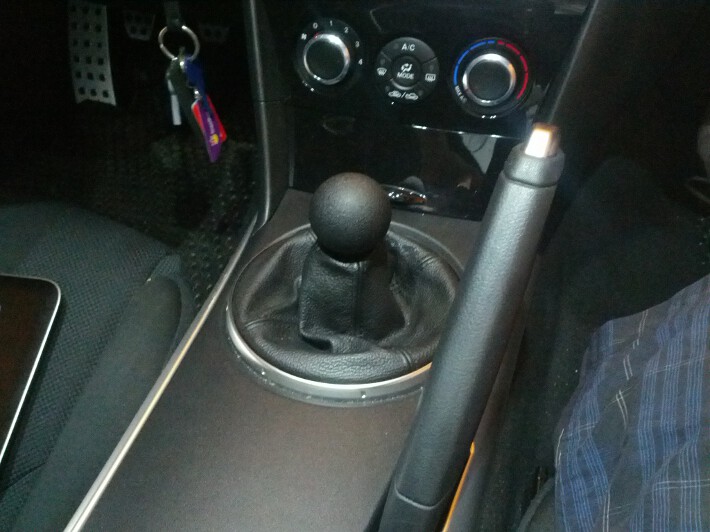
The first step in the installation is to prepare the center console for the new shifter. The
first step is to examine the center console and take note of the shift knob as this will need to
be unscrewed. To do this, rotate the knob counter clockwise and unscrew.
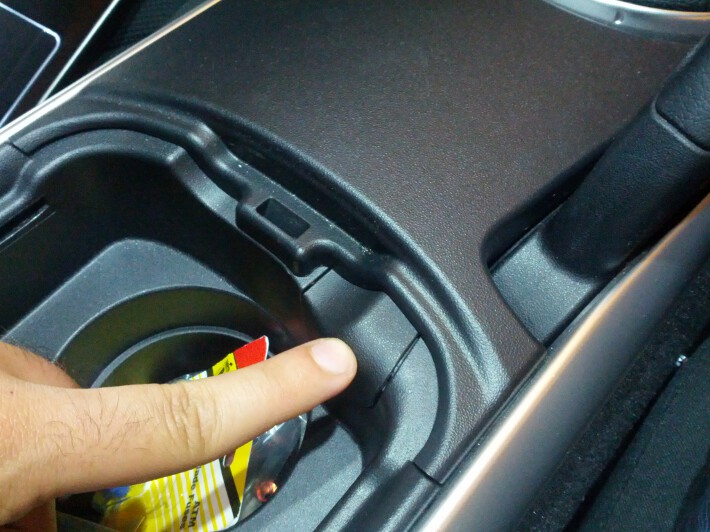
Once you have unscrewed the shift knob, you need to remove the tab that is securing the center
console to the cup holder. This is easily done through the emergency brake tunnel. Simply stick
your finger through the emergency brake hole, and push the tab out.
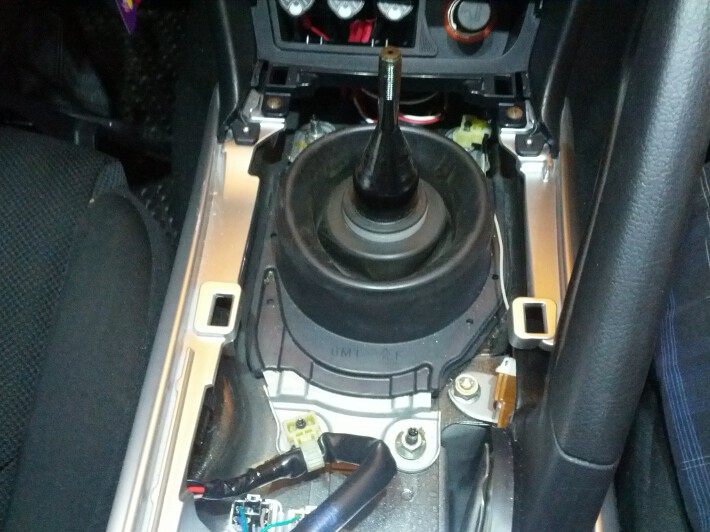
Once the tab is removed, the center console can now be removed as well. This is held in place by a
few clips. To remove the console without damaging the clips, simply stick your finger into the hole
created by the tab you just removed. You should feel a clip immediately on the right of the hole,
simply push up on the clip and you should feel the center console pop up. Gently start pulling up along
the perimeter of the console until it comes off.
-
Removing The OEM Shifter
The following step is purely optional, however I found it much easier to access the bolts that hold the
shift plate down with the ashtray removed. The ashtray is held down by two screws, and then secured with
two clips. Simply remove the screws, and gently pull the ashtray forward until it gets unclipped from its
position. Be careful as there are wires back there for the lighter and lights. Set the ash tray to the side.
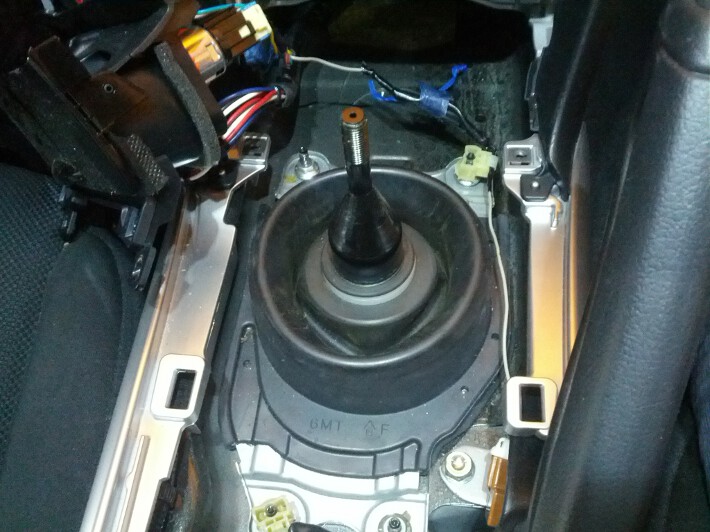
With the ashtray moved aside, you can now remove the nuts that are holding the shift plate onto the studs. These
nuts are 10mm in size, and there is a total of four. Remove the nuts and place them aside as they will be used later.
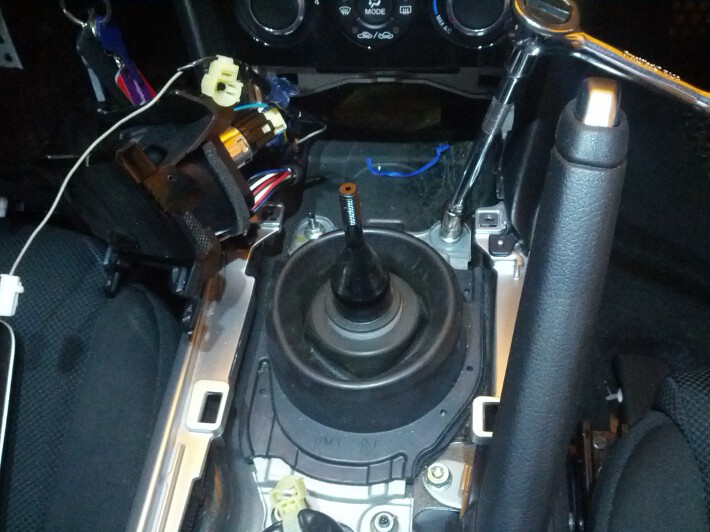
After removing all four nuts, pull the shift plate up. You will notice that the only thing keeping the rubber boot on
the shift plate from being removed is a plastic ring that is around the shifter. I found it easiest to put my fingers
under the ring, and pull up as I pulled up on the boot. The ring will slide off and the plate can be removed.
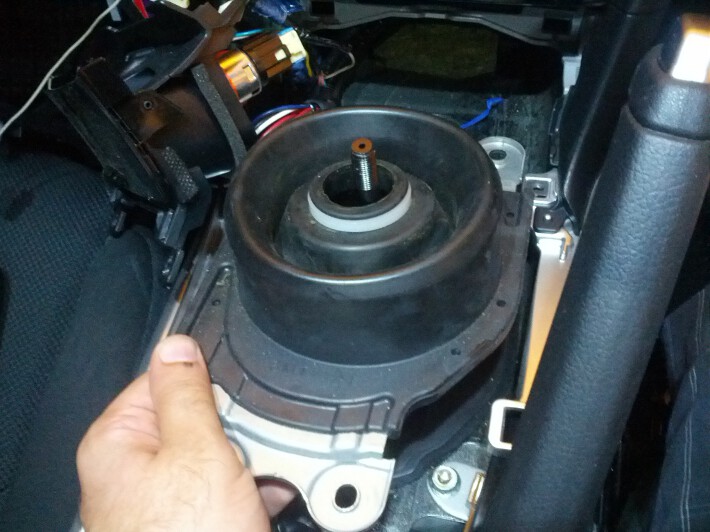
Next, you can remove the rubber gromet that shields the cabin from the transmission tunnel. There is nothing holding this
piece in place, but it may require a bit to remove it depending on how many hot and cold cycles it has gone through. My
piece was stuck in place somewhat, but came off with a little bit of play
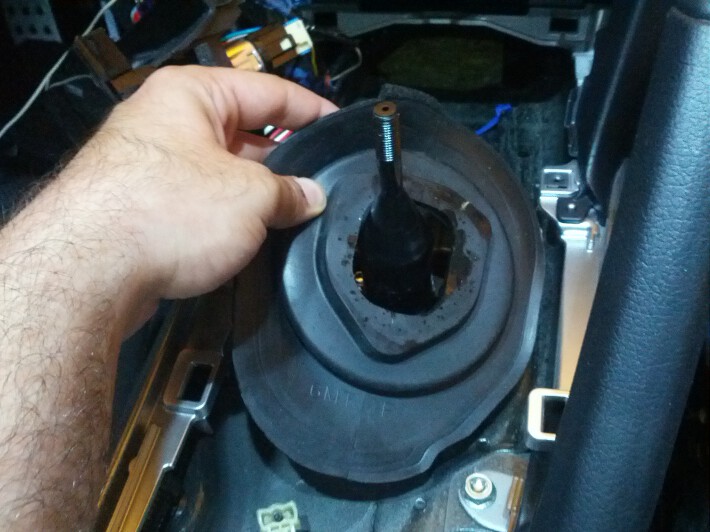
With the grommet removed, you can see the shift gate that is holding the shifter down. The gate is held in place by three
bolts that are 10mm. Simply remove these bolts and place the bolts aside as they will be used later.
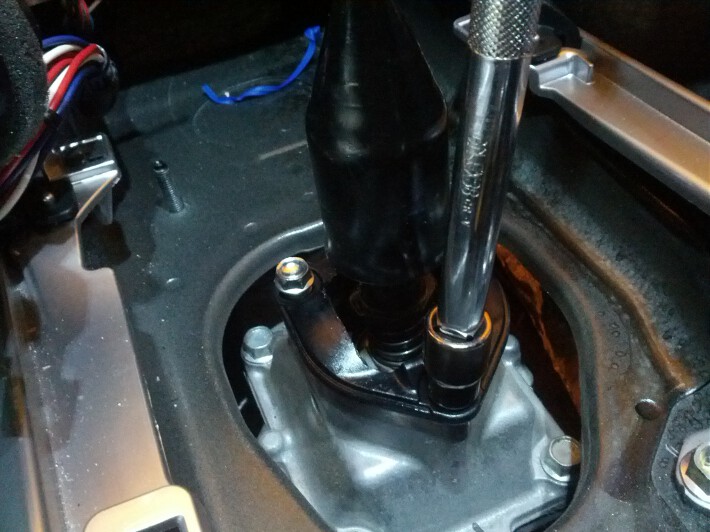
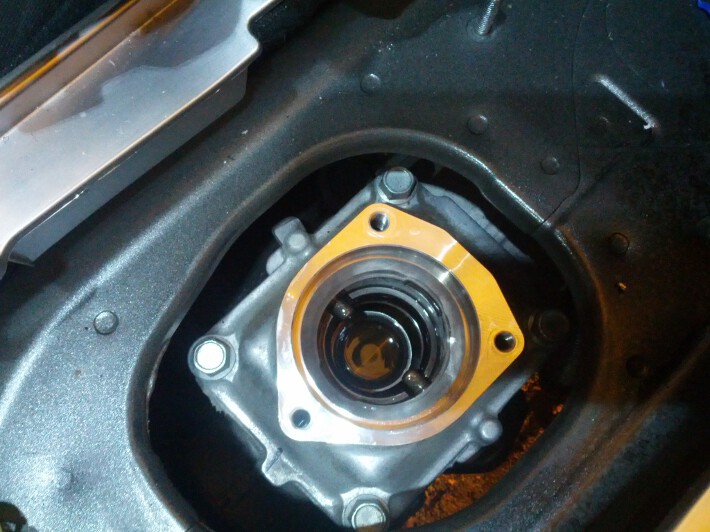
With the gate removed, gently pull up on the shifter to remove it. The shifter is comprised of the shaft, a pivot sphere,
and a plastic bearing at the bottom. There is a chance the plastic bearing has some grease on it, so be aware not to get
any in the car. Place the shifter aside, we will need to remove a piece from this later.
-
Removing The Transmission Tower
The next step in the installation is to remove the transmission tower. This is done by removing the 4 12mm bolts that are
along the perimeter of the transmission tower.
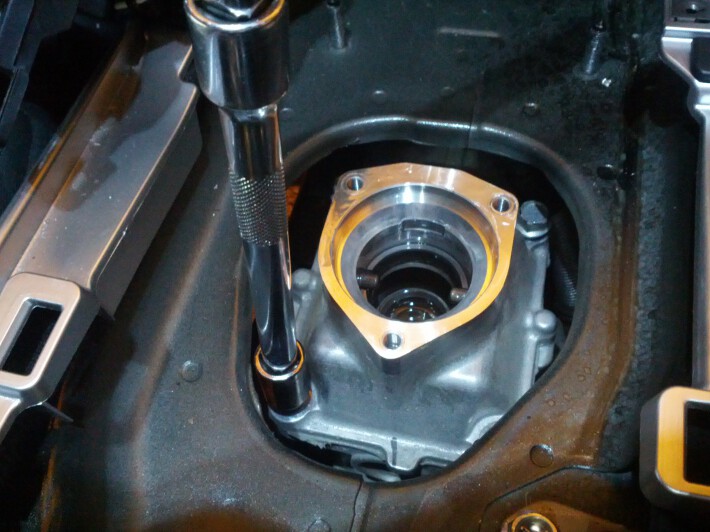
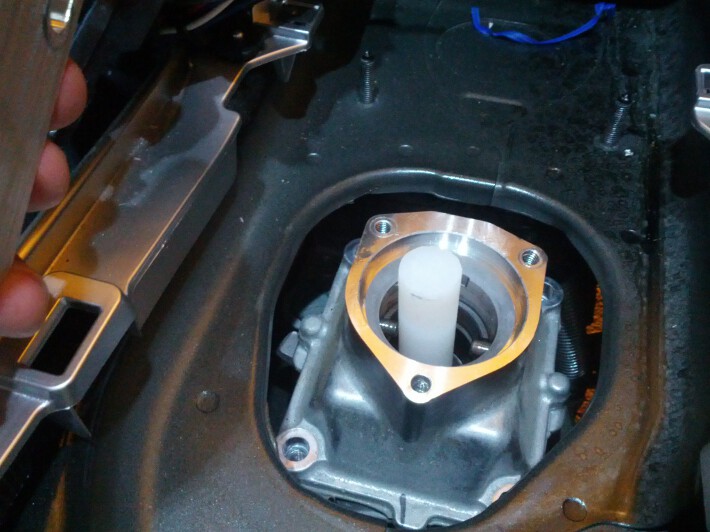
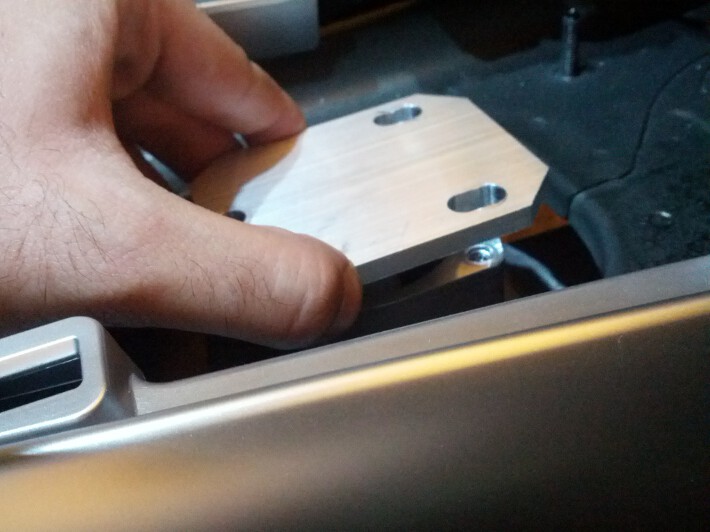
The tower will not easily come out as it is held in place with some pins. This is where the plastic dowel comes in handy.
Place the dowel inside of the shift column, and place the installation plate on top. Secure the plate to the tower using
the bolts from the shift gate. Start screwing on the bolts in a star pattern slowly, and the tower will easily pop right
off.
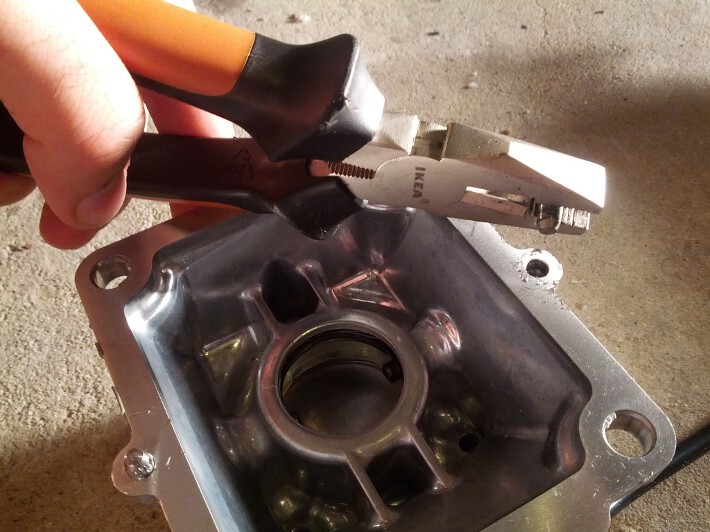
Place the tower upside down on a workbench. Using a pair of pliers or a vice grip, pull out the pins and place them aside,
this pins will no longer be used.
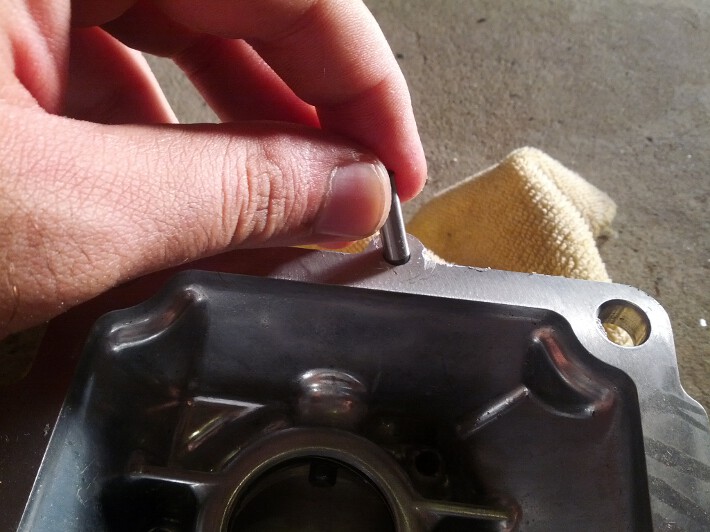
Next, take the longer pins from the packet that came with the new shifter, and place them in the holes left by the old pins.
The new pins should sit in place snug so that they do not fall out when you turn the tower upside down. If they are loose,
simply use a center punch to tack them into place.
Installing Spacers and Replacing The Tower
Next we will return to the transmission. The first step is to place some RTV sealant on the transmission. A small bead of RTV
is plenty. Place the spacer plate on top of the transmission. Take note that the plate only goes on one way that will align with
the pin holes.
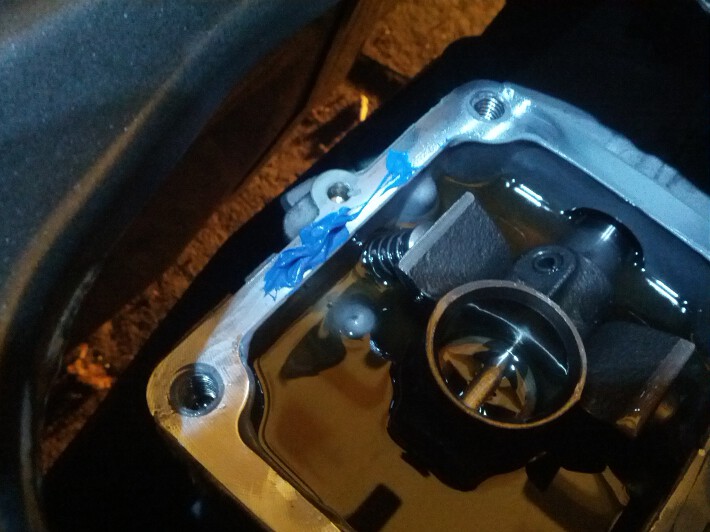
After placing the spacer on, apply some RTV to the shift tower, and gently fit the tower back onto the transmission. Take note of
the pins to ensure that you are placing the tower back on the transmission properly.
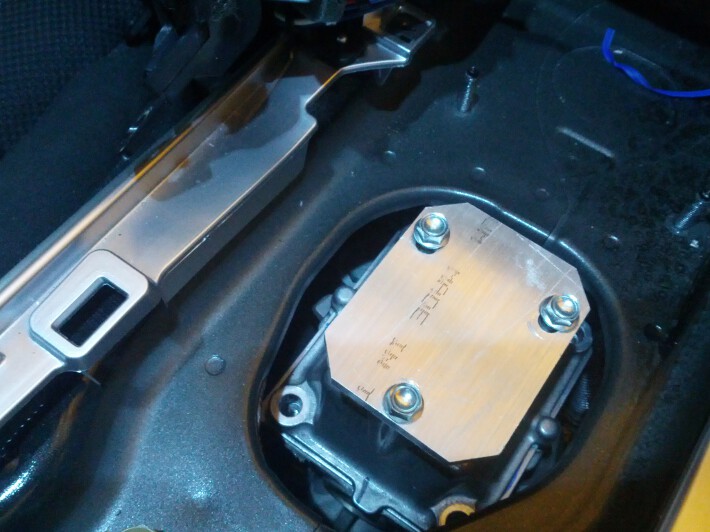
Once the tower is replaced, use the long bolts that were provided by the kit and install them using a 13mm socket. Grab the new shifter
and grease up the pivot ball. There is no need to grease the plastic bearing at the bottom as that will sit in some fluid.
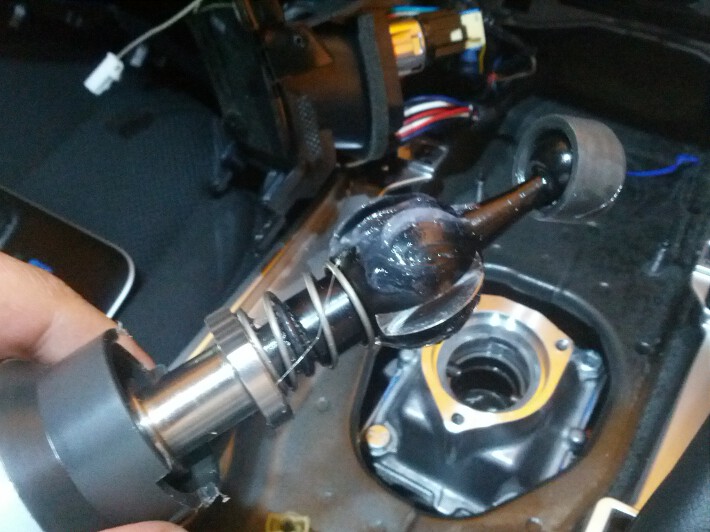
Slide the shifter in place, take note that the shifter can only be installed one way, so do not try to force it in place. If the slots are
aligned properly, the shifter will gently slide into place.
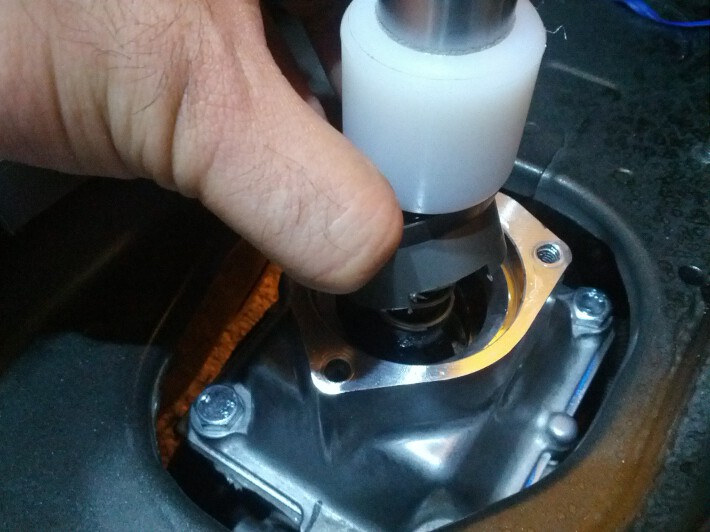
Take note of the plastic disk that sits above the pivot ball, this disk also only goes in one way. Ensure that the slits on the disk are aligned
with the slots on the pivot ball. This disk should sit snug inside the transmission.
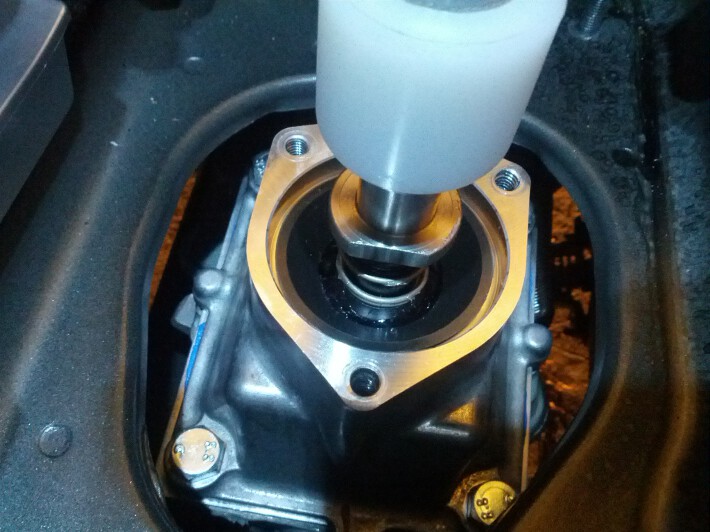
Next, we will remove the shift gate from the original shifter. This is held in place with some clips, so simply pull the gate off and place it onto
the new shifter. Using the original gate bolts, secure the shift gate to the transmission.
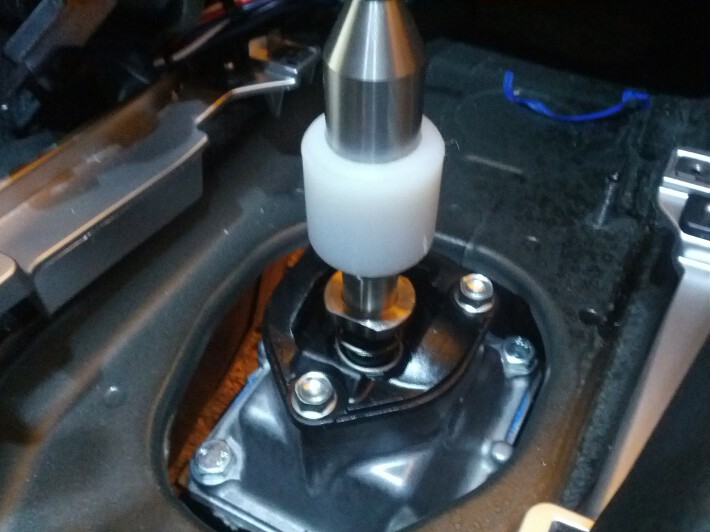
With the gate back in place, you can now start reinstalling the center console by following the beginning of this tutorial backwards. Congrats!


 Mobile Menu


