2009 - 2011 RX8 Ingalls Engine Damper
The Ingalls Engine Torque Damper is a nifty little device that helps dampen vibrations
from the engine. For many people, this is a great alternative to replacing motor
mounts to stiffer ones, however not many people have used the ITD with stiffer mounts
as it is understood that it does relatively the same thing.
Once I replaced my motor mounts, I started to consider the long term effects of having
a stiff mount. When examining the orientation of the mounts of the RX8, one will
recognize that the mounts are actually sitting lower than the center of the engine.
With the mounts sitting lower than the centerline of the engine, the mounts will naturally
be doing more work to stabilize the engine as the central vibrations will be offset by the
weight of components that sit at the top of the engine. As a remedy, Mazda decided to use
rubber mounts with a mineral oil based medium. This creates a "floating" mount for the engine
which helps to balance and dampen the vibrations through the chasis.
Although replacing those oem mounts with stiffer mounts can create a stronger drivetrain feel
since the engine moves less on acceleration, and more power is theoretically transferred through
the chassis, it re-introduces the imbalance of the engine. For many people, this will not be a
significant issue, but for engines that frequent higher rpms, and race conditions, the stresses
caused by hardened oem mounts could cause them to fail.
The theory behind this claim is this; By stiffening the oem mounts, we help stiffen the lower
hemisphere of the engine. Remember though, the mounts sit lower than the engine's center line,
therefore, the lower hemisphere of the engine naturally becomes smaller to the upper
hemisphere of the engine. The vibrations of an engine need to escape, and although the thought
is that those vibrations are escaping through the chasis, realistically, the vibrations will
also be escaping through the upper hemisphere of the engine since there is less resistance.
This creates the same effect as grabbing a ruler lower than its center point with a stiff grip,
and shaking it. The top part of the ruler will sway far more than the lower. Now grab that
same ruler with a very light grip and shake ... less imbalance.
This is where the torque damper plays an important role in helping to balance the effects of a
stiffer mount on the Renesis.
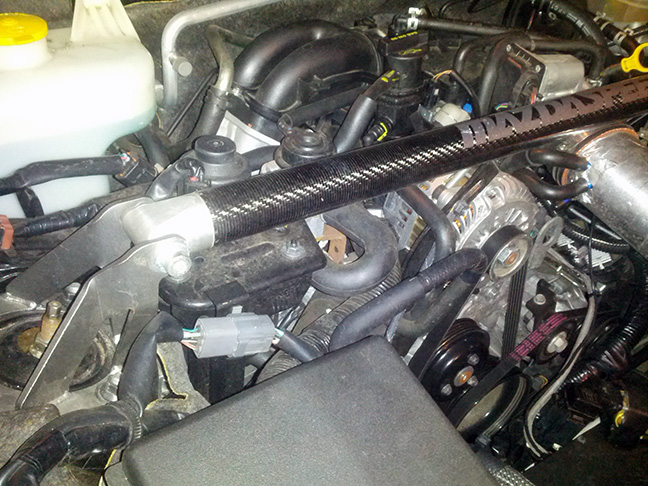
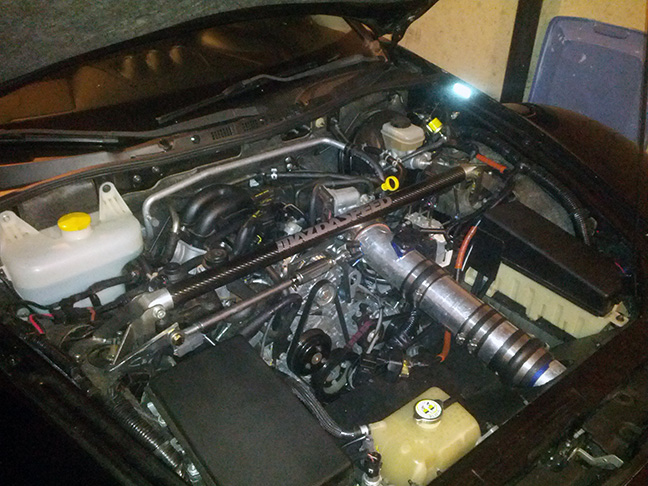
The first step in installing the torque damper is to disconnect the passenger side of the front
strut bar. If you have an aftermarket strut bar, it may be possible to do this without having
to remove the driver side mount for the strut bar. Else, you want to remove the entire oem
strut bar
Next, if you had a bar like the Mazdaspeed bar, you will want to remove the strut bar mount plate
from the passenger side. The OEM bar will have a small horseshoe like bracket that you will need
to remove
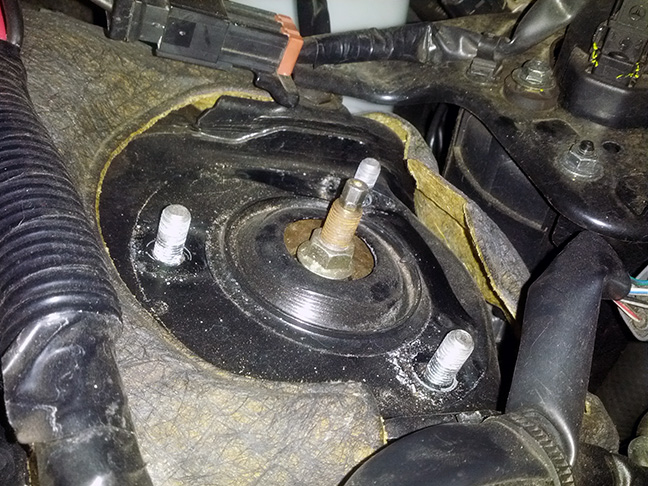
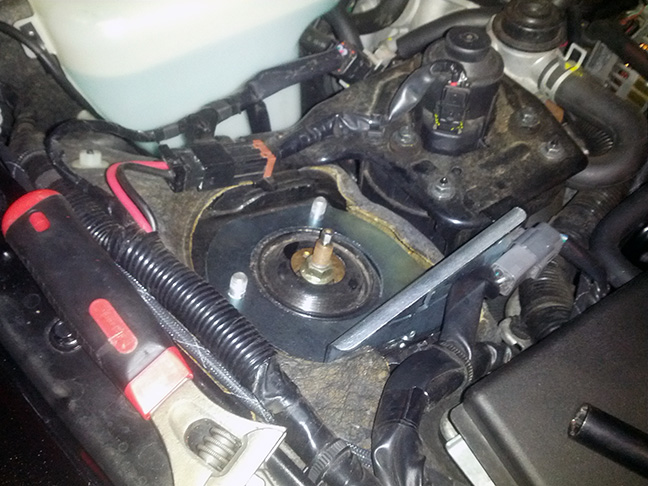
The next step is to take the Torque Damper chasis bracket and install it onto the passenger strut
tower. This will essentially be sandwhiched between the chasis and the strut bar bracket.
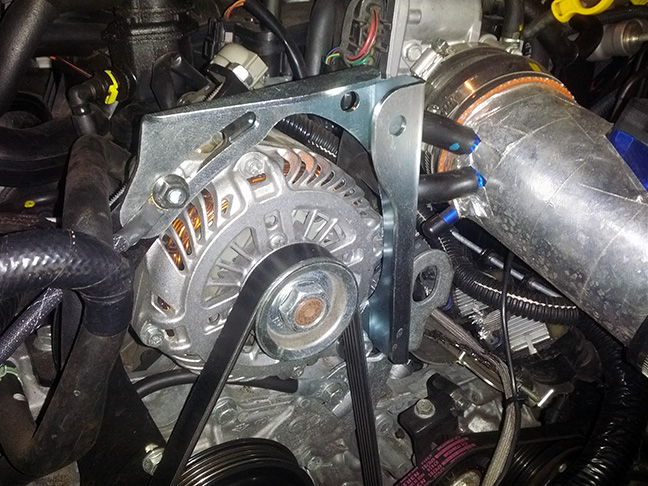
Next, you will want to remove the alternator adjustment nut that sits in the front of the adjustment
slot and then remove the lower alternator mounting bolt. Once this is done, you can then install the
engine bracket for the torque damper. The kit included a slightly longer alternator mounting bolt.
Make sure you use this bolt to ensure enough thread engagement for the alternator now that the bracket
is taking up some space. Make sure after installation that the belt tension wasn't changed.
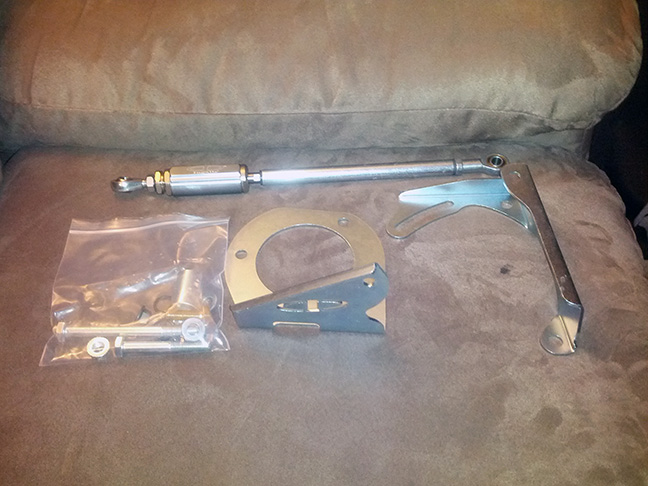
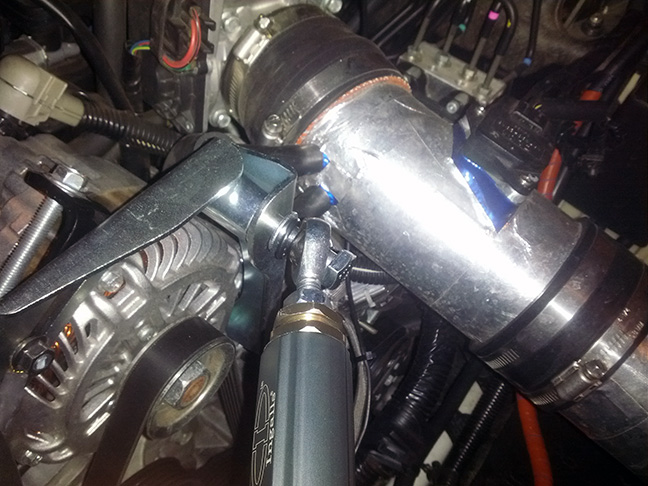
Once the two brackets have been installed, you can then start installing the torque damper. The
package included a long bolt and a few washers and rubber rings. On the engine side, you will want
to use the long bolt, and place it through the damper. Next slide on a rubber ring and start to slide
the bolt through the bracket. The package included a metal spacer which is what you will want to install
next. Then, once the bolt is through, you will use one of the black lock nuts to support the bolt.
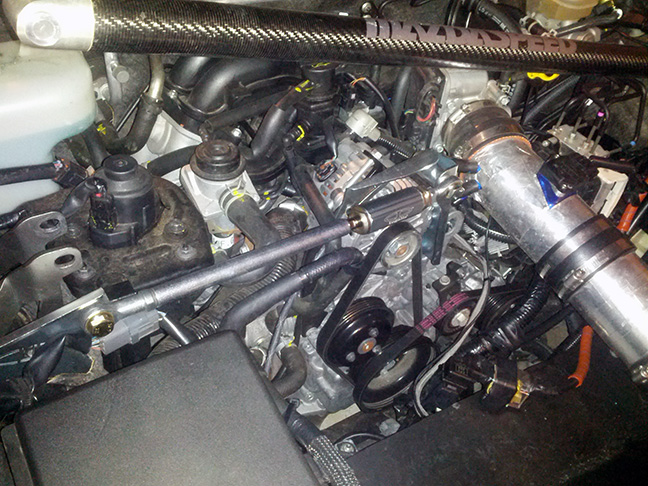
You will want to follow a similar pattern for the chasis side of the torque damper. You will more than
likely need to adjust the length of the damper at this point. Simply do this by unlocking the adjustment
nut on the engine side of the damper. When installing this side, make sure that the damper is installed
on the inside of the bracket, i.e. the side closest to the strut bar. You will note in my image that I
installed this incorrectly at first.
Lastly, go back and ensure that all bolts are tightened and you are done!
Installing the Ingalls Engine Torque Damper
Package Contents
Installation
 Mobile Menu