Mobile Menu
E36 Tierod Replacement
I would like to extend a special thanks to my good friend Brad D. who donated this documentation to this
site to serve the community with a fantastic DIY. This DIY was performed on a BMW E36 M3. For more
information, corrections, or questions, please use the contact form. Please note as with all other
DIY's found on this site, these instructions come with no guaruntees and no warranty. Please proceed
with caution. Contents may be removed at the discretion of the document owner.
Tie rods don't vary that much from car to car so this guide will be as general as
possible to help assist in the replacement of both the inner and outer tie rod (complete
ssembly) for multiple vehicle types. The work is being performed on a 1998 BMW M3
so some of the tools may not apply to your vehicle.
Requirements
Warning: This should go without saying, but please, ensure that you are following
the proper safety guidelines when performing any DIY on your vehicle. For this particular DIY, it
is recommended that you place your car on a four corner set of jackstands. This will ensure that
you are provided with ample room to work, as well as a secure environment for your vehicle. Please
never work on your car supported only by a jack.
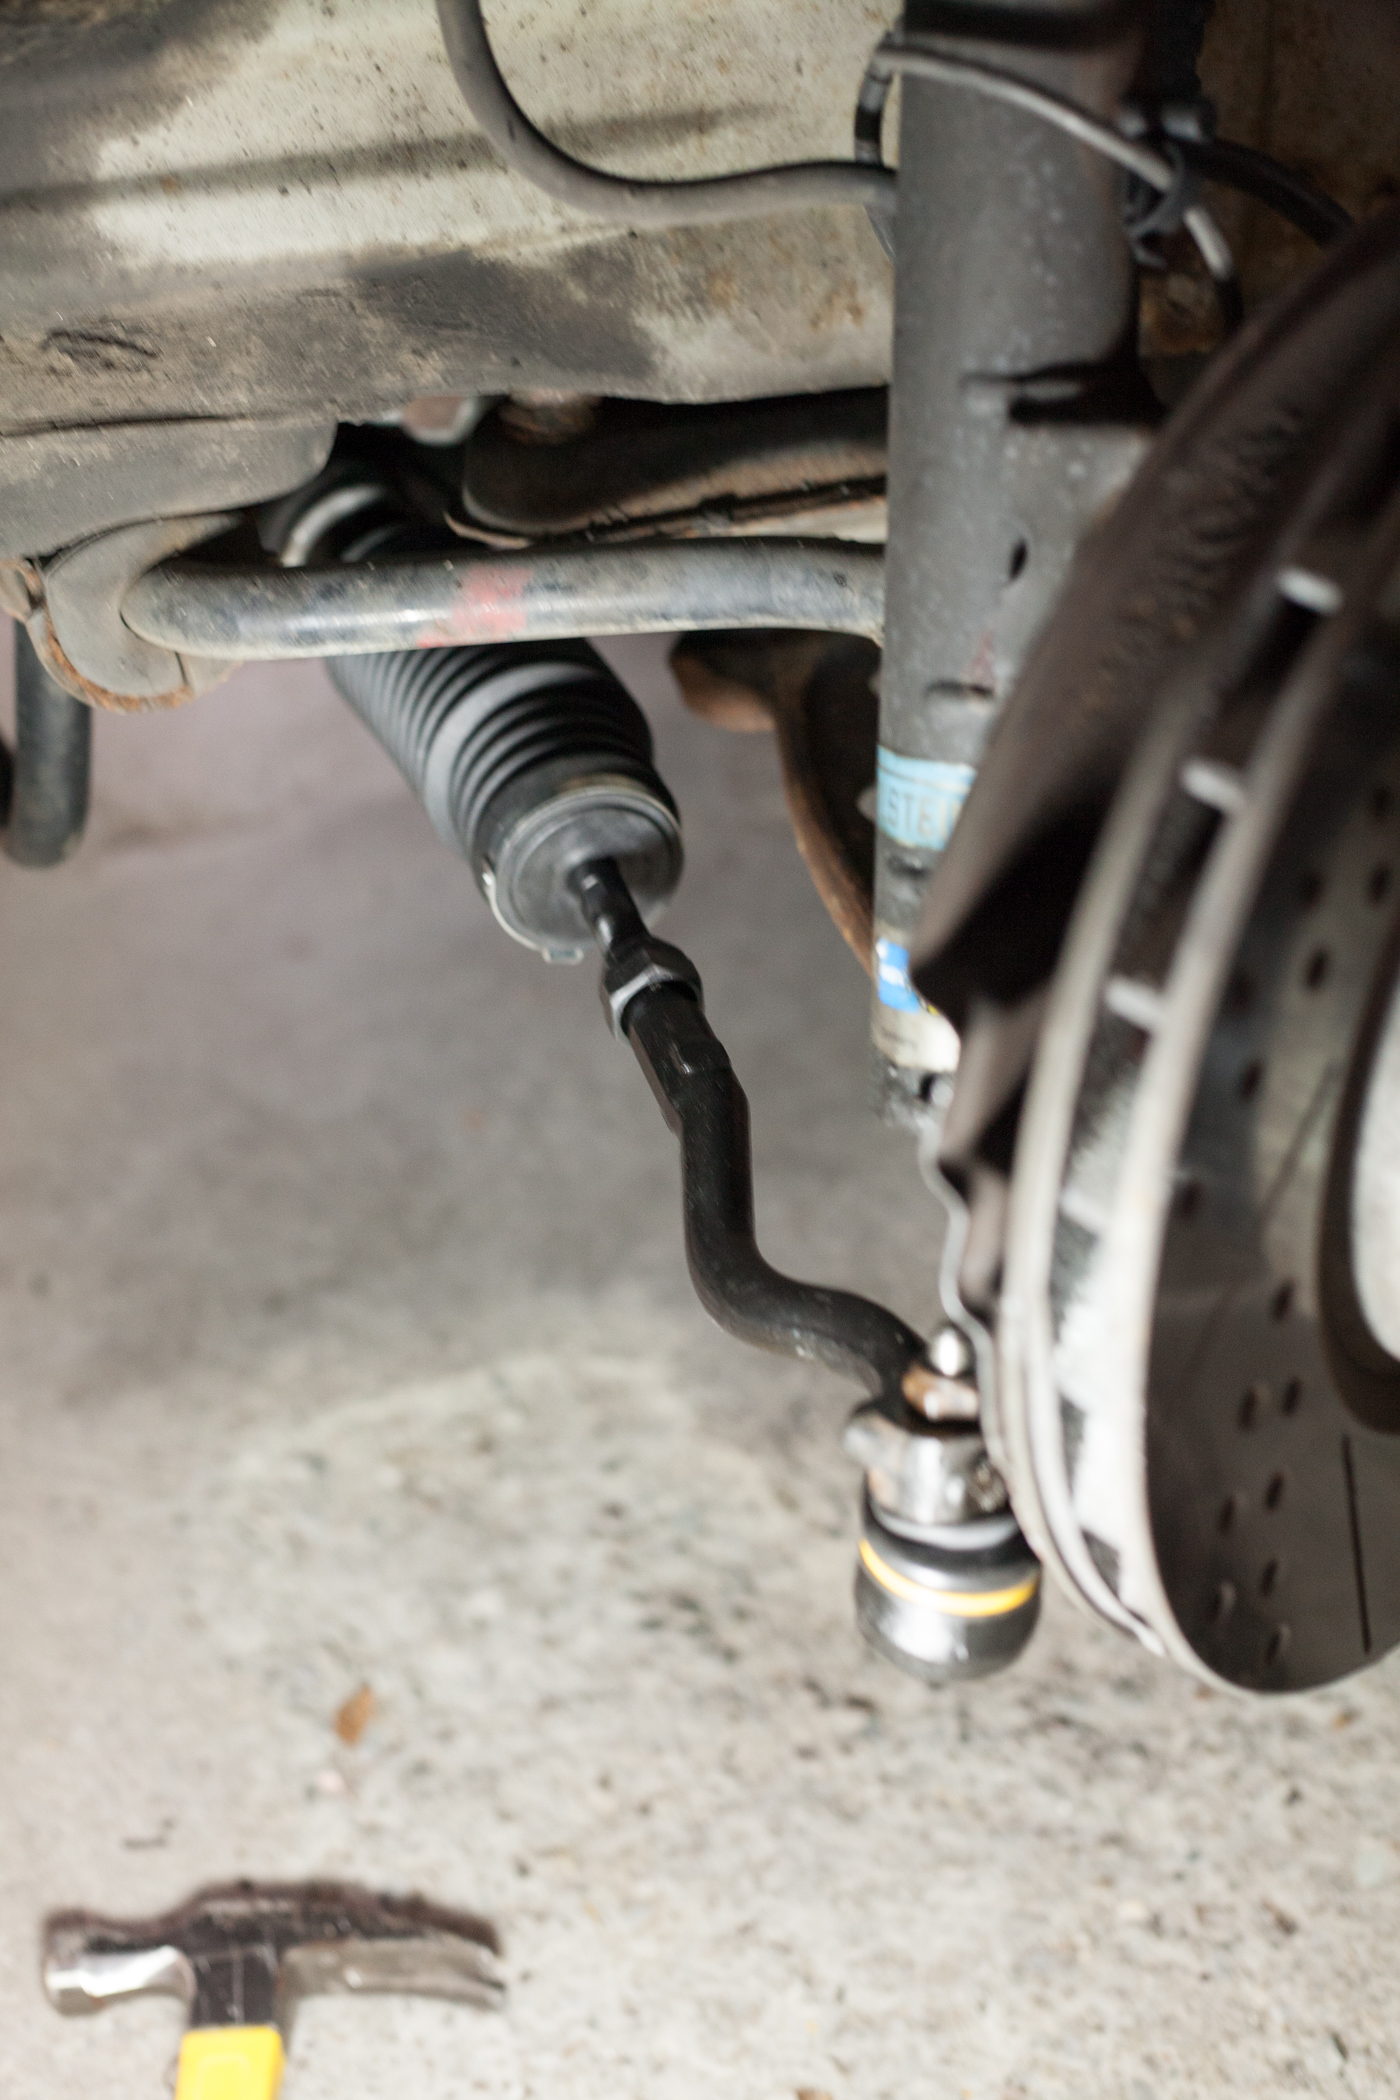
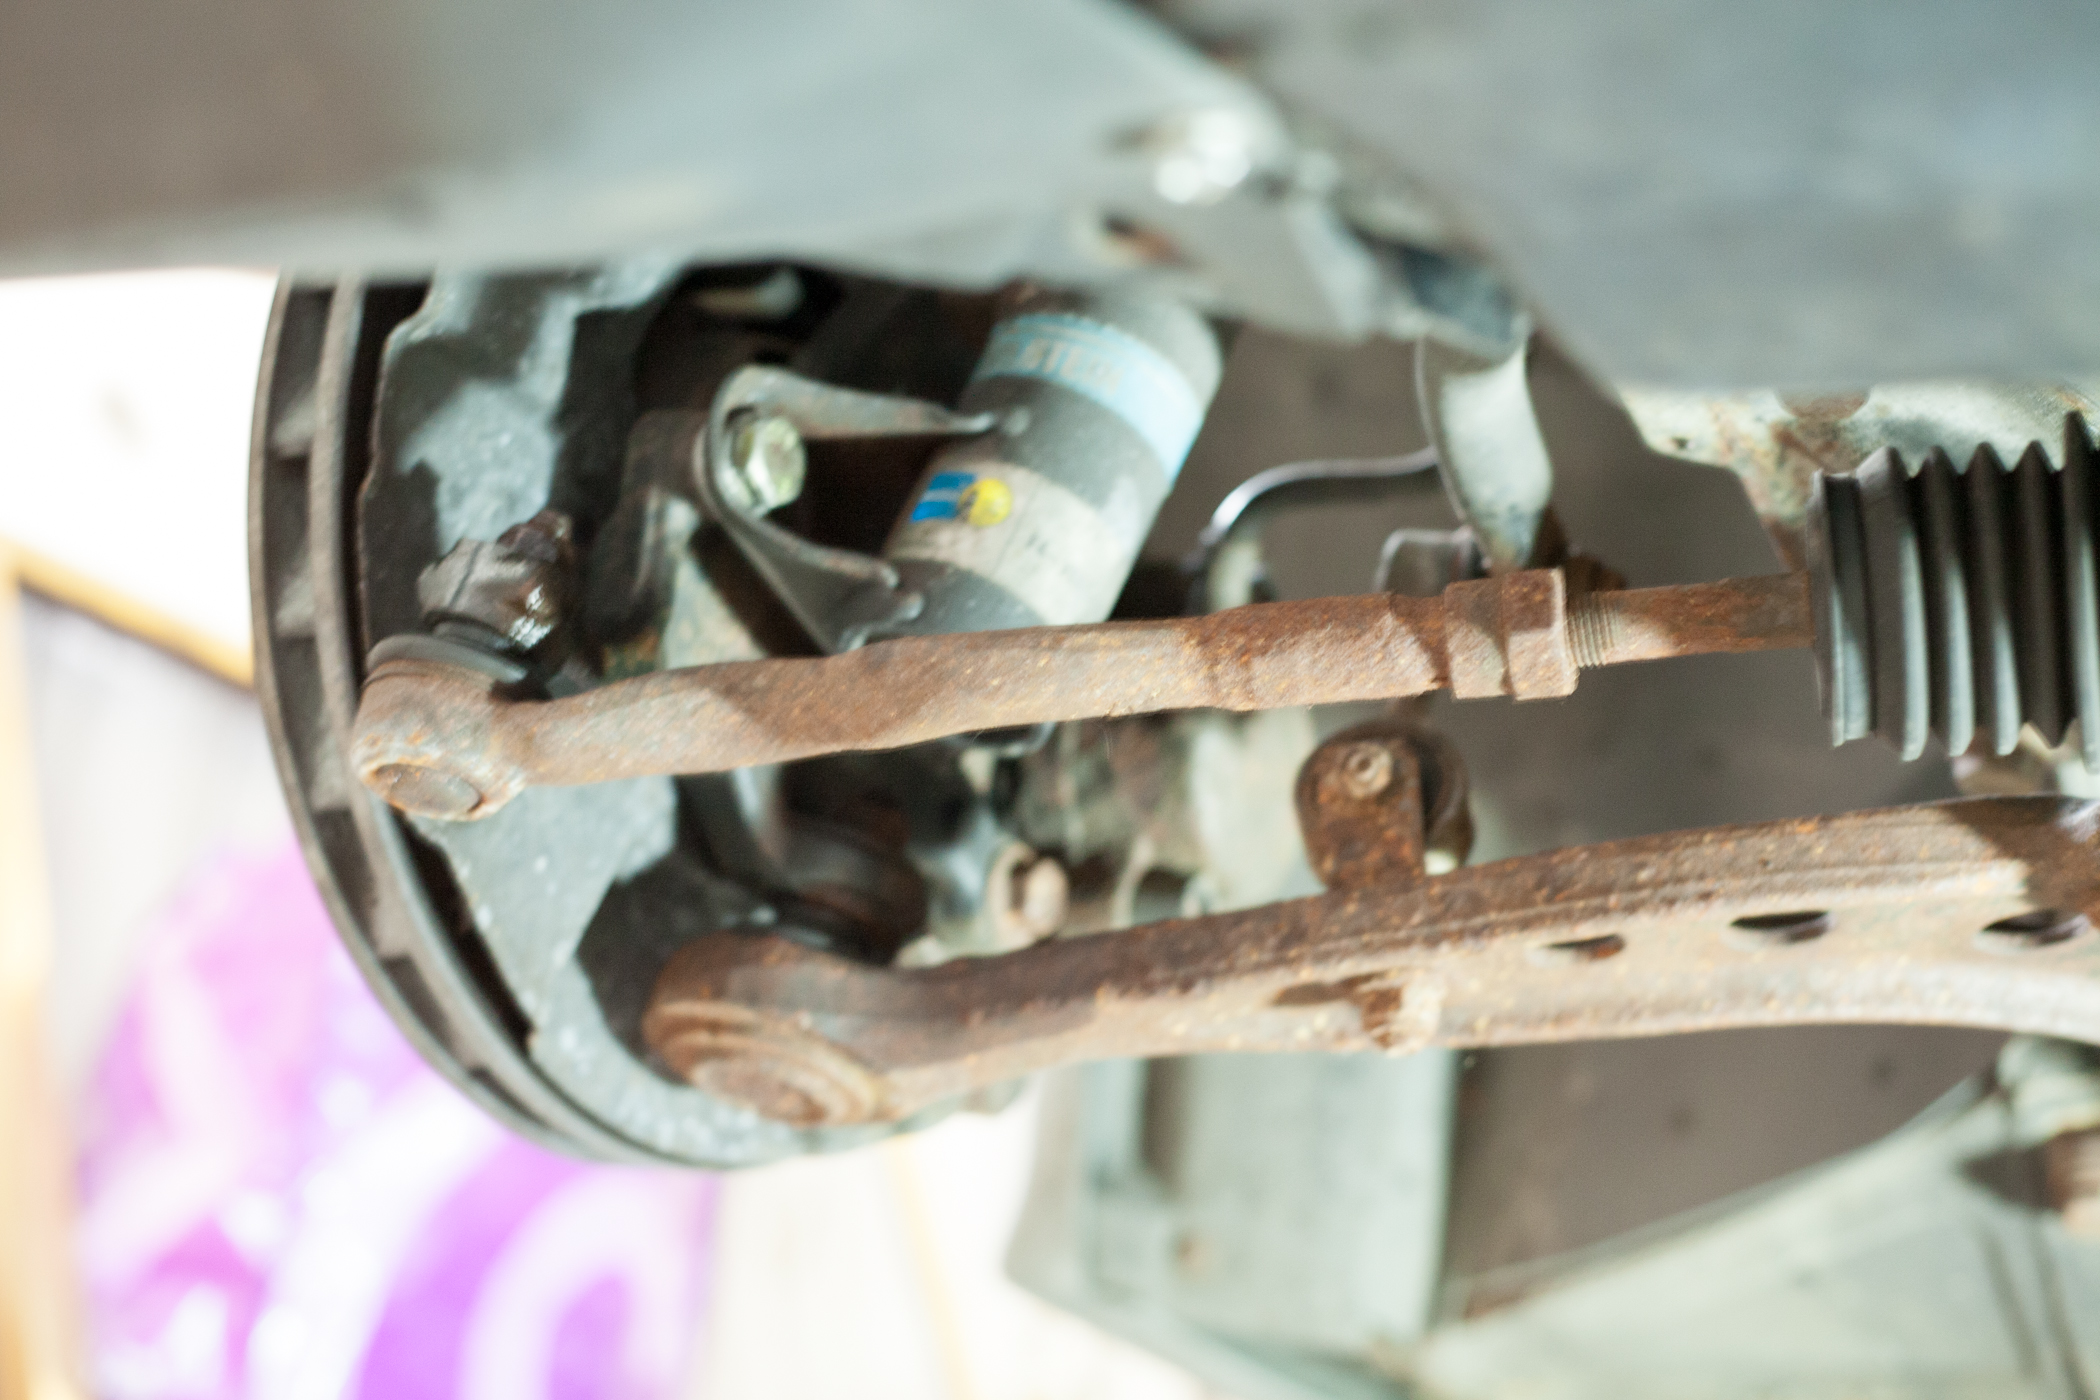
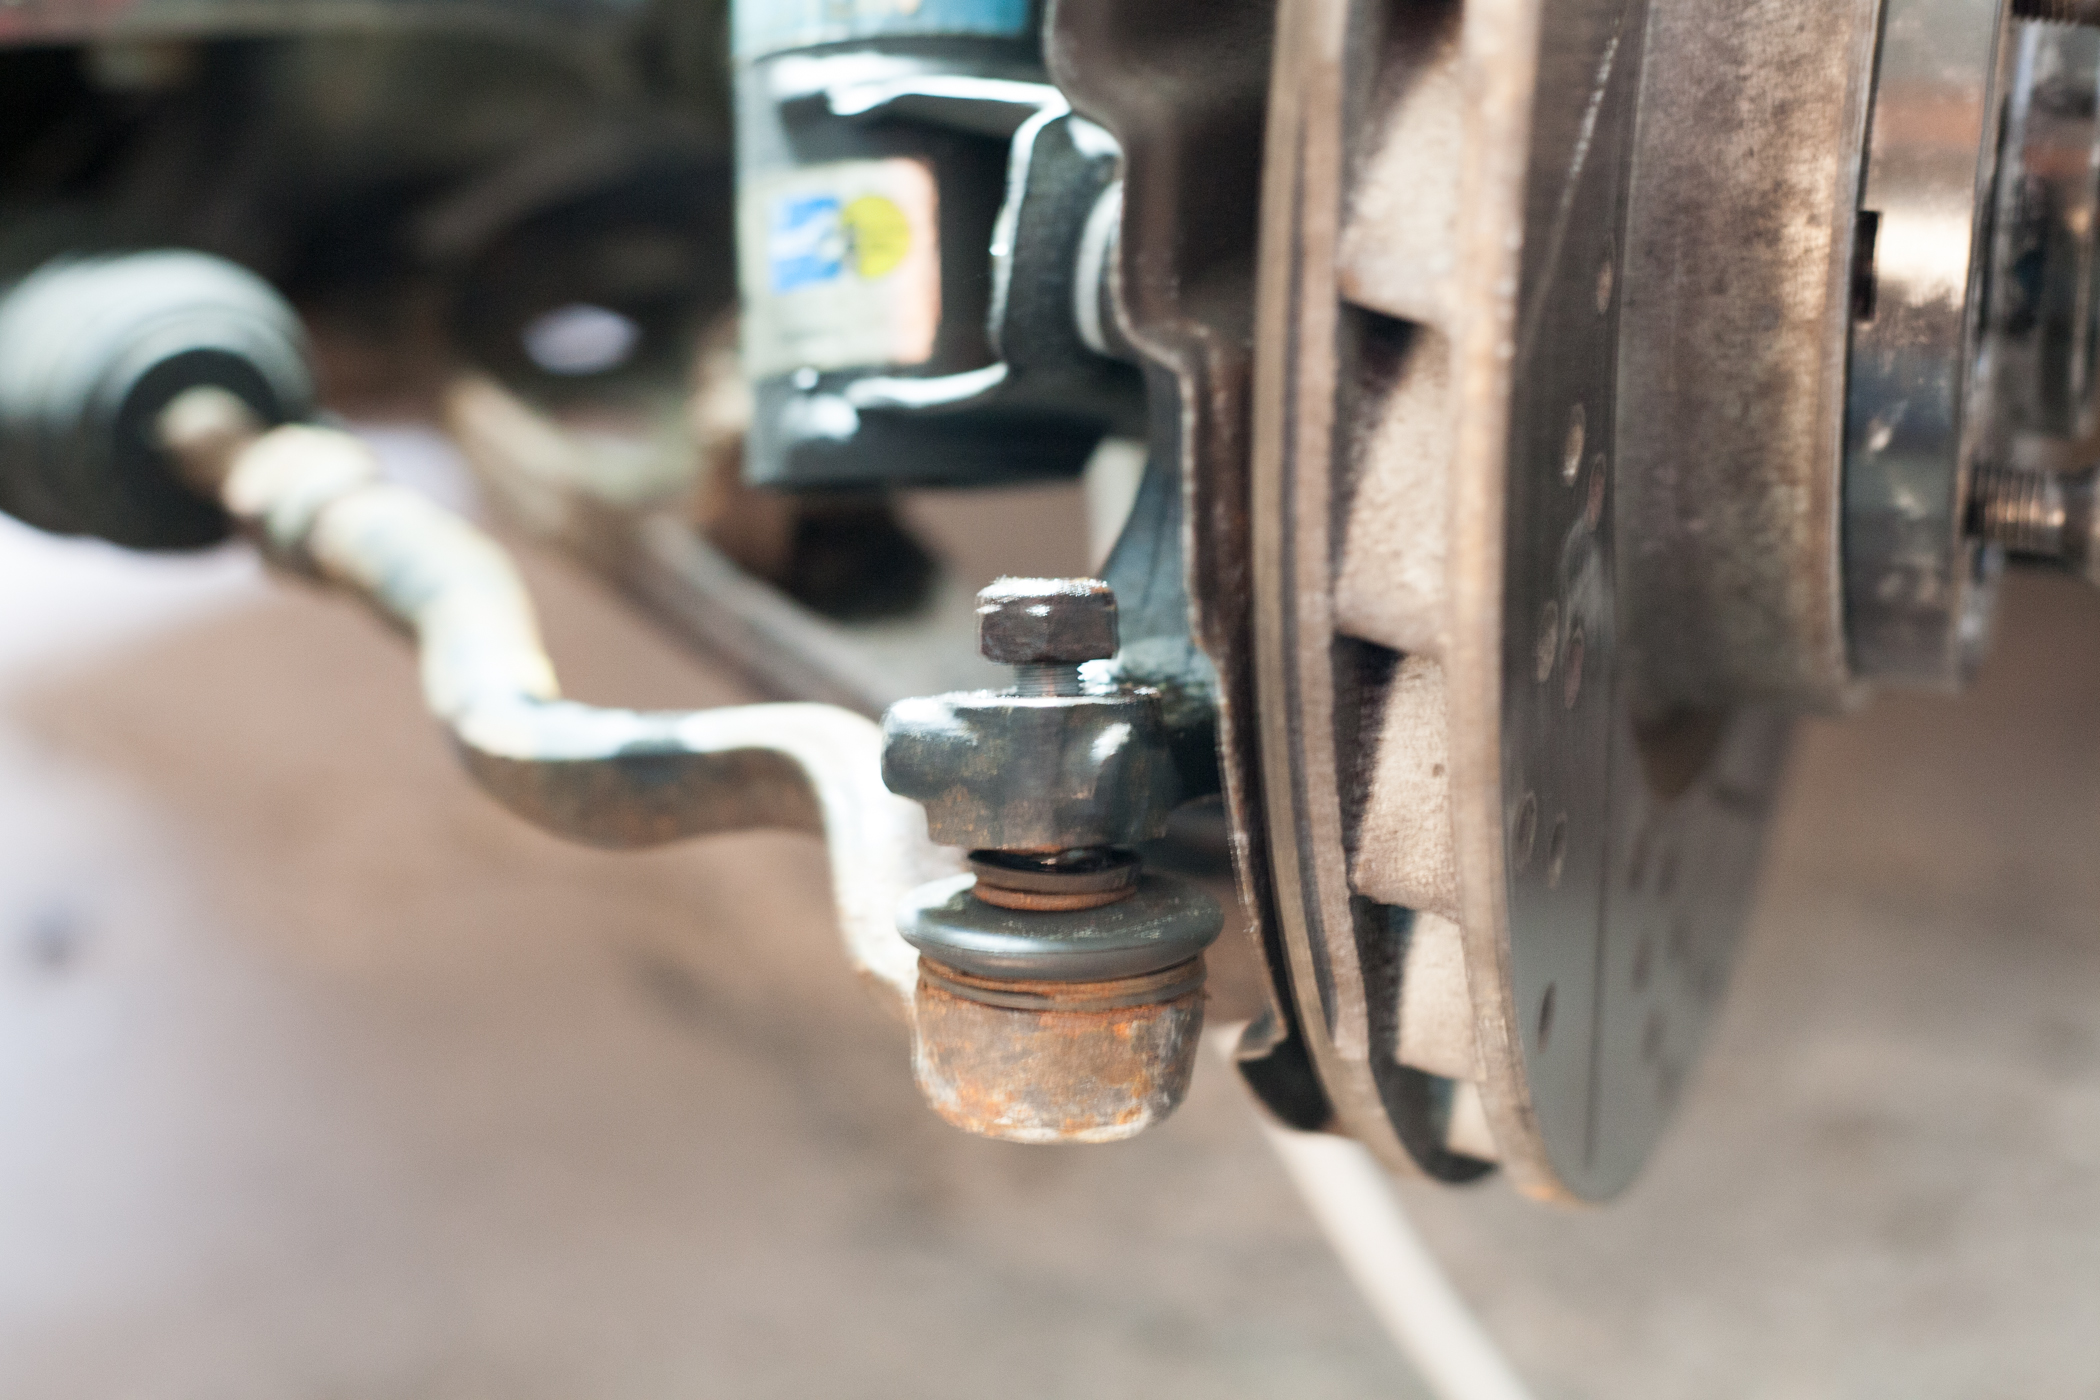
Before starting, let's get familiar with the two areas of the car that we are going to be working on.
The first is the outer tie rod, which is the section connected to the wheel hub/knuckle.
The second is the inner tie rod, which is inboard and connected to the steering rack
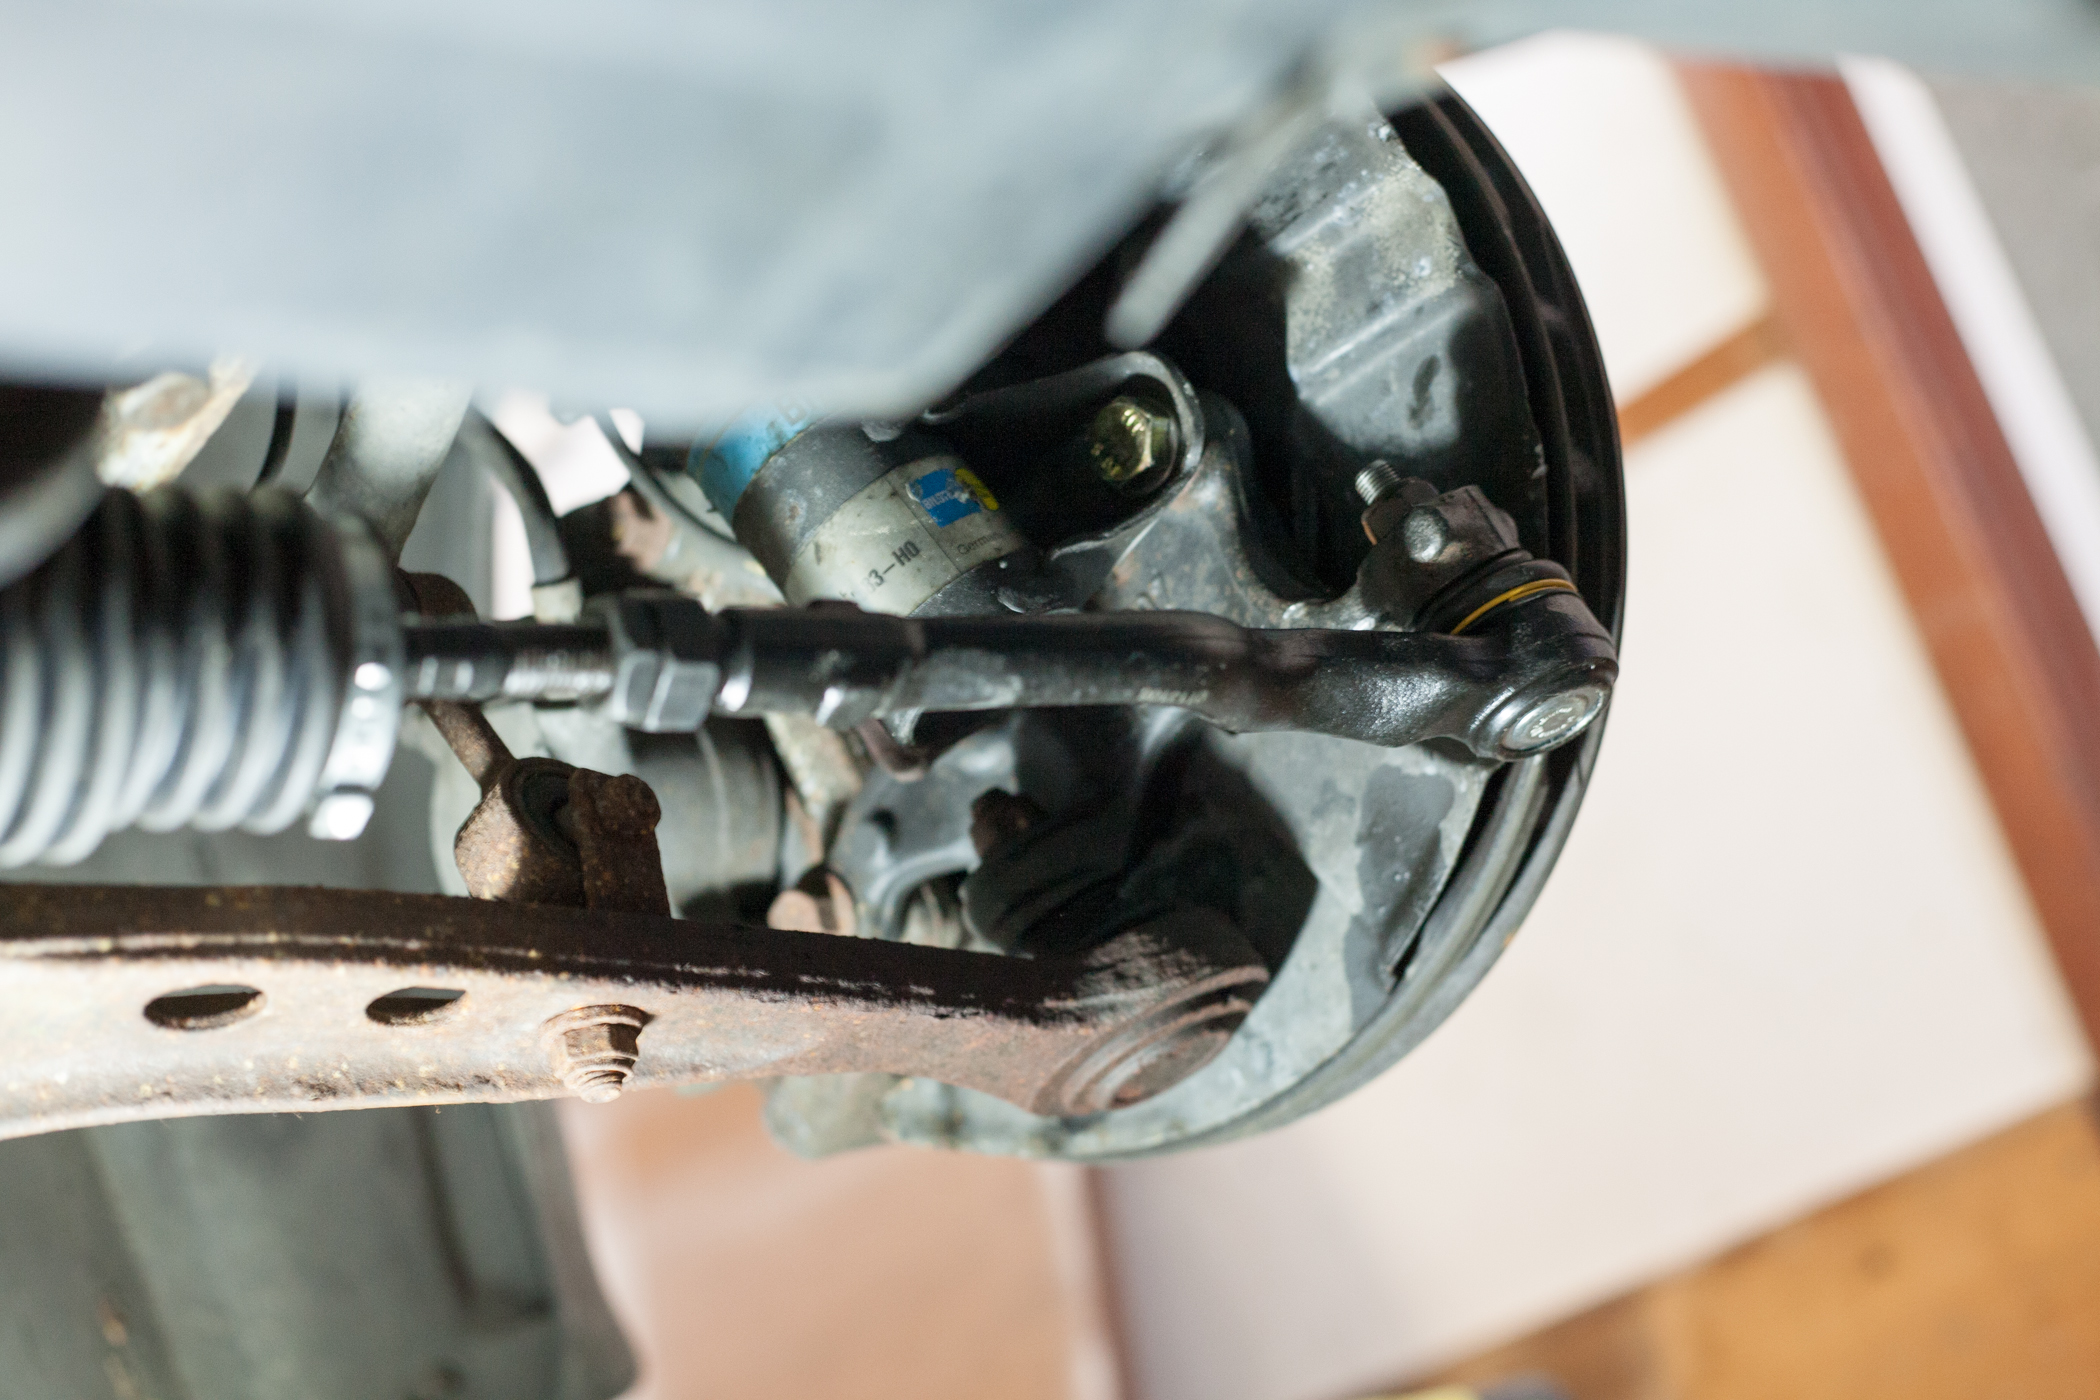
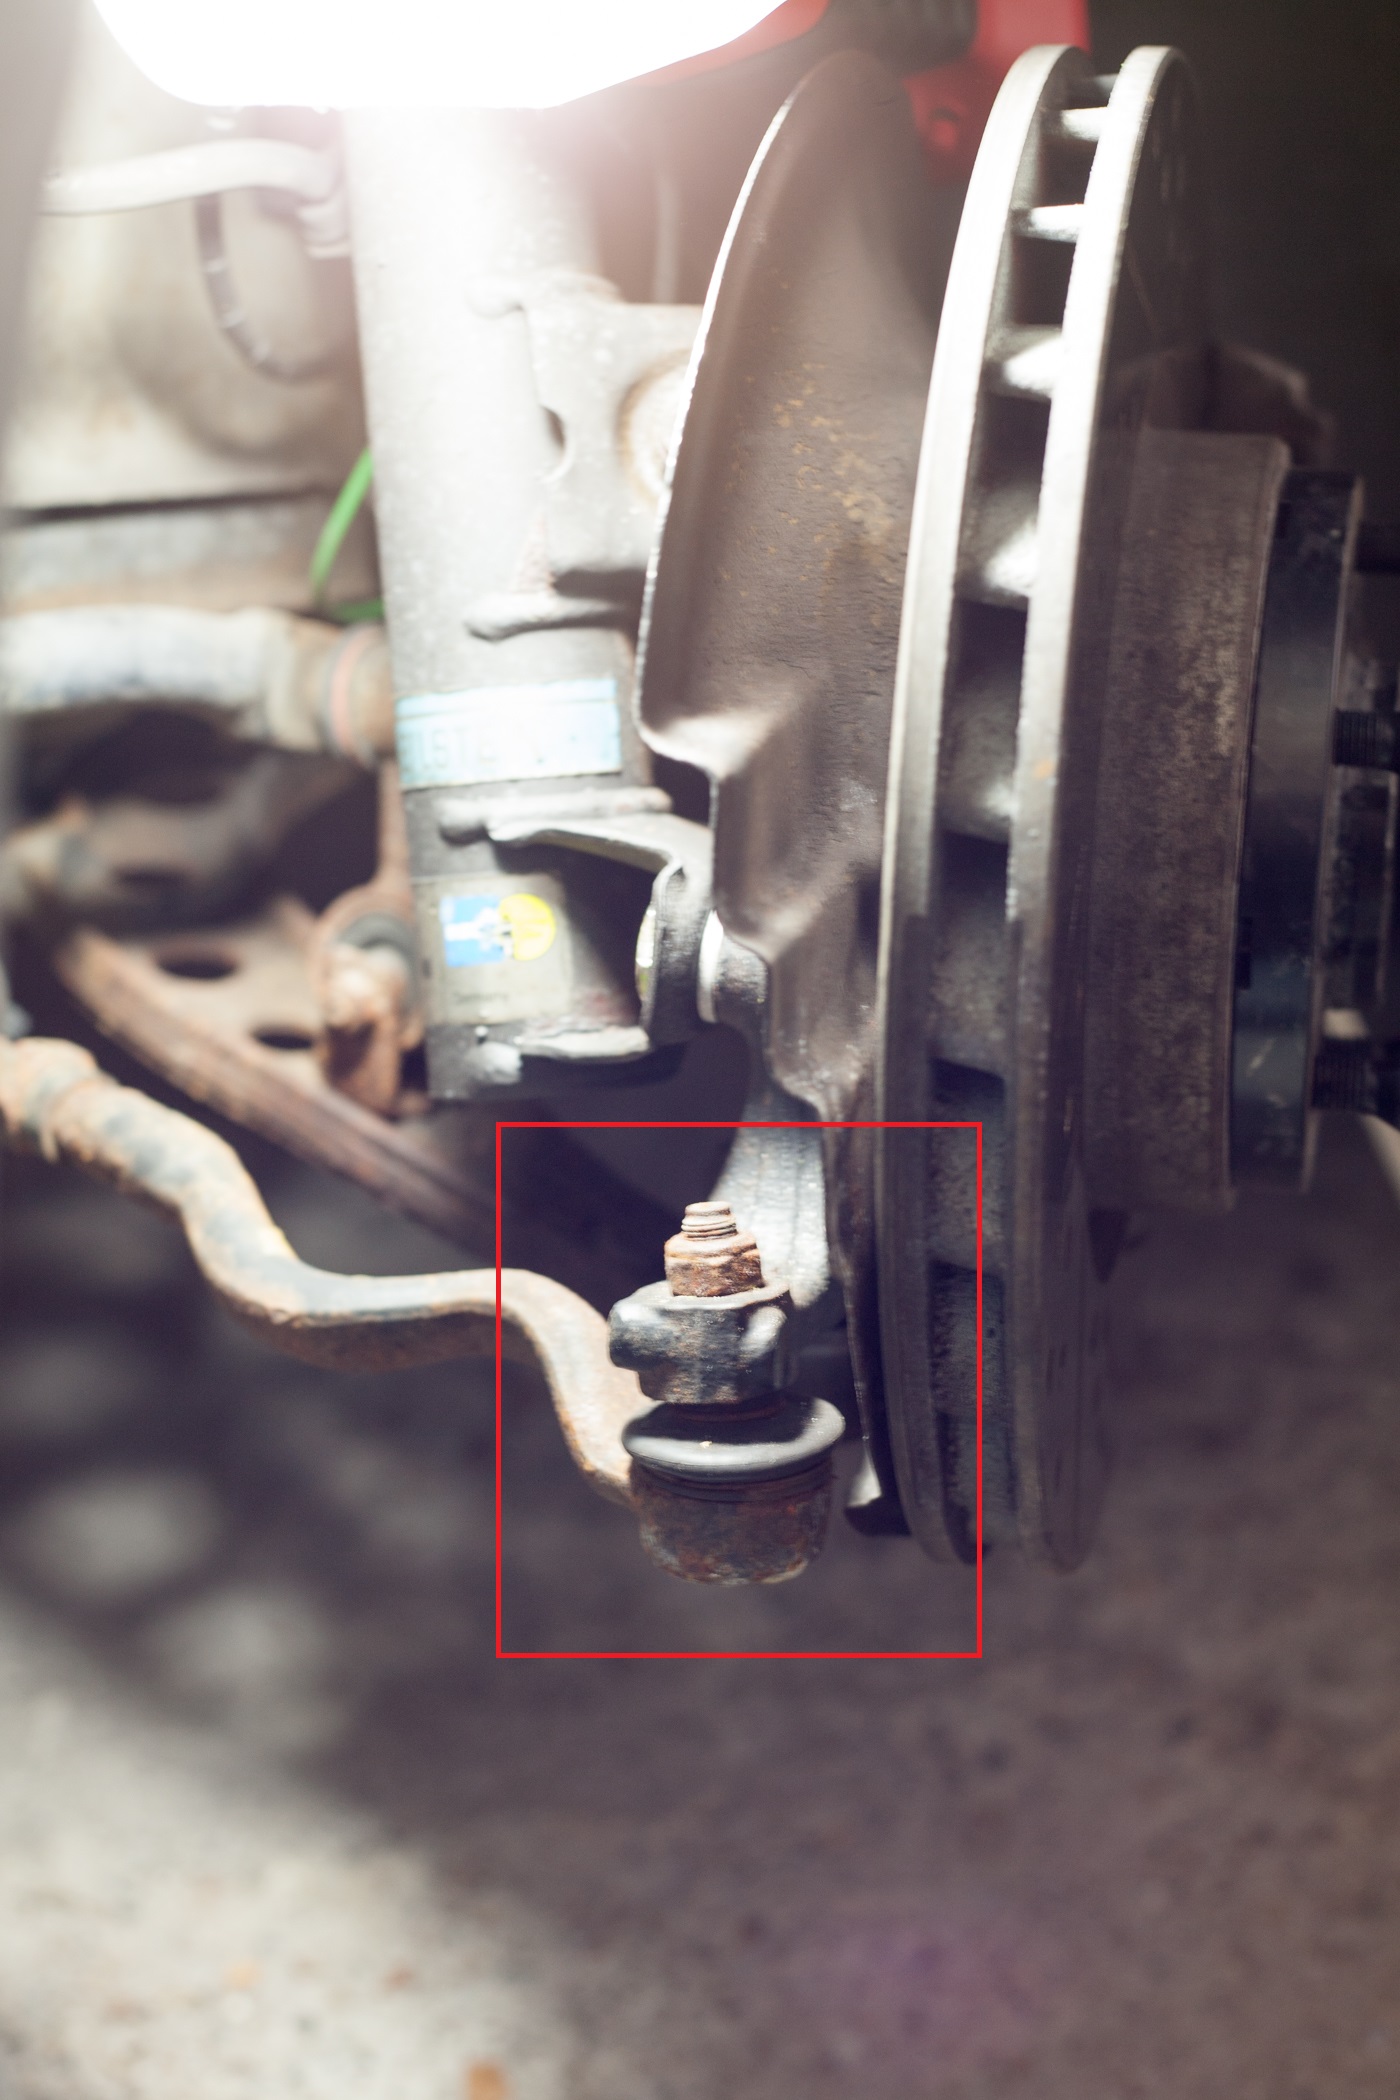
Start by turning the wheel toward the side of the car you will be working on and spraying some
penetrating lubricant on the outer tie rod ball joint nut.
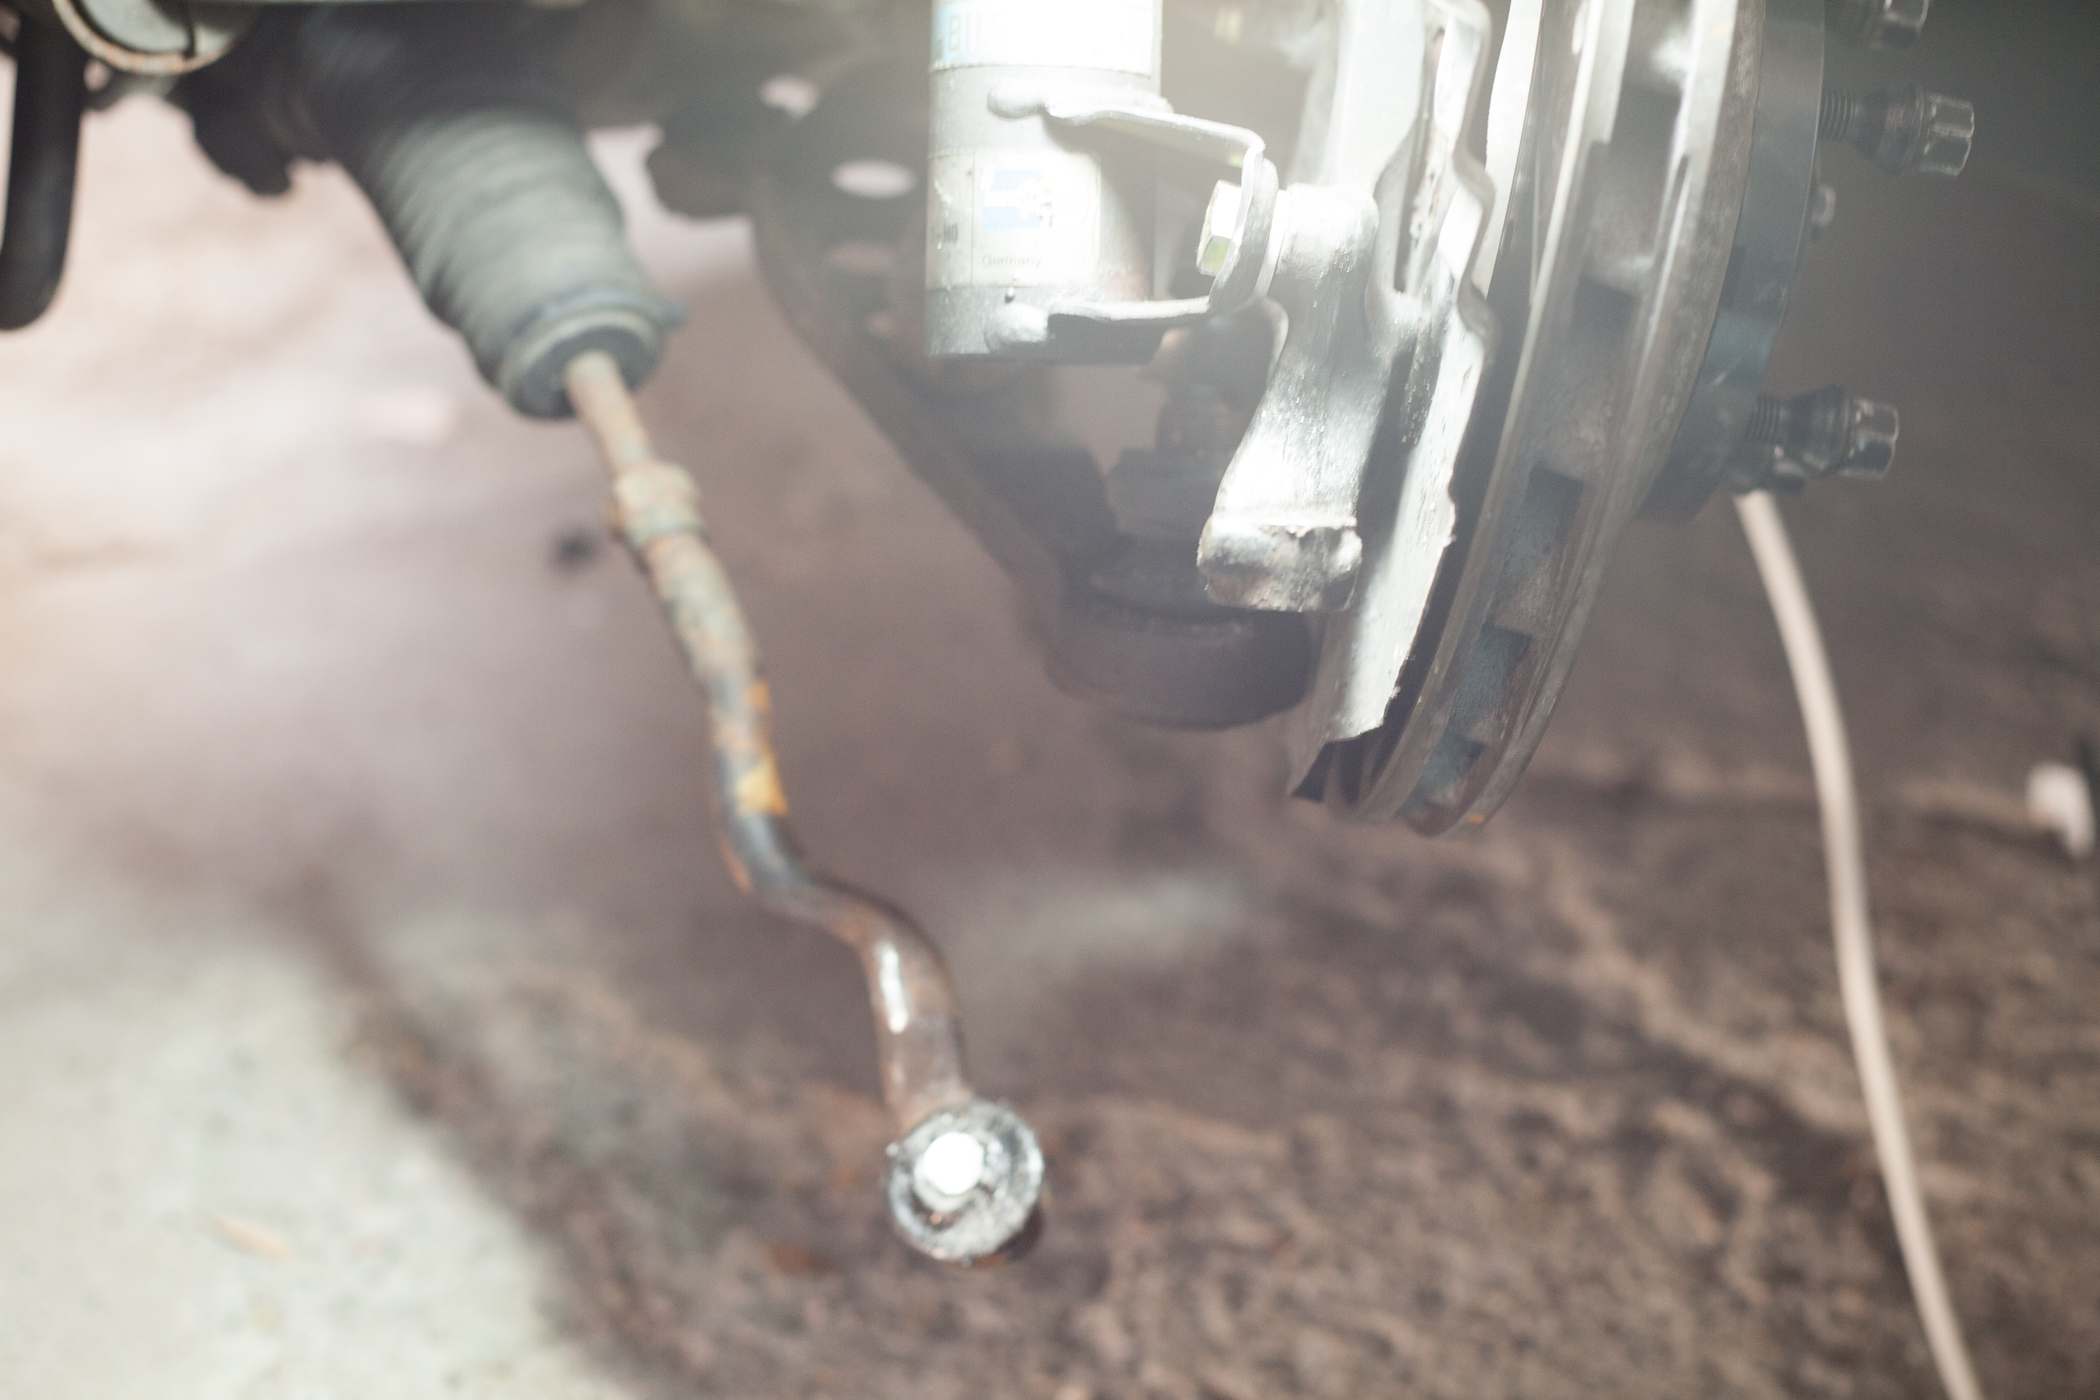
Depending on the condition of tie rod you may need to use the pickle fork or compression ball joint remover. In my case the tie rod end released from the assembly but the nut was seized due to corrosion. Some ball joints will come with a hex key in the shaft or flat spots down by the boot to prevent the main bolt from spinning when removing the nut. Unfortunately in my case, the ball joint had neither. I had to cut through the bolt in order to remove it from the wheel assembly.
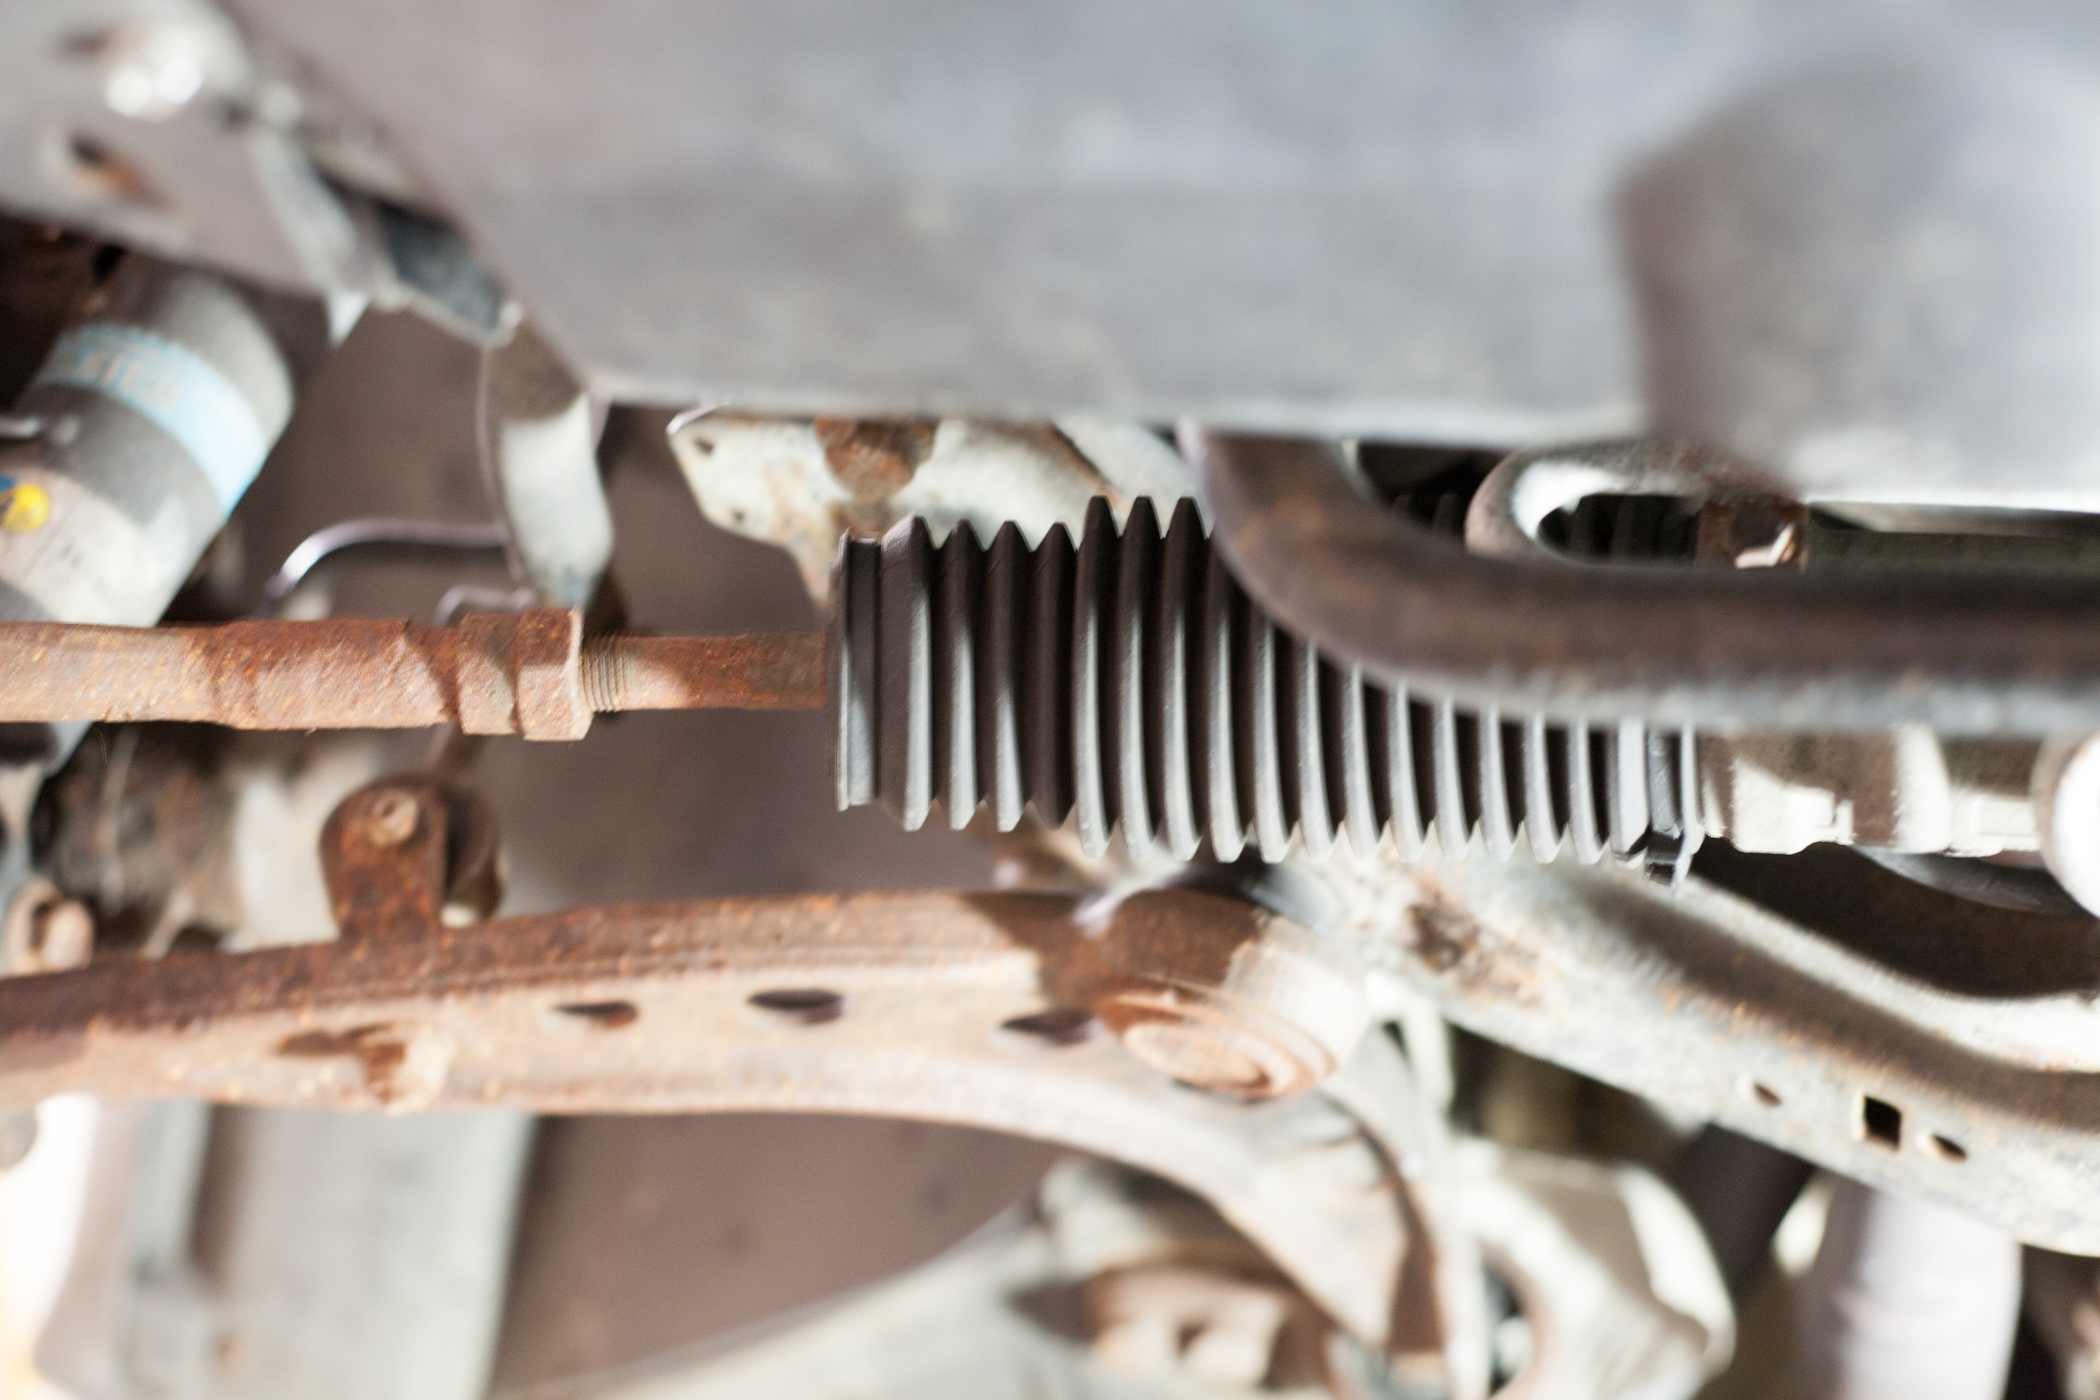
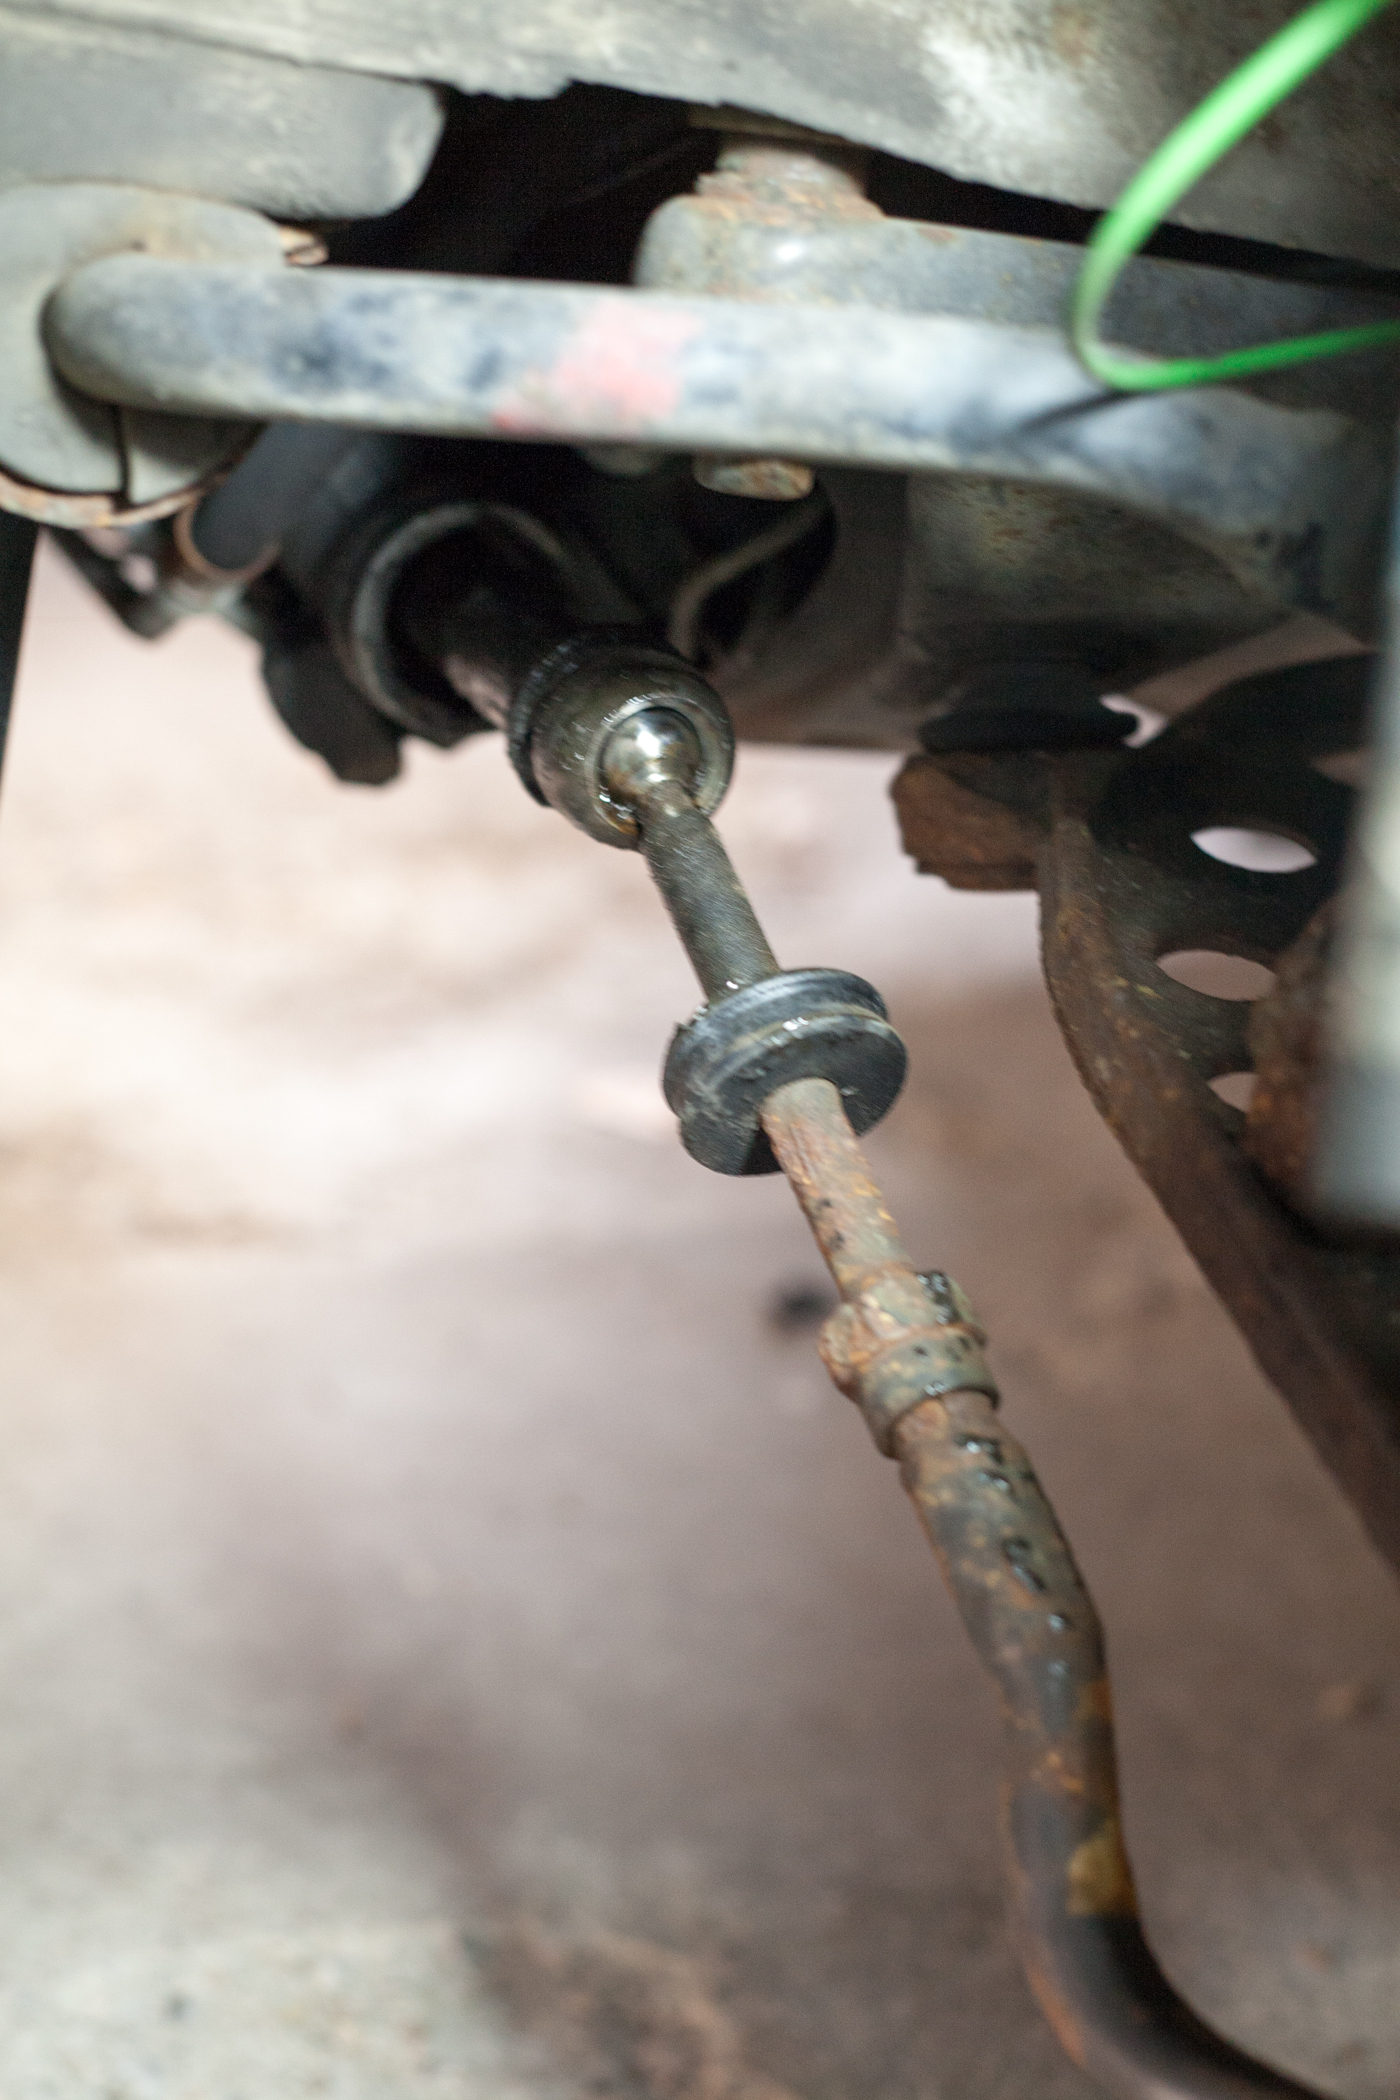
Once the outer ball joint is released, remove the rubber boot covering the inner assembly revealing
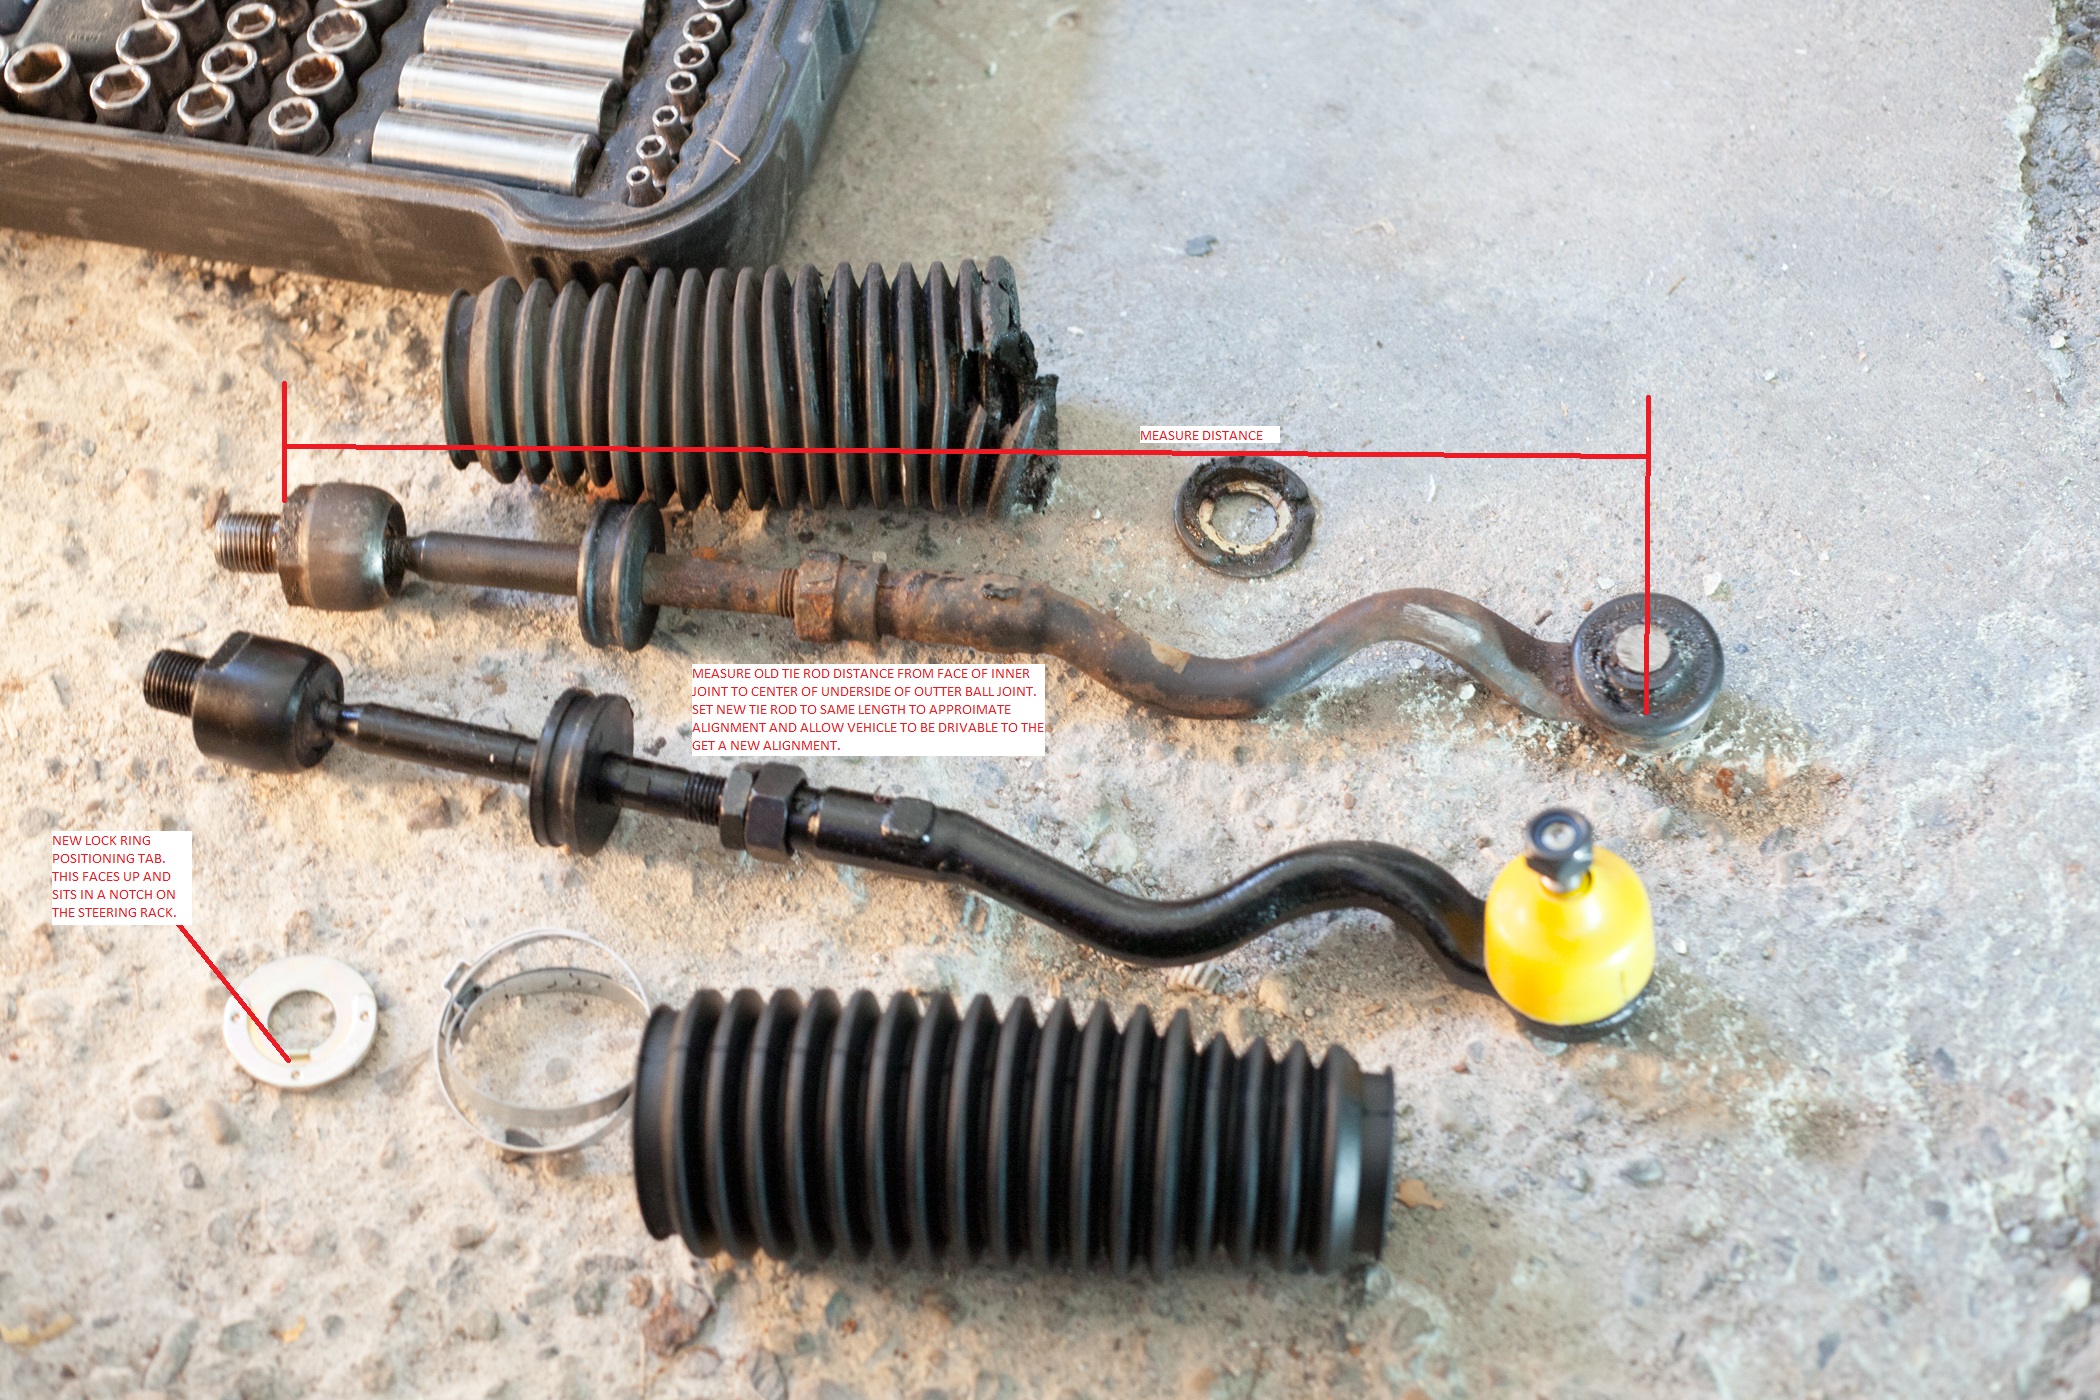
the inner tie rod joint and lock ring. This lock ring will have a tab bent over the tie rod preventing
it from backing out or being loosened.
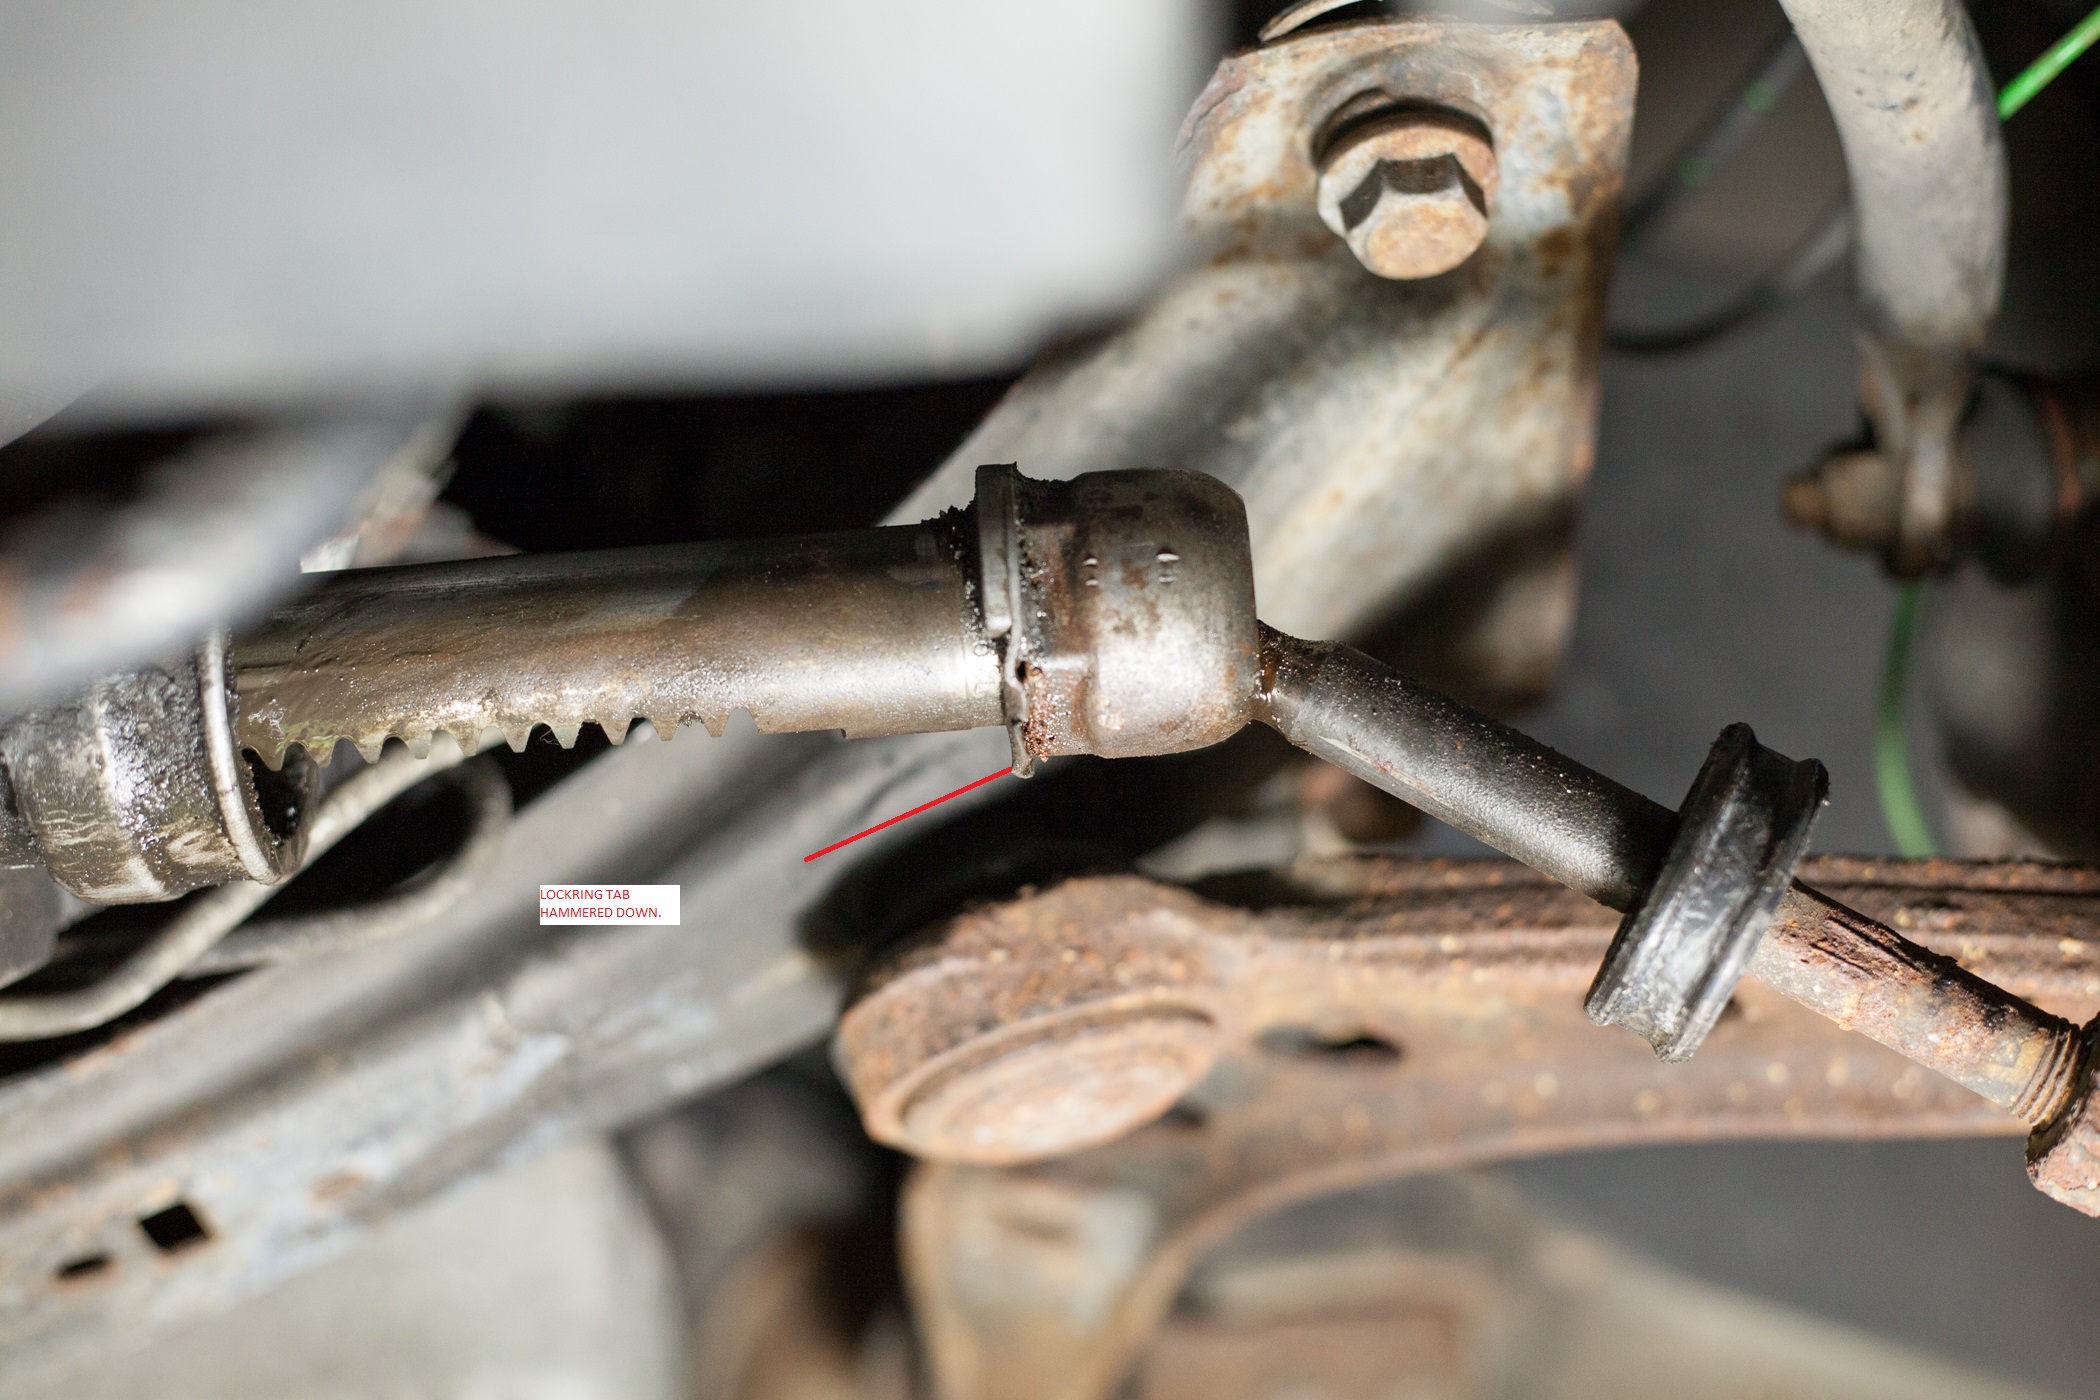
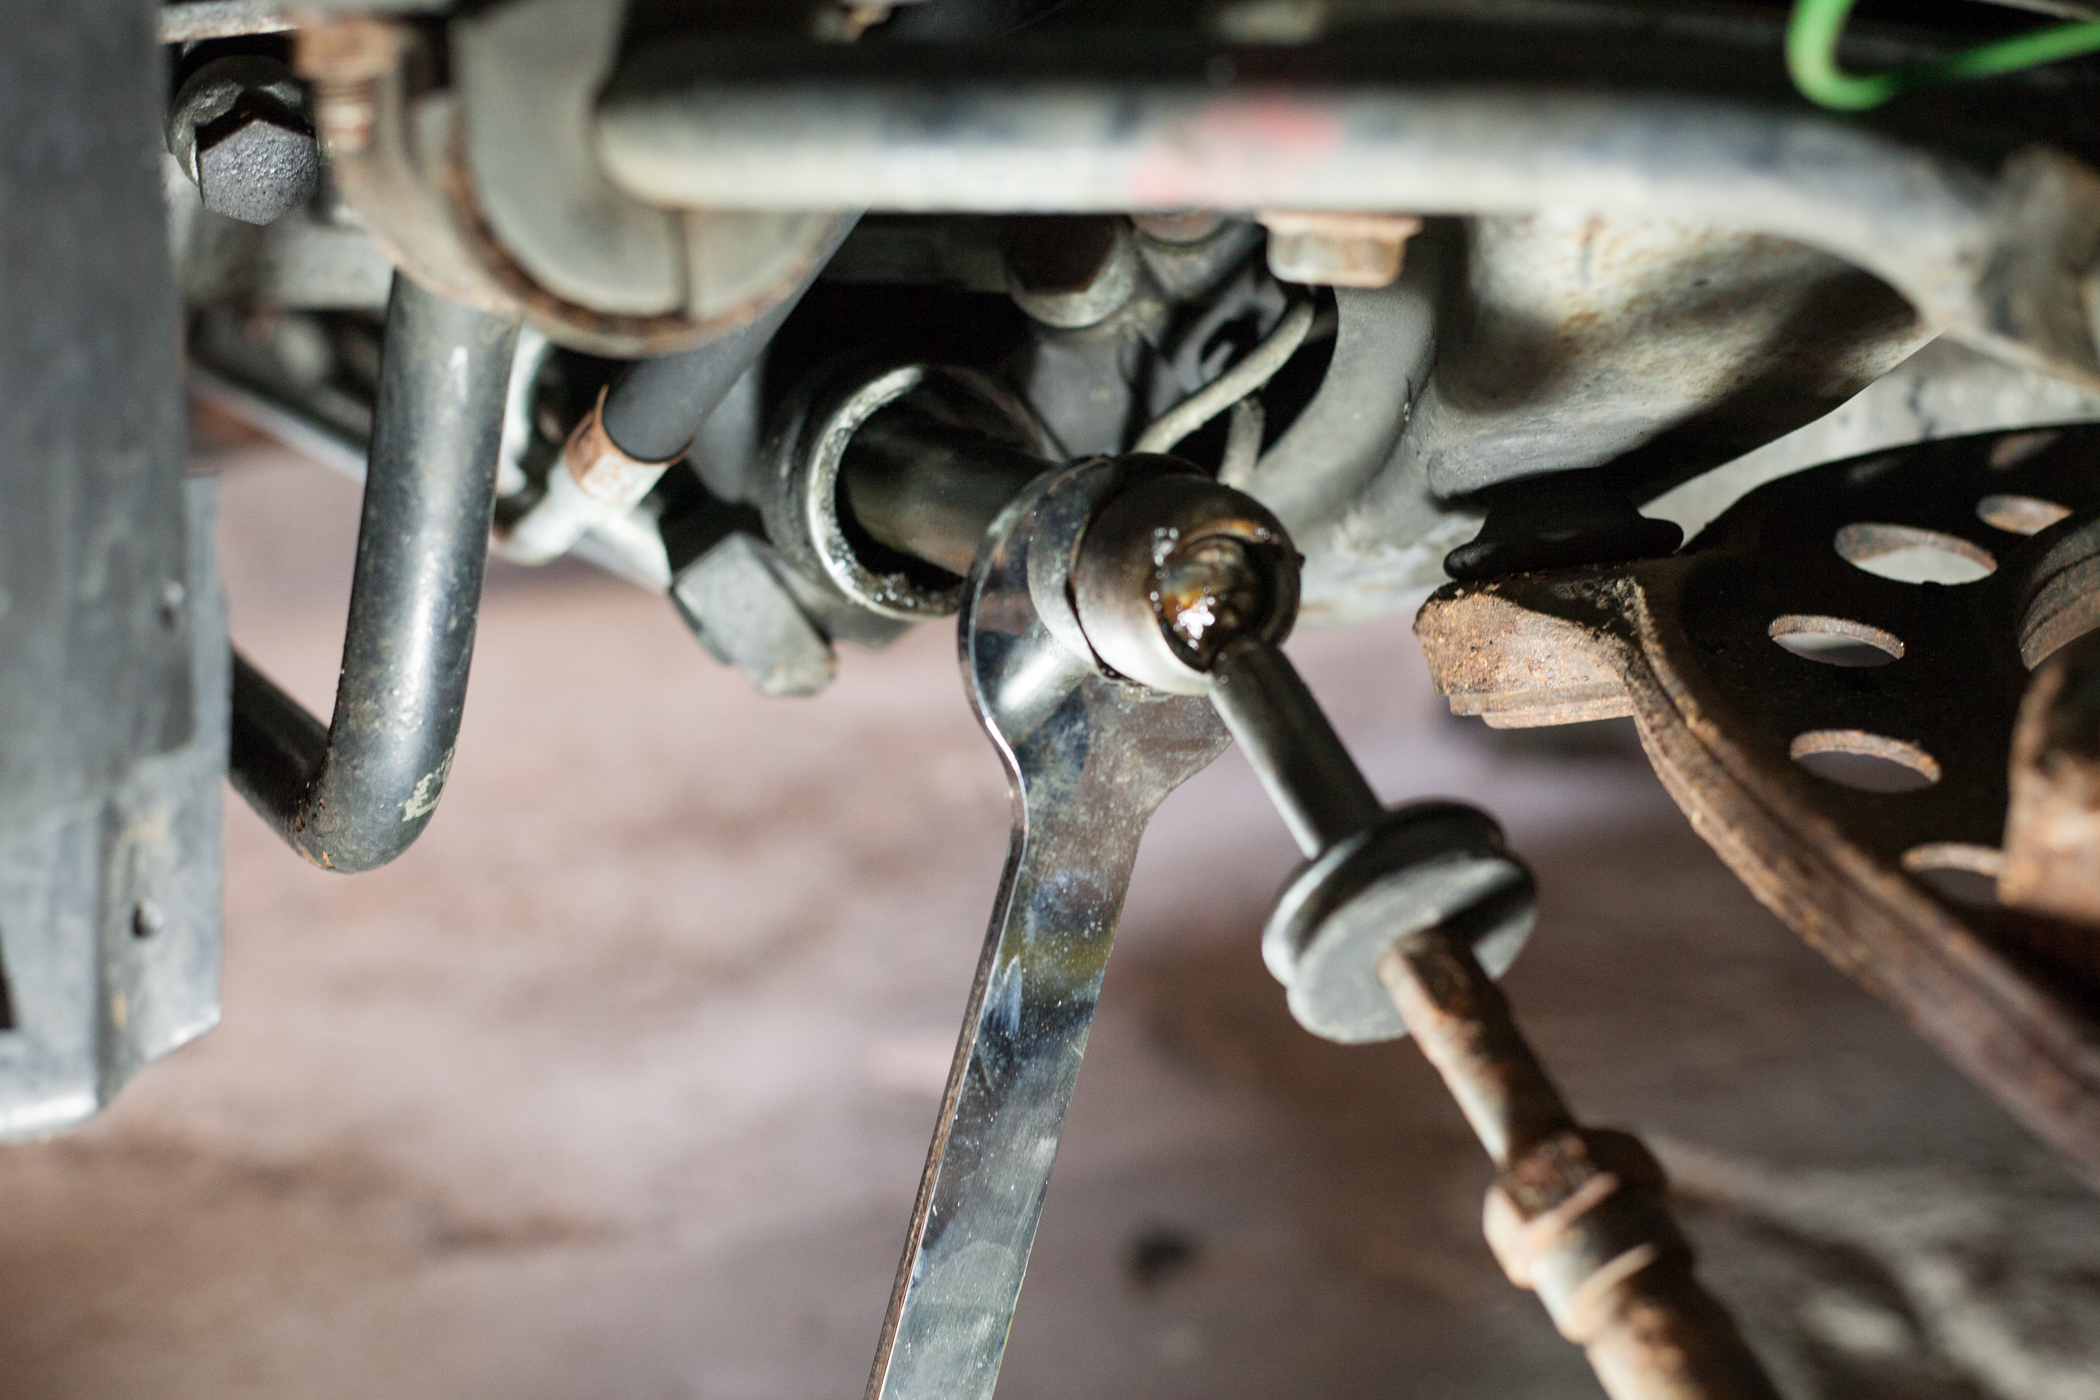
This tab will need to be hammered back with a flat head
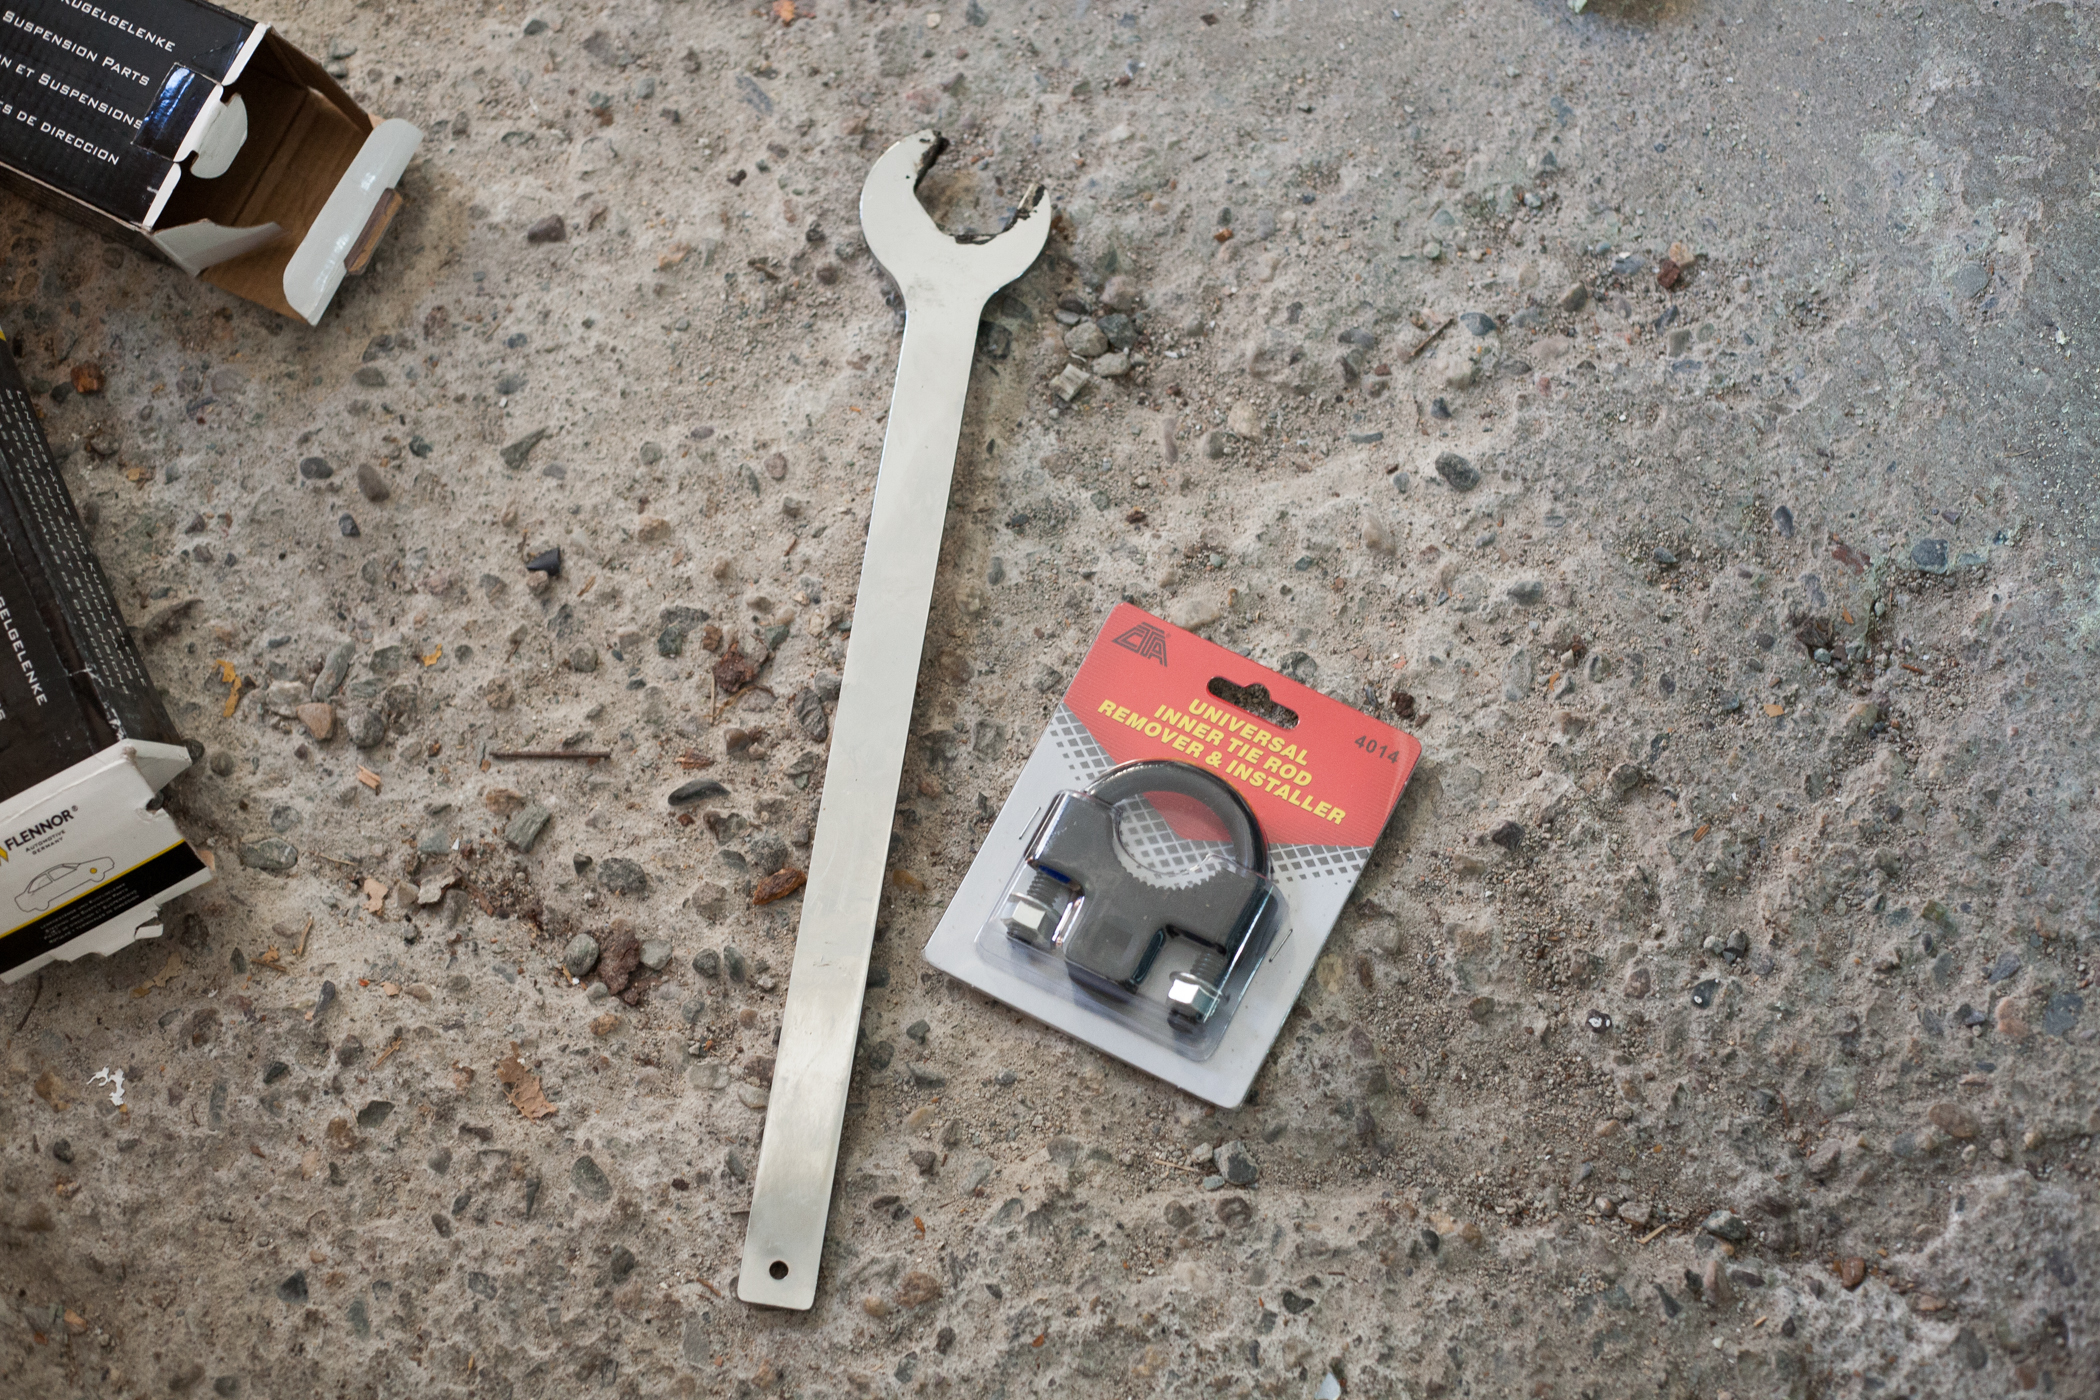
screwdriver and hammer in order to loosen the inner tie rod. Once this is completed take your 32mm
"thin" wrench ( or your universal tool) and remove the inner tie rod from the steering rack.
Once the tie rod assembly is removed be sure to measure the distance from the center of the ball joint
to the face of the inner joint. This distance must be copied on the new assembly in order to approximate
the alignment of the front wheels allowing you to drive to the alignment shop after the work is
complete without chewing up your tires.
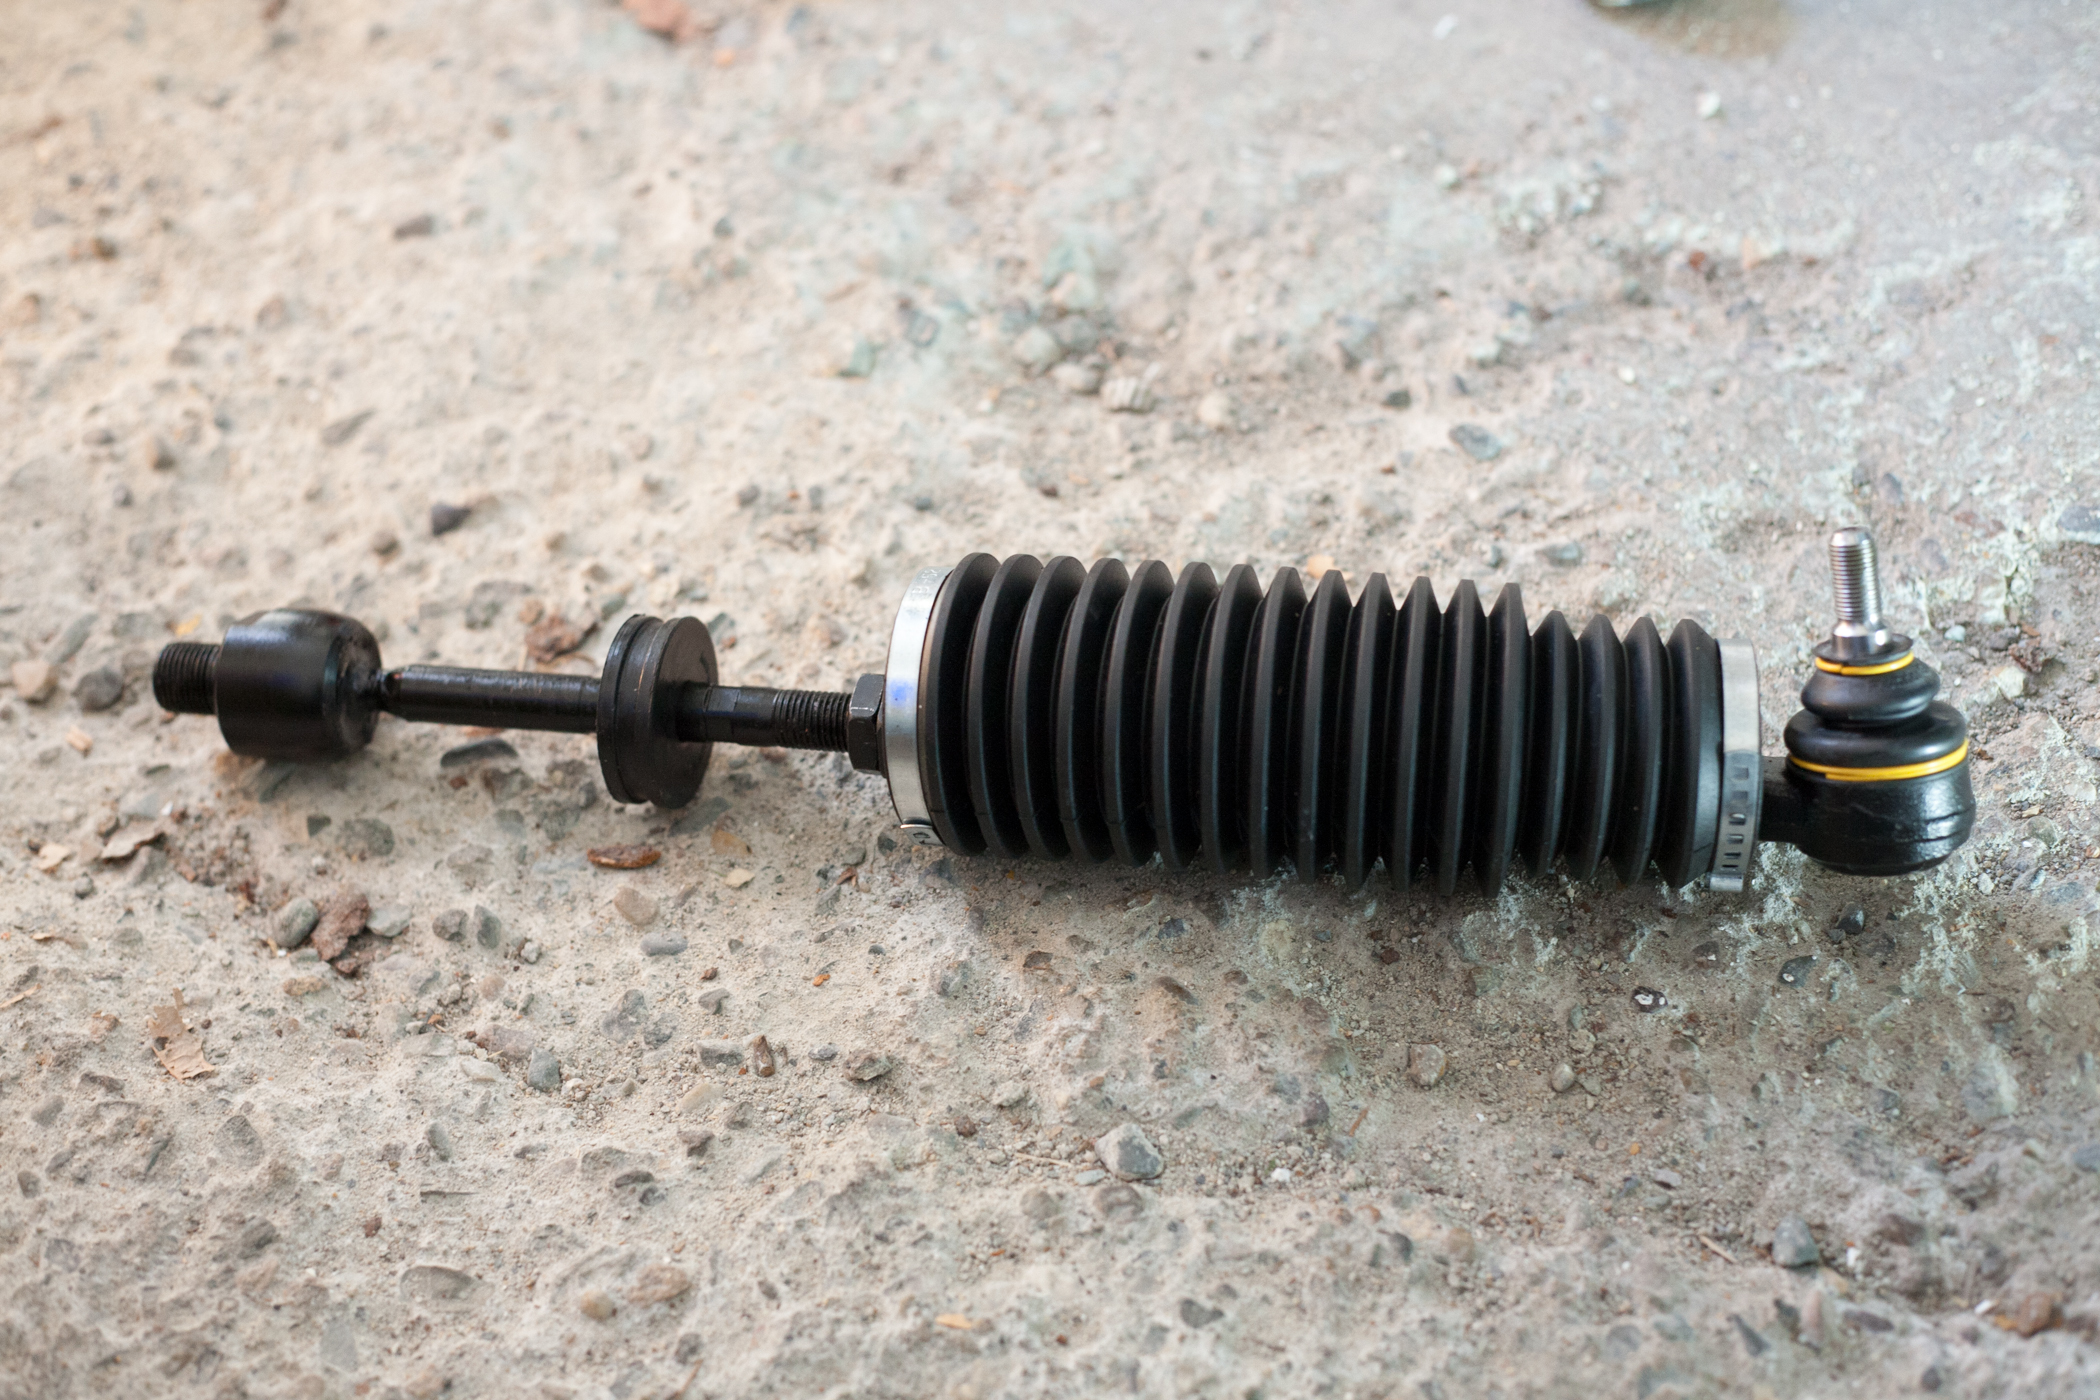
Once the measurement has been transferred and the new tie rod assembly set to length, pre assemble the
tie rod by sliding the boot over the assembly and pulling it as far to the outer ballpoint as possible.
Pre-mount your clamps at this time also.
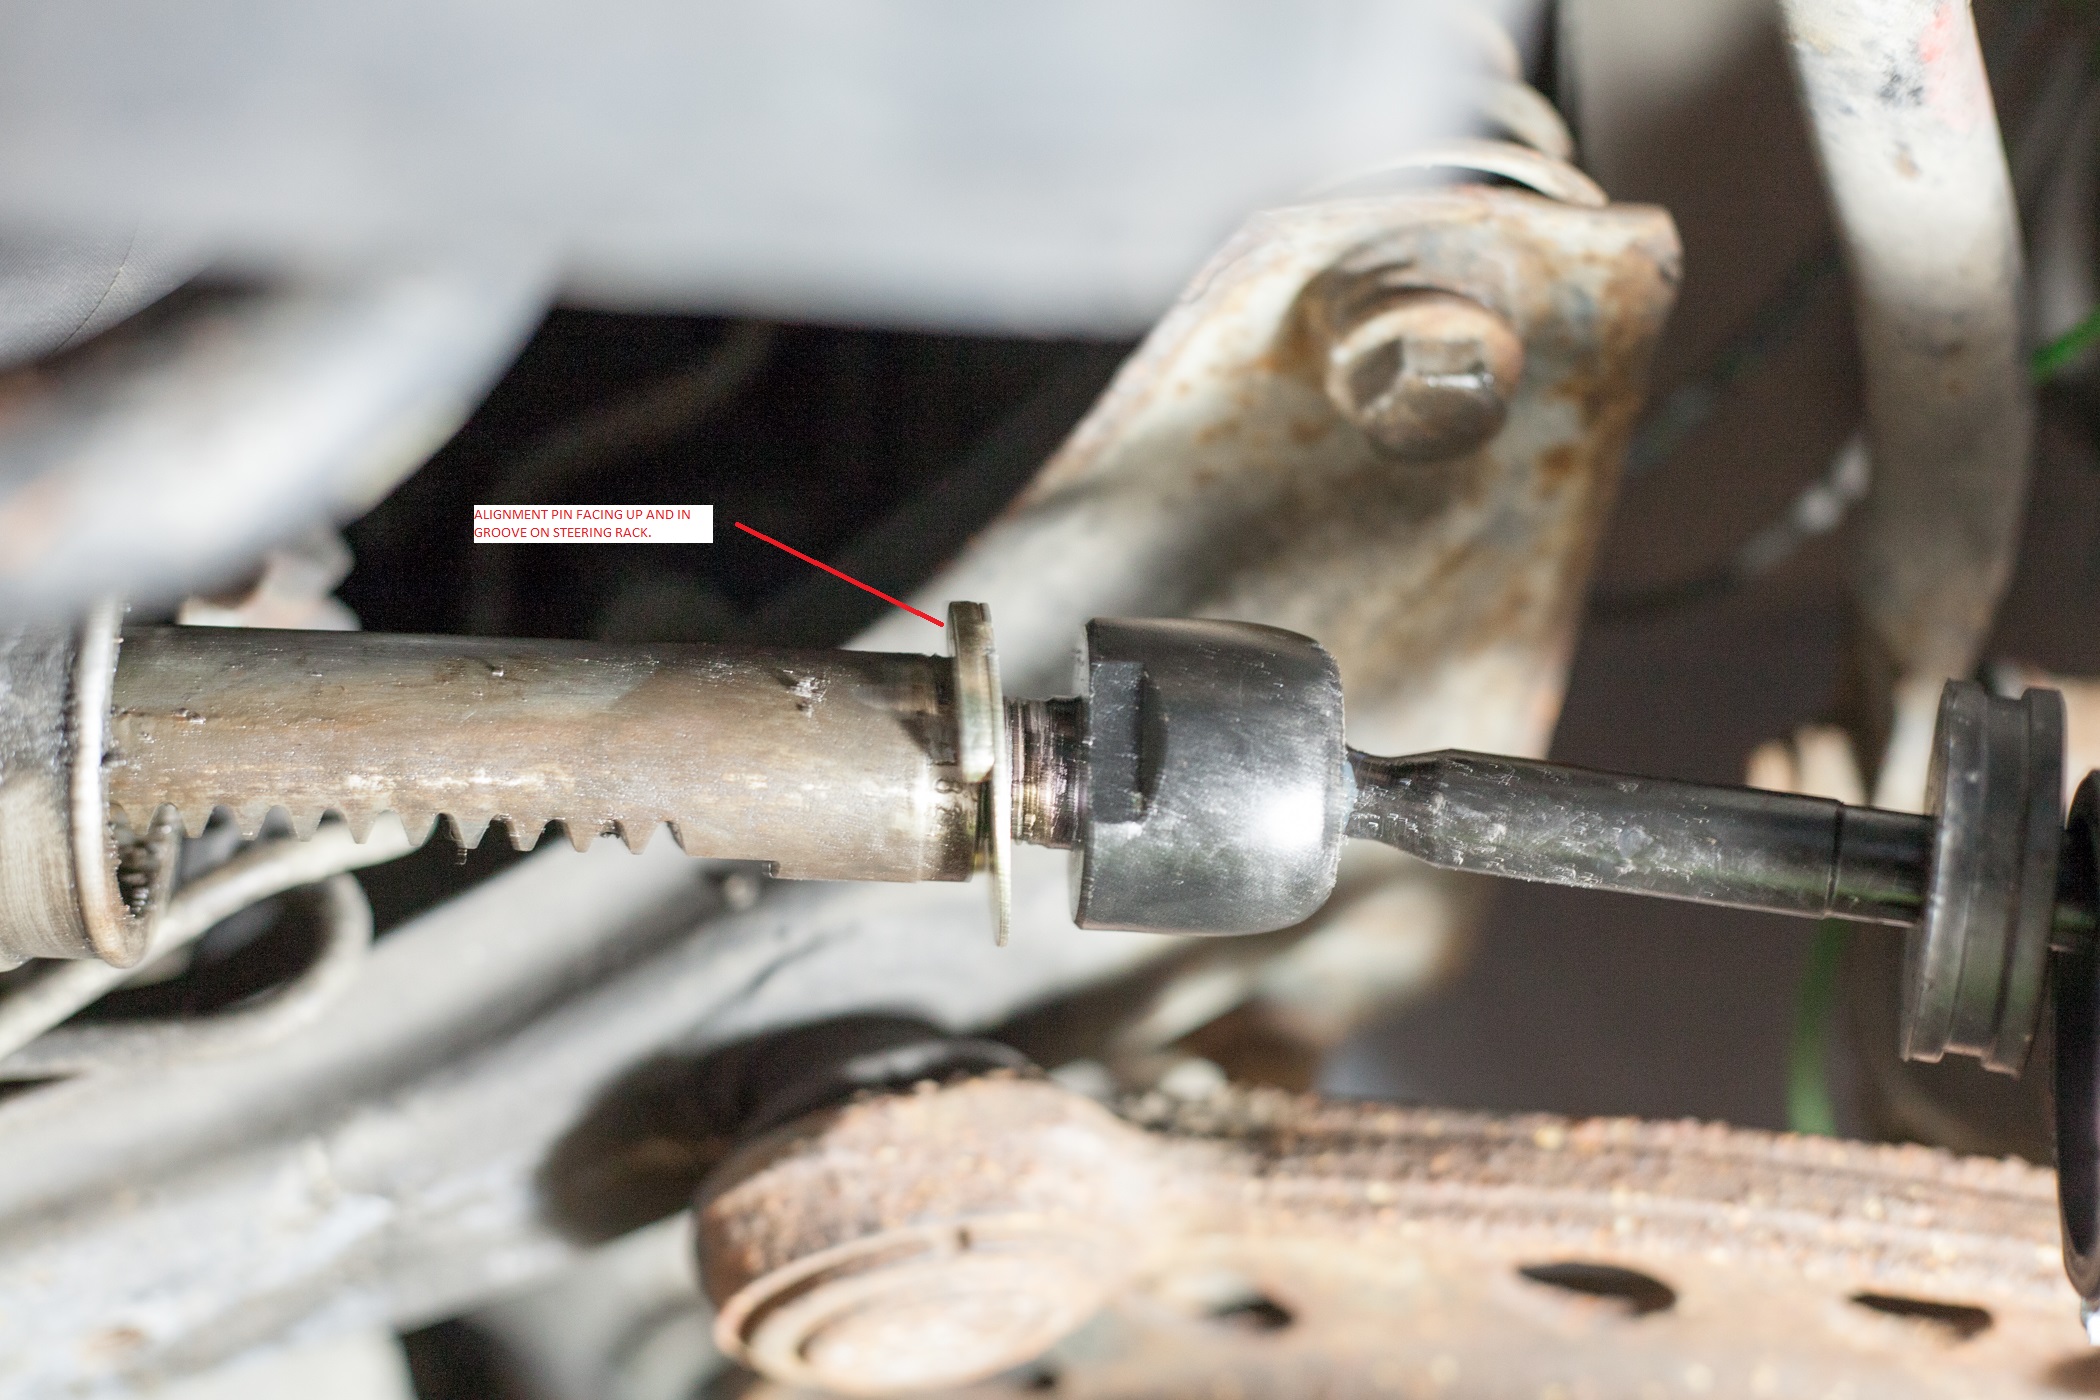
Place the new lock ring on the rack and begin threading the new tie rod assembly into place, once hand
tight use the universal inner tie rod tool and a ratchet to torque the tie rod to factory specifications.
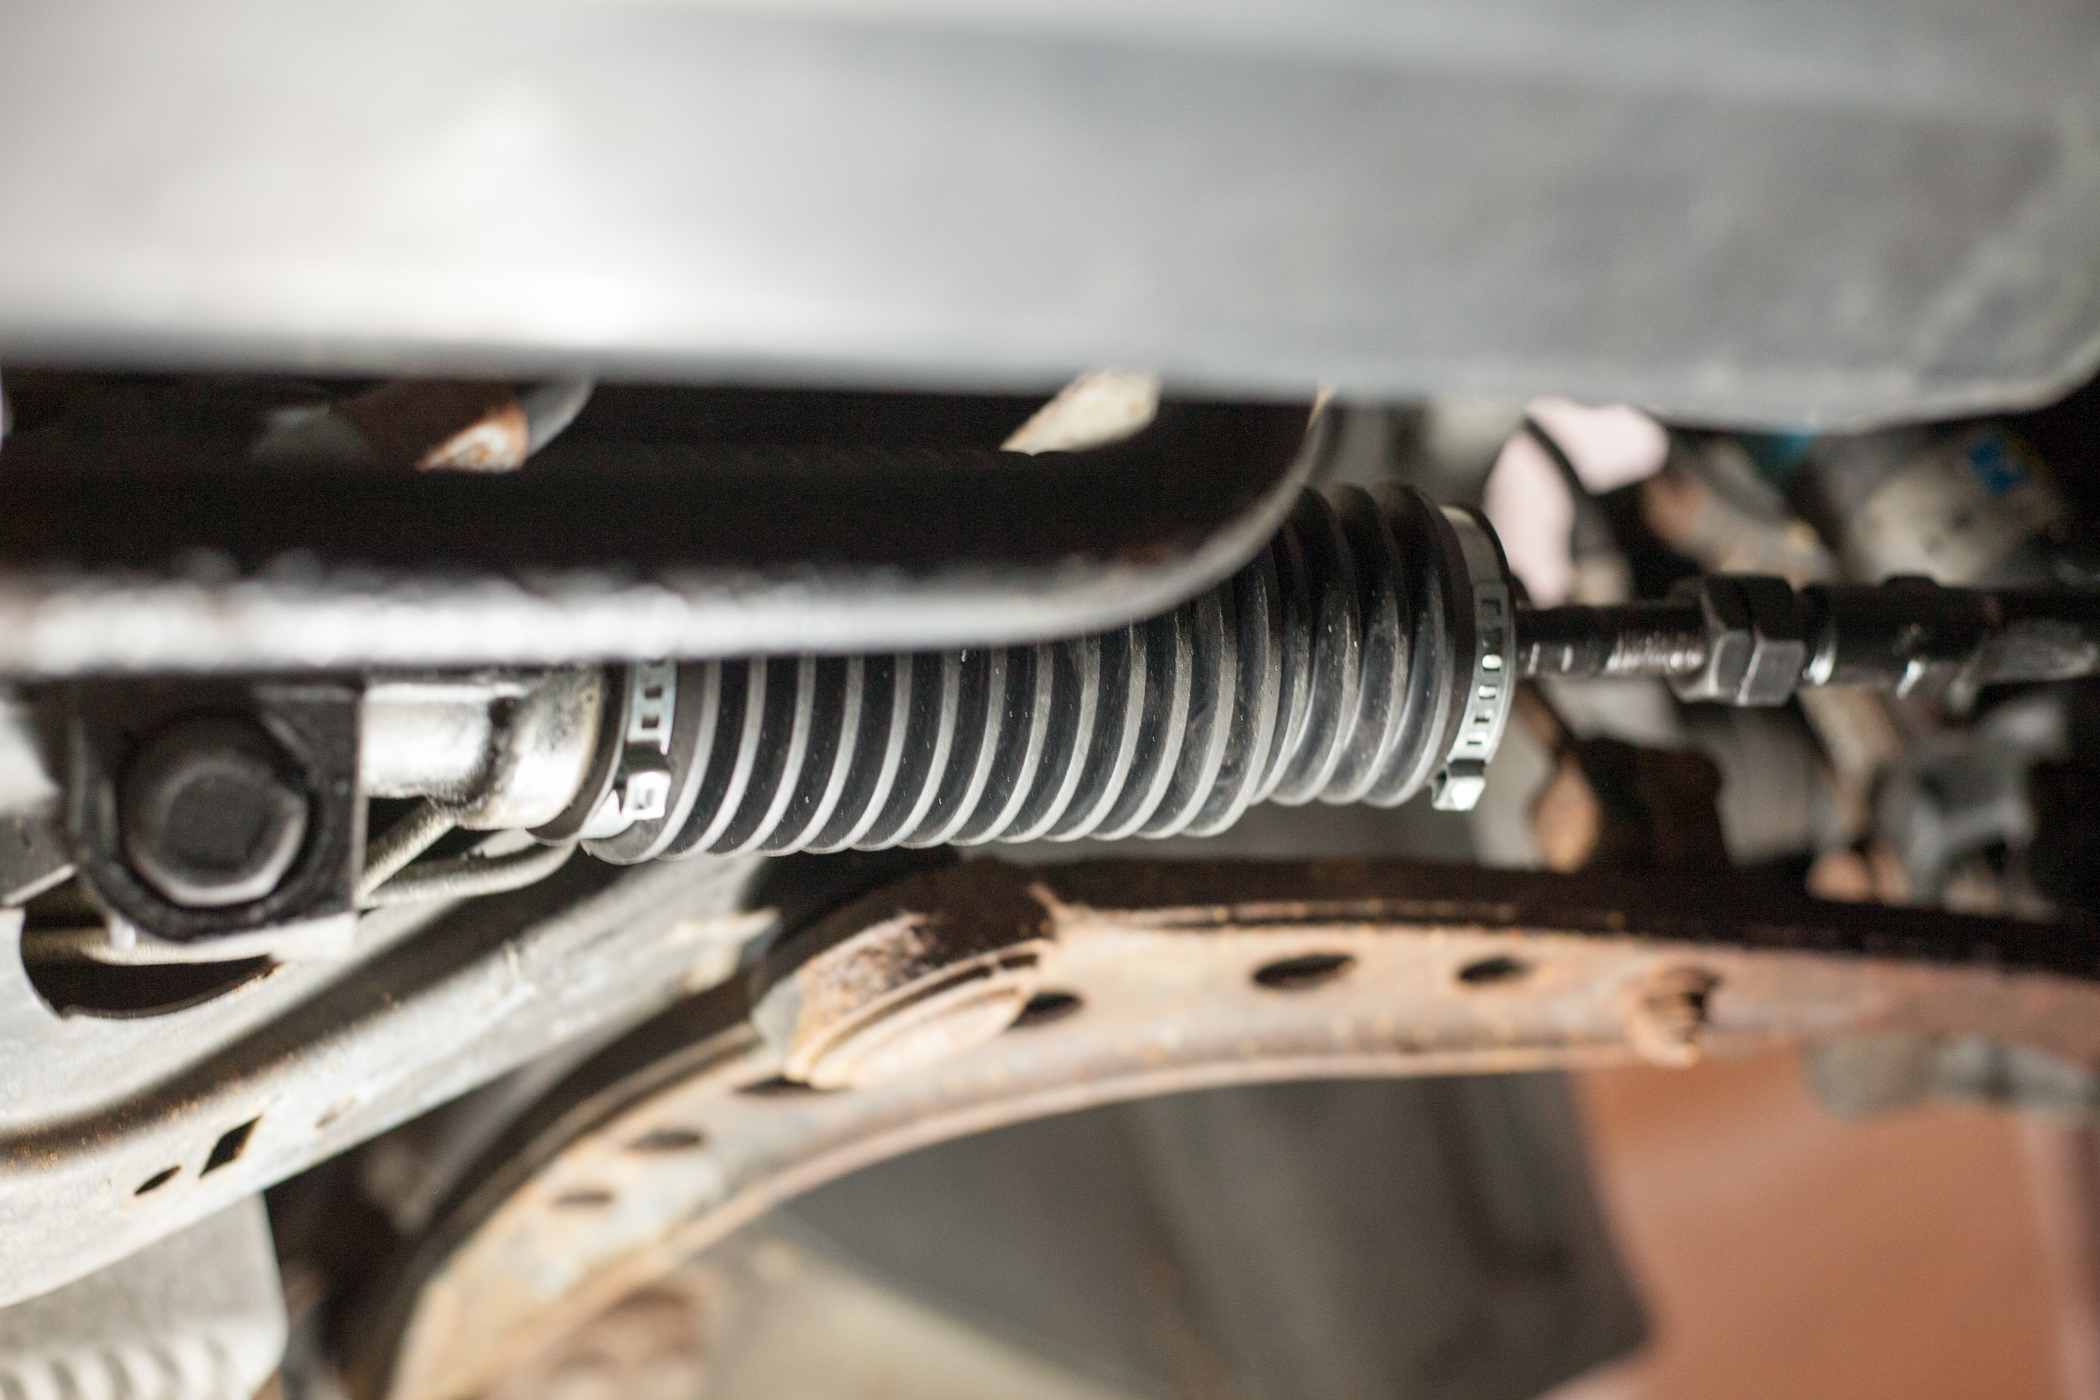
After torqueing the inner joint be sure to hammer the locking ring tab over to secure it all in place.
Then the protective boot can be pulled back over the inner assembly and clamped in place.
Finally the outer tie rod ball joint can be re-connected to the wheel assembly and torqued to factory
specifications.
The job is not complete, however, an alignment is a MUST after replacing the tie rods so be sure to get one done before doing any significant driving.
Special Thanks...
BMW E36 Tie Rod Replacement
Getting Started
Releasing The Outer Ball Joint
Working The Inner Joint

Comparing The Old and New
Installing The New Tie Rod Assembly