Mobile Menu
F3x N5x Spark Plug Change
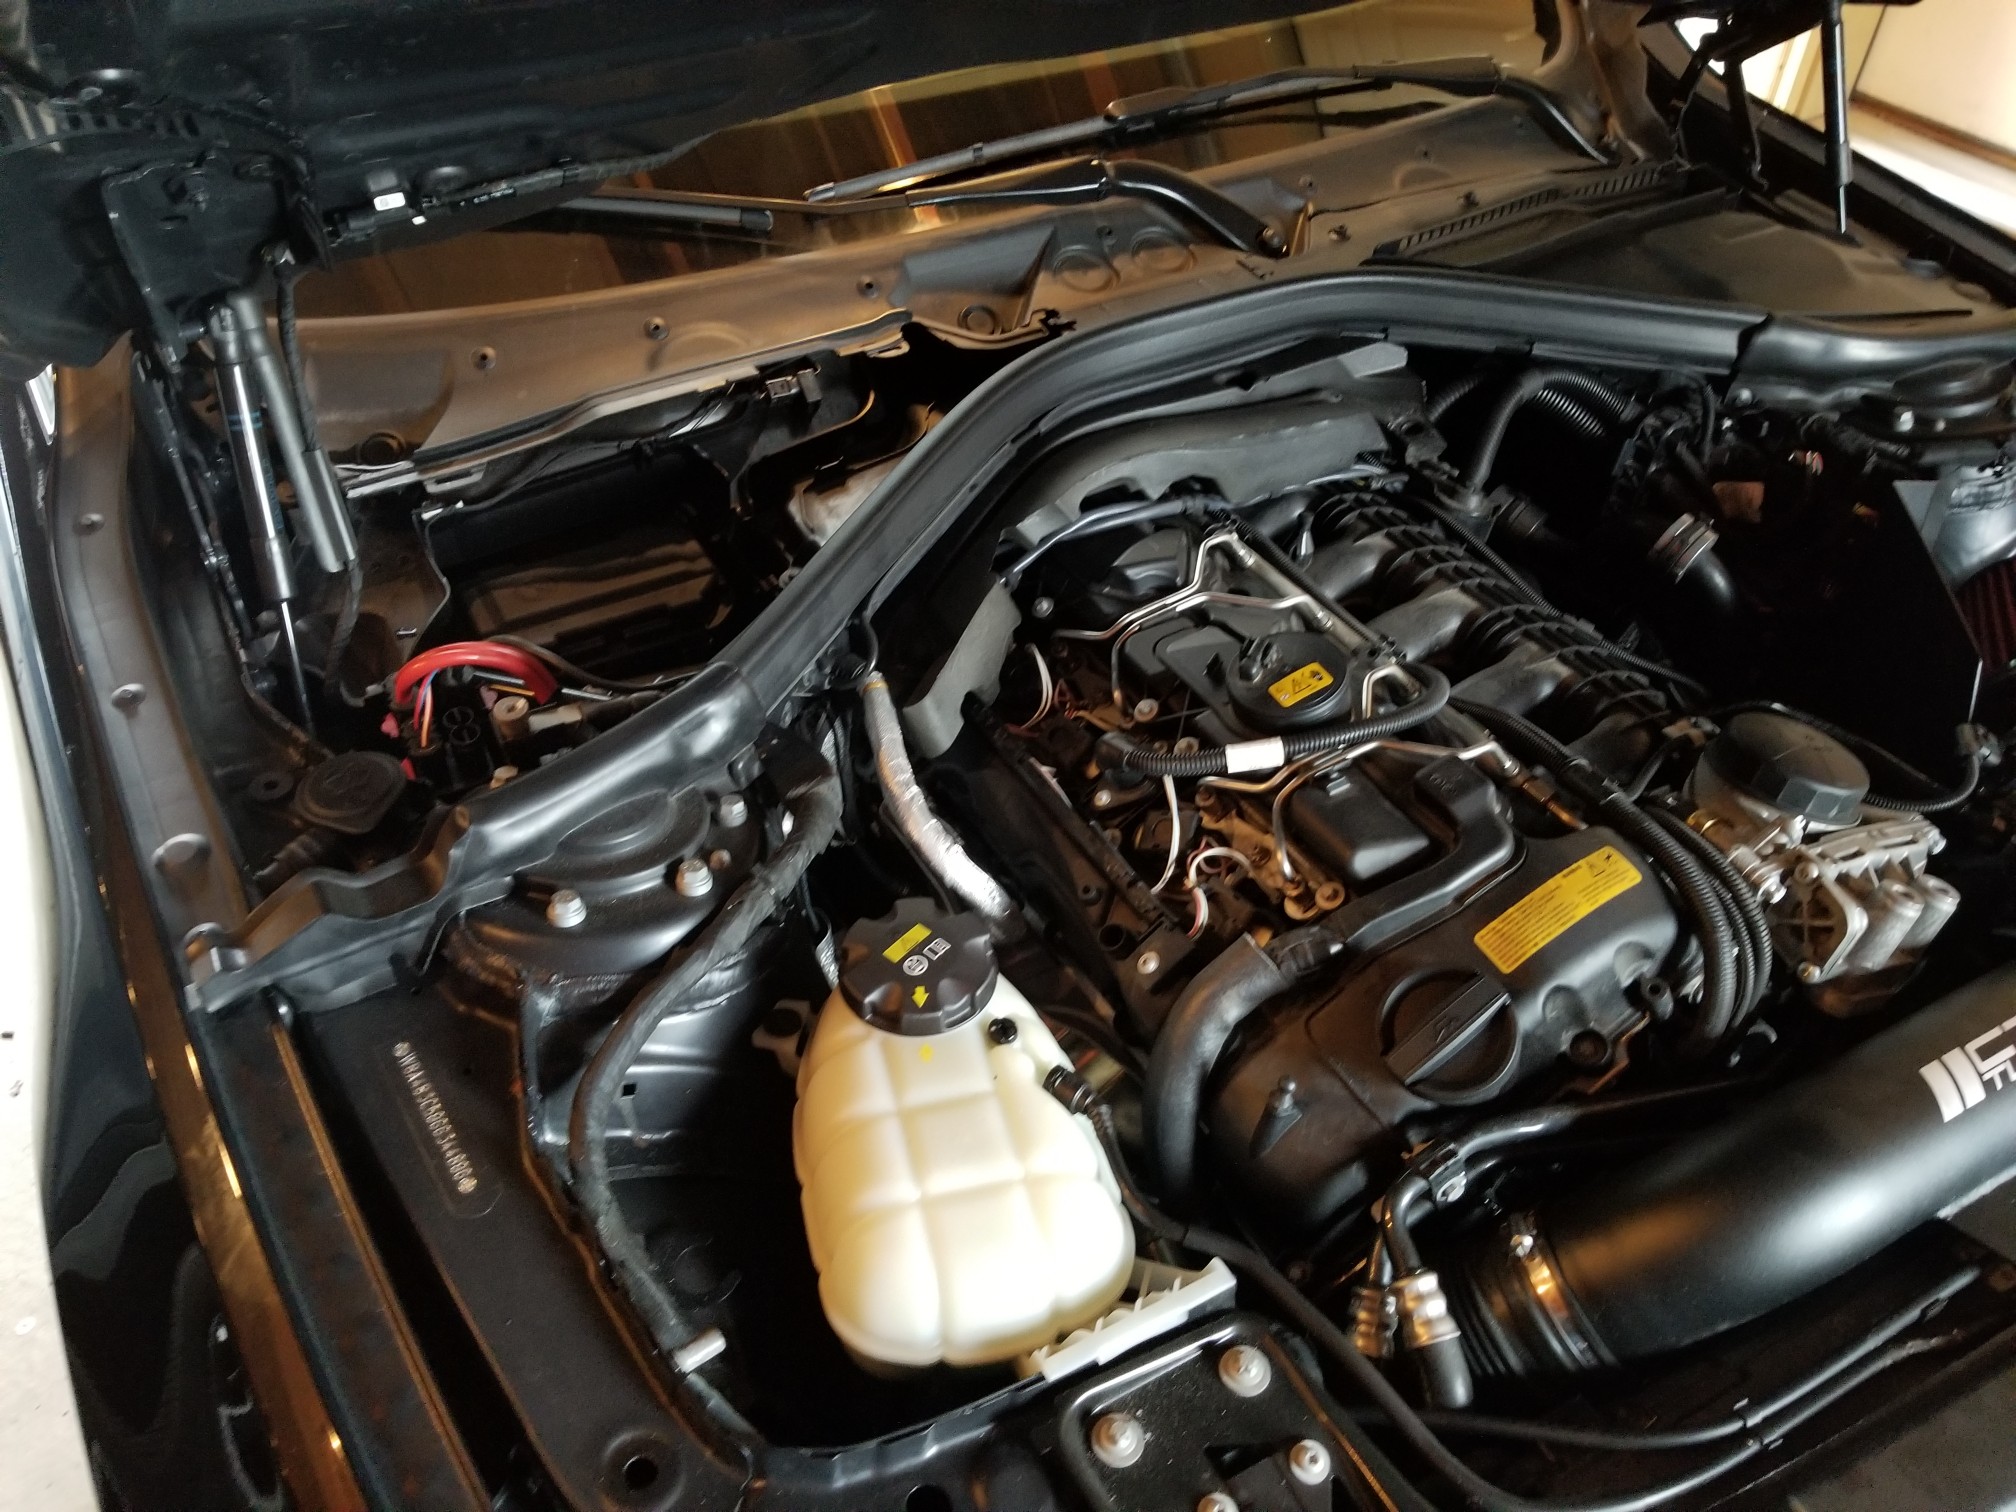
The first step in this process is pretty simple. We will be popping the hood
and removing the engine cover. I unfortunately didn't take a picture of this part
but its as easy as pulling the cover right off. It is held on by a few grommets.
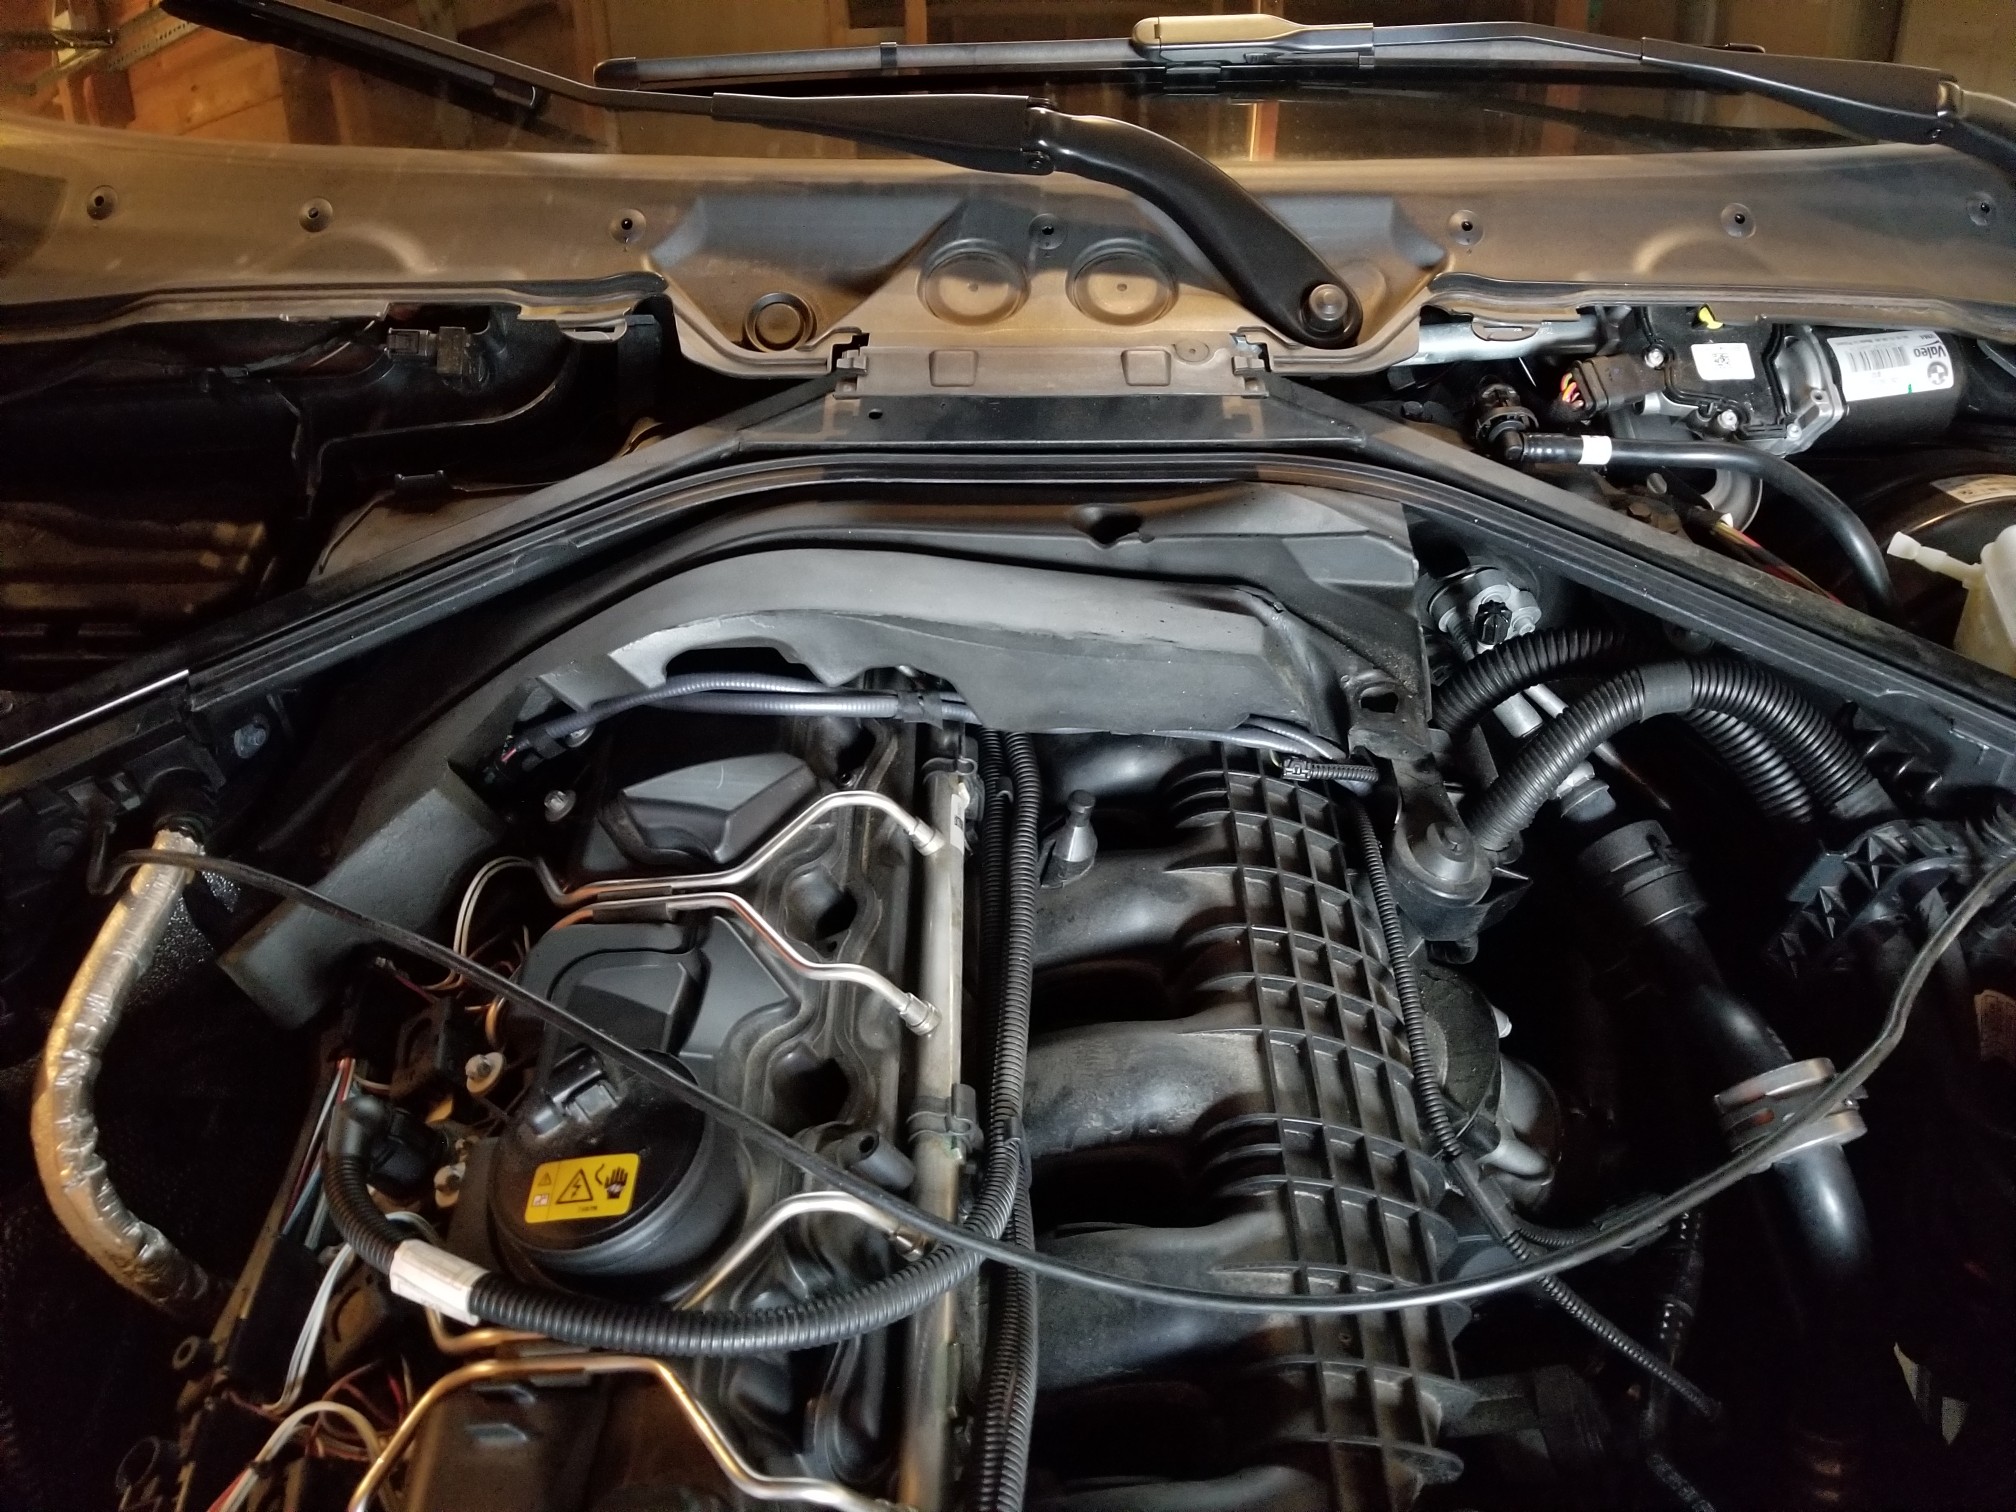
The next step is to go ahead and to remove the cowl so that we can get our hands on the
last two spark plugs. The cowl is easy to remove and can be done by undoing 6 total plastic
locks. Note that you only have to give them a quarter turn to unlock.
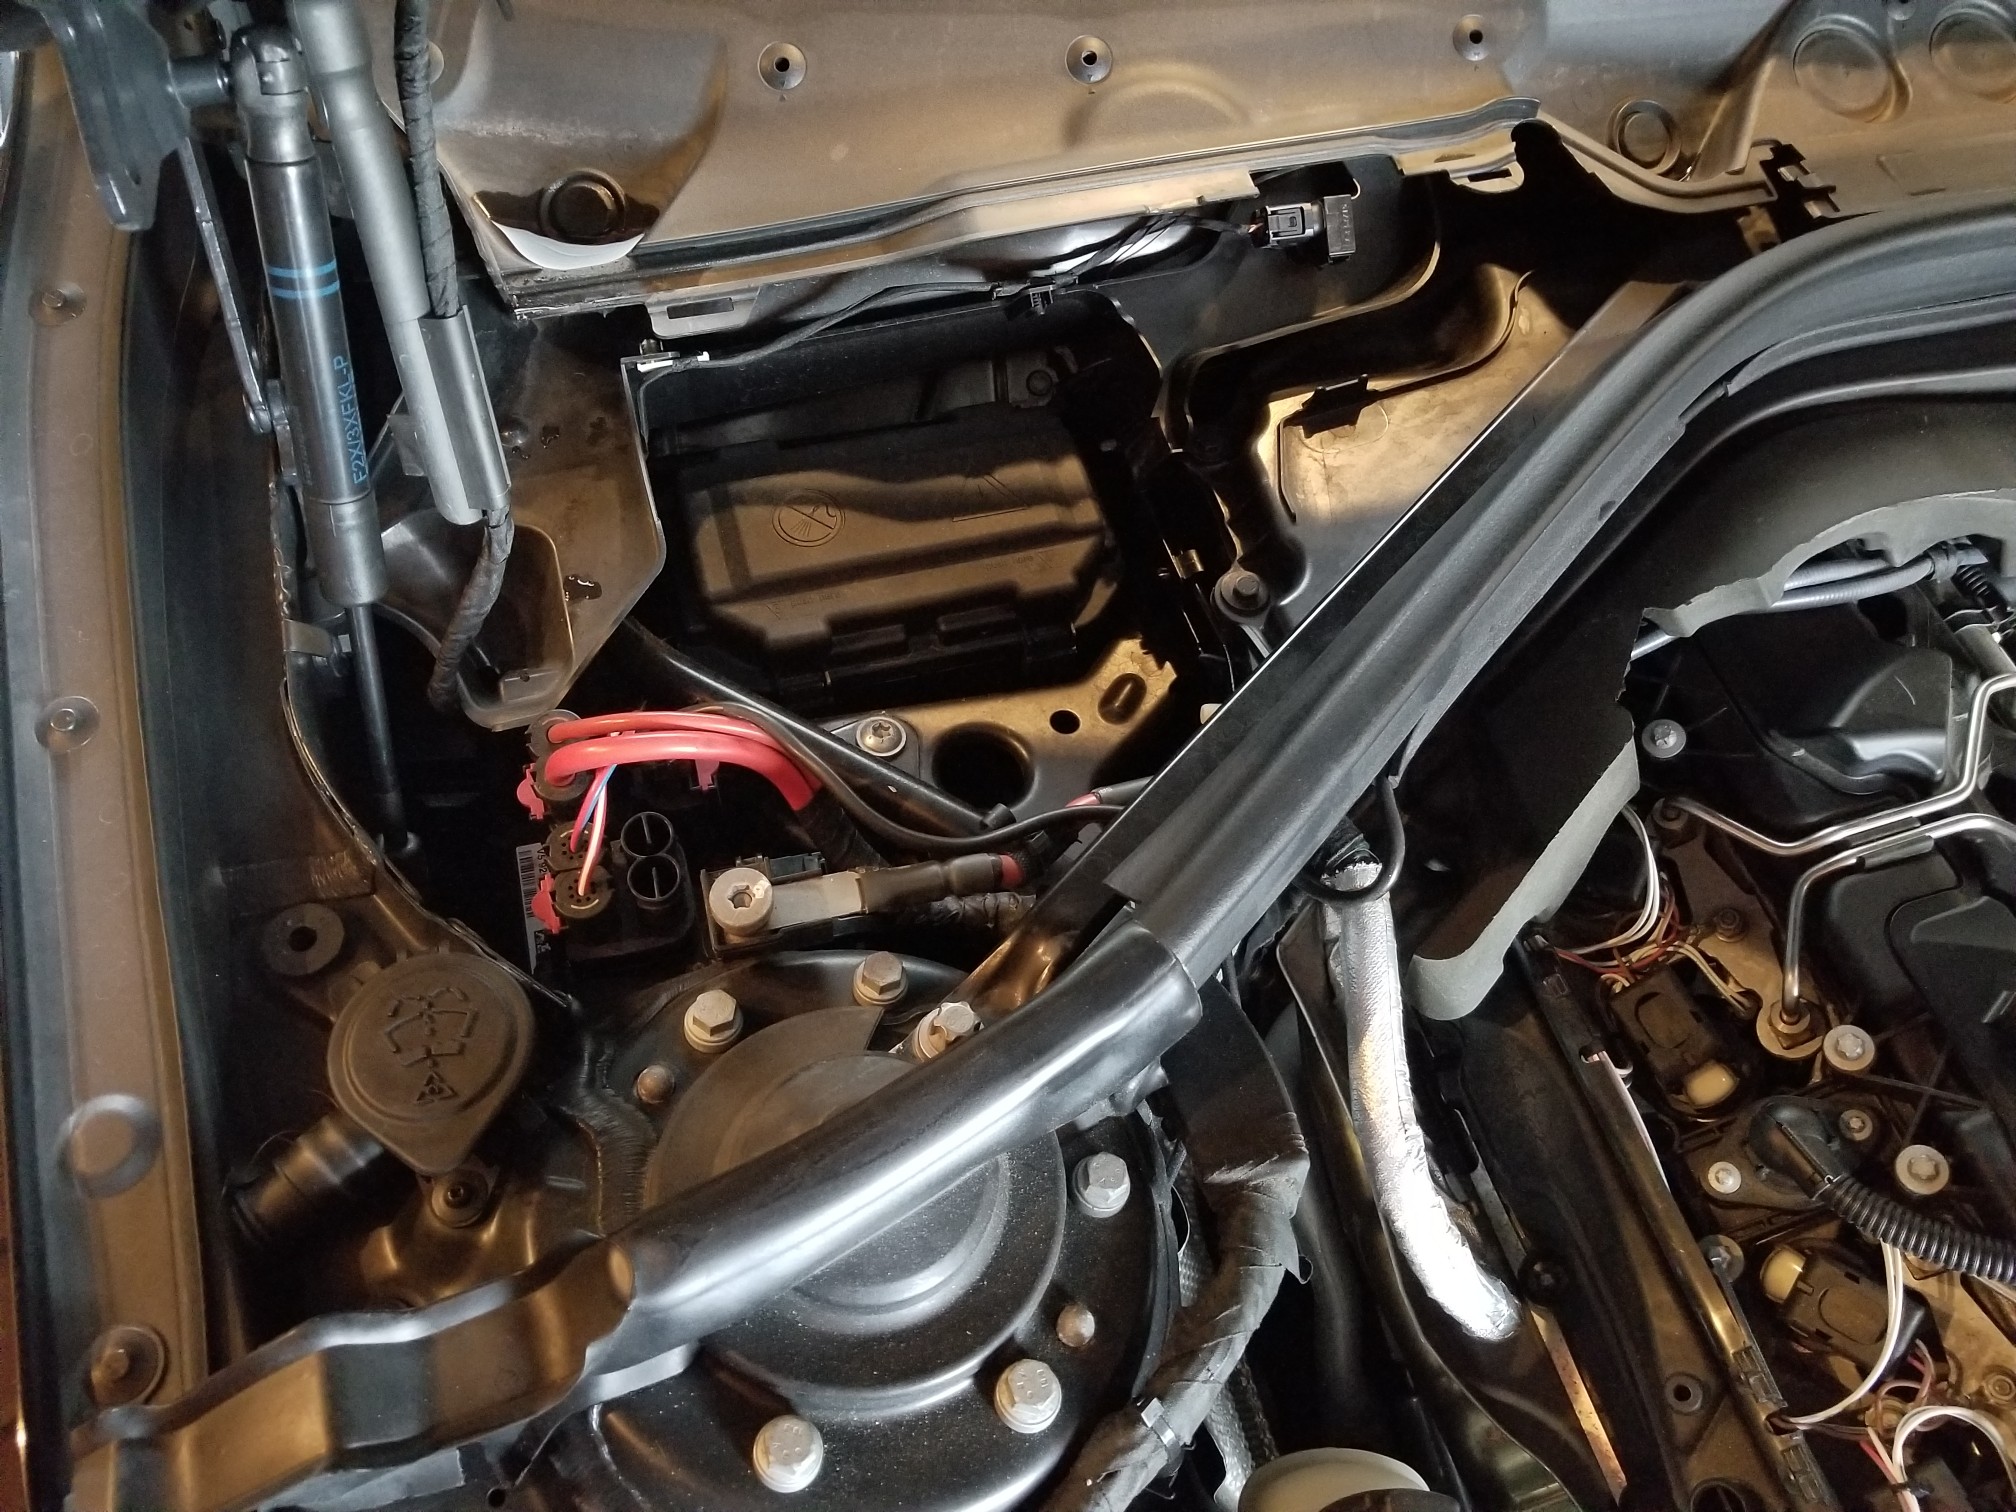
Next, go ahead and remove the rubber strip that sits on the cowl underneath the strut bar. Be
aware that there is a wire that is sleeved through.
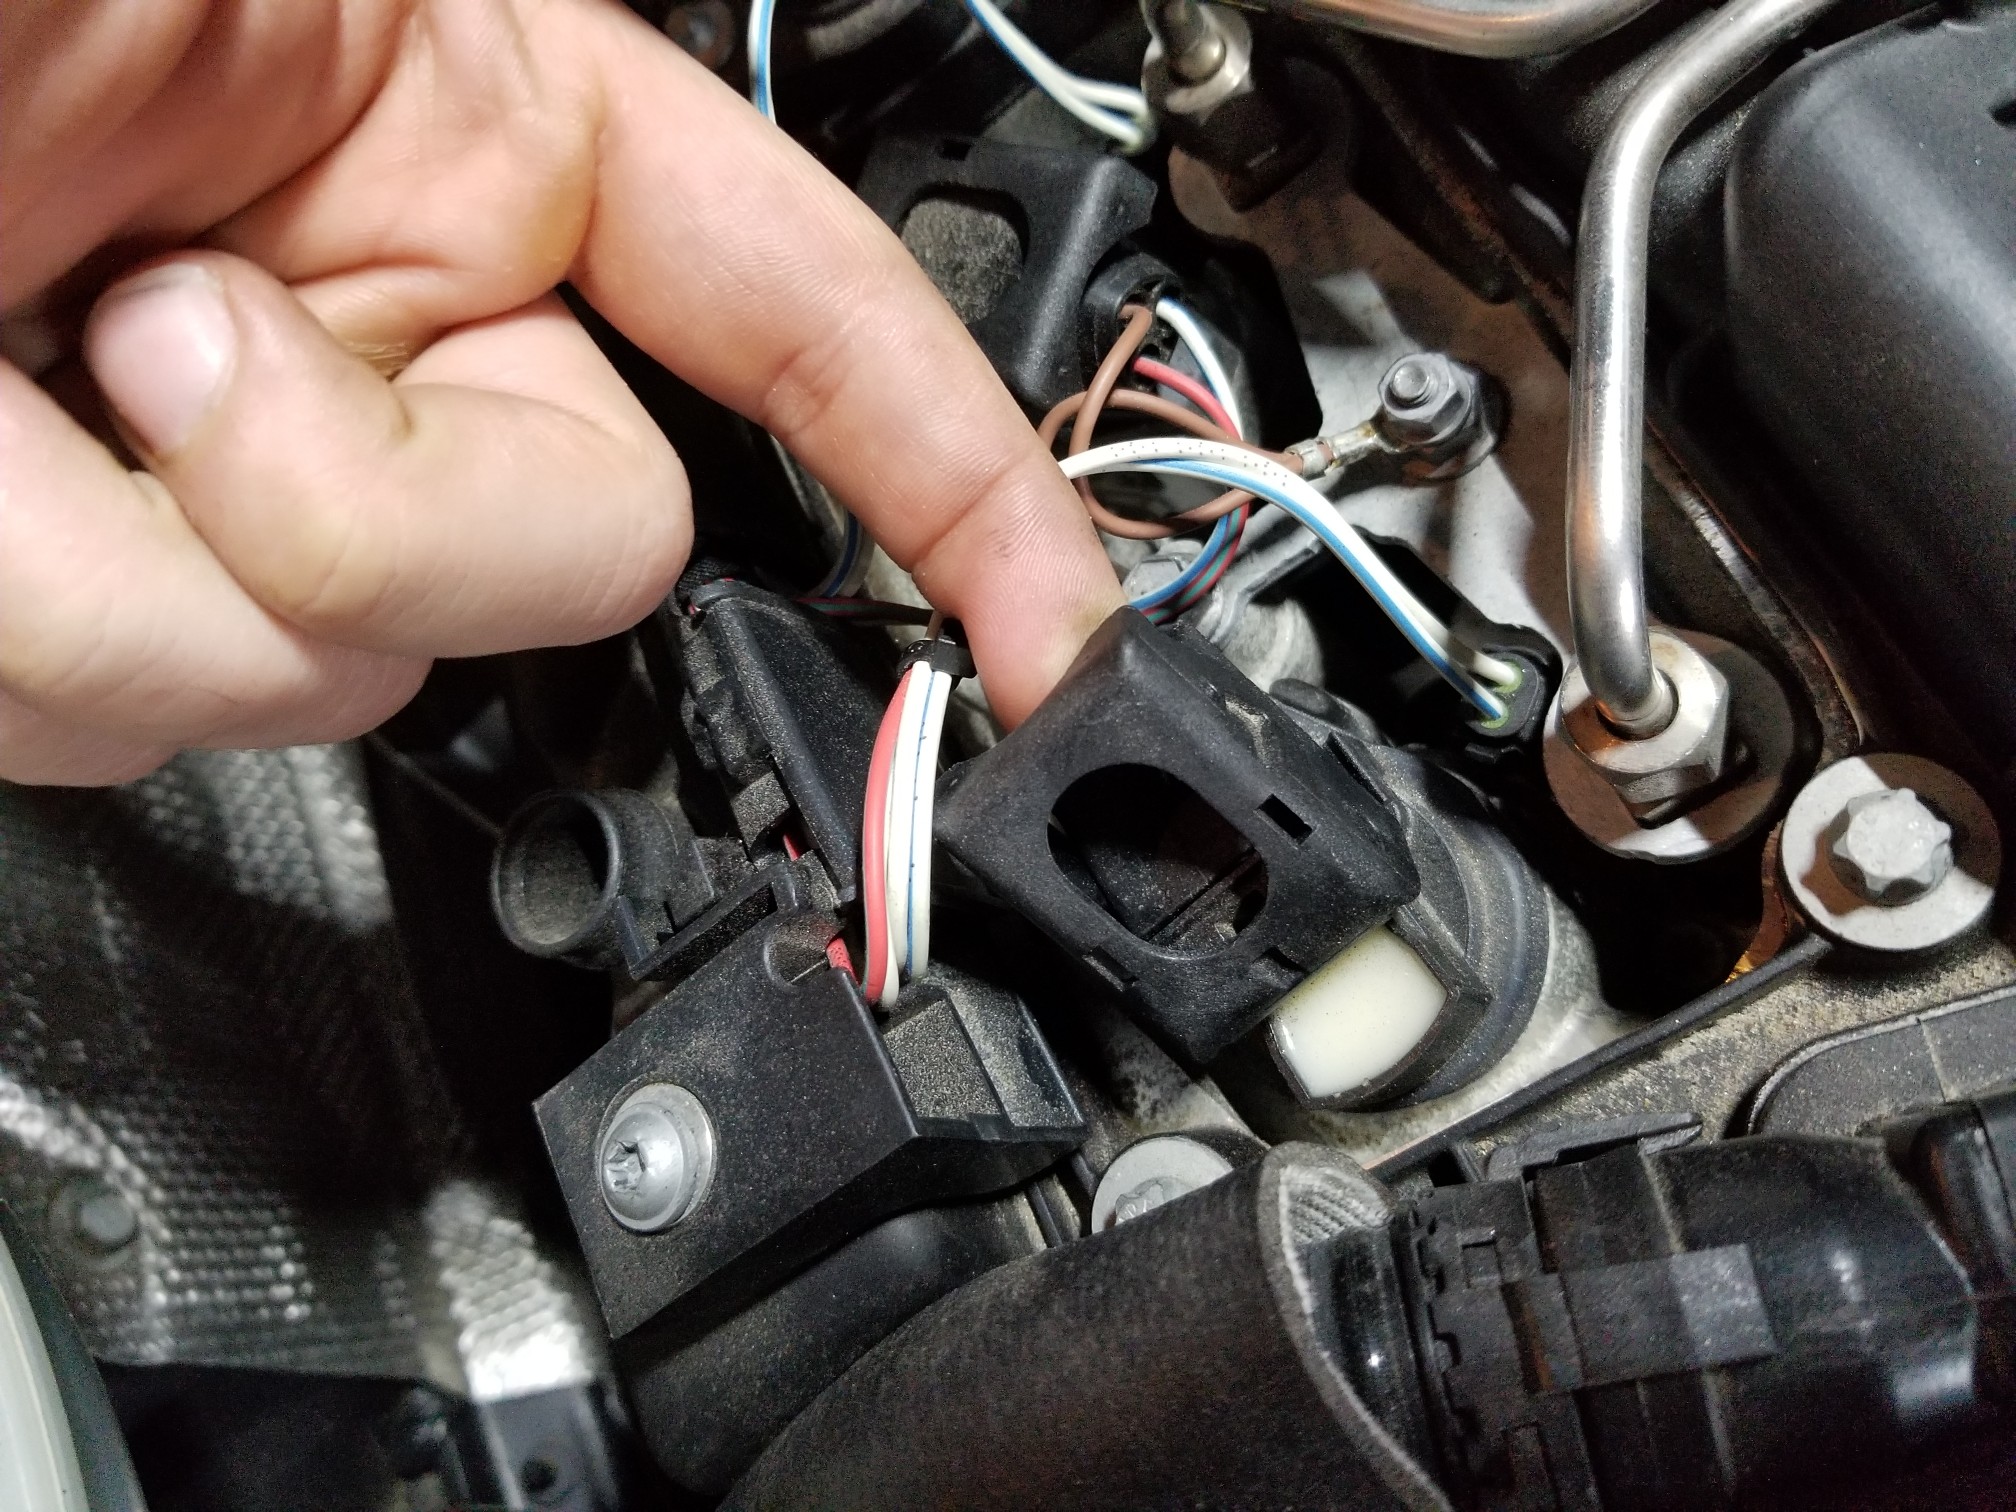
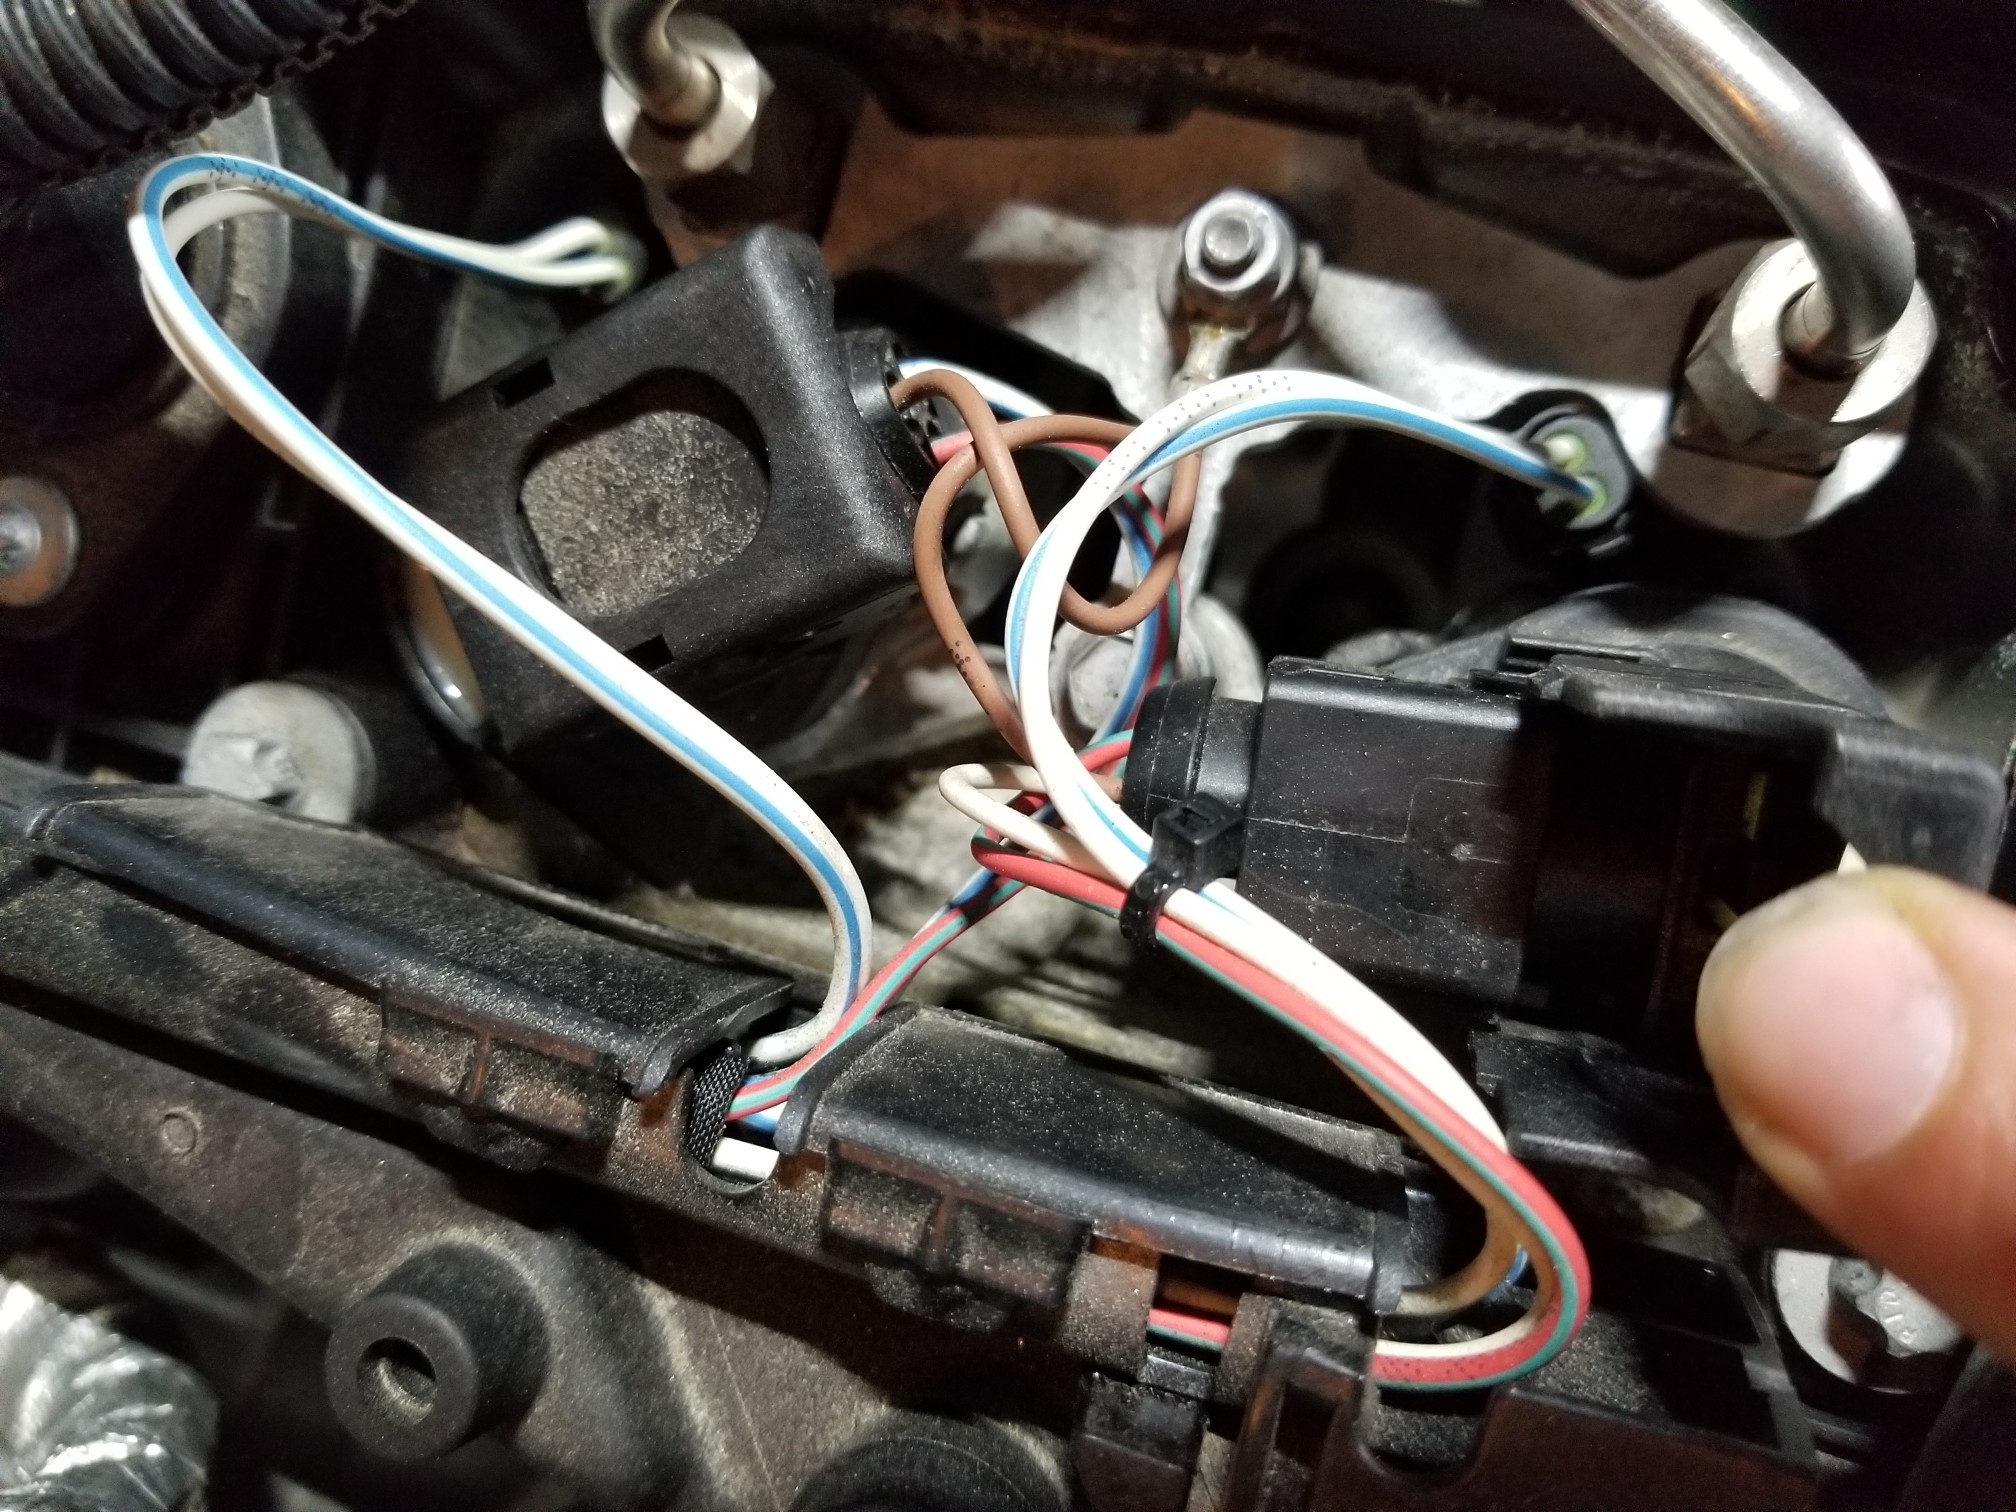
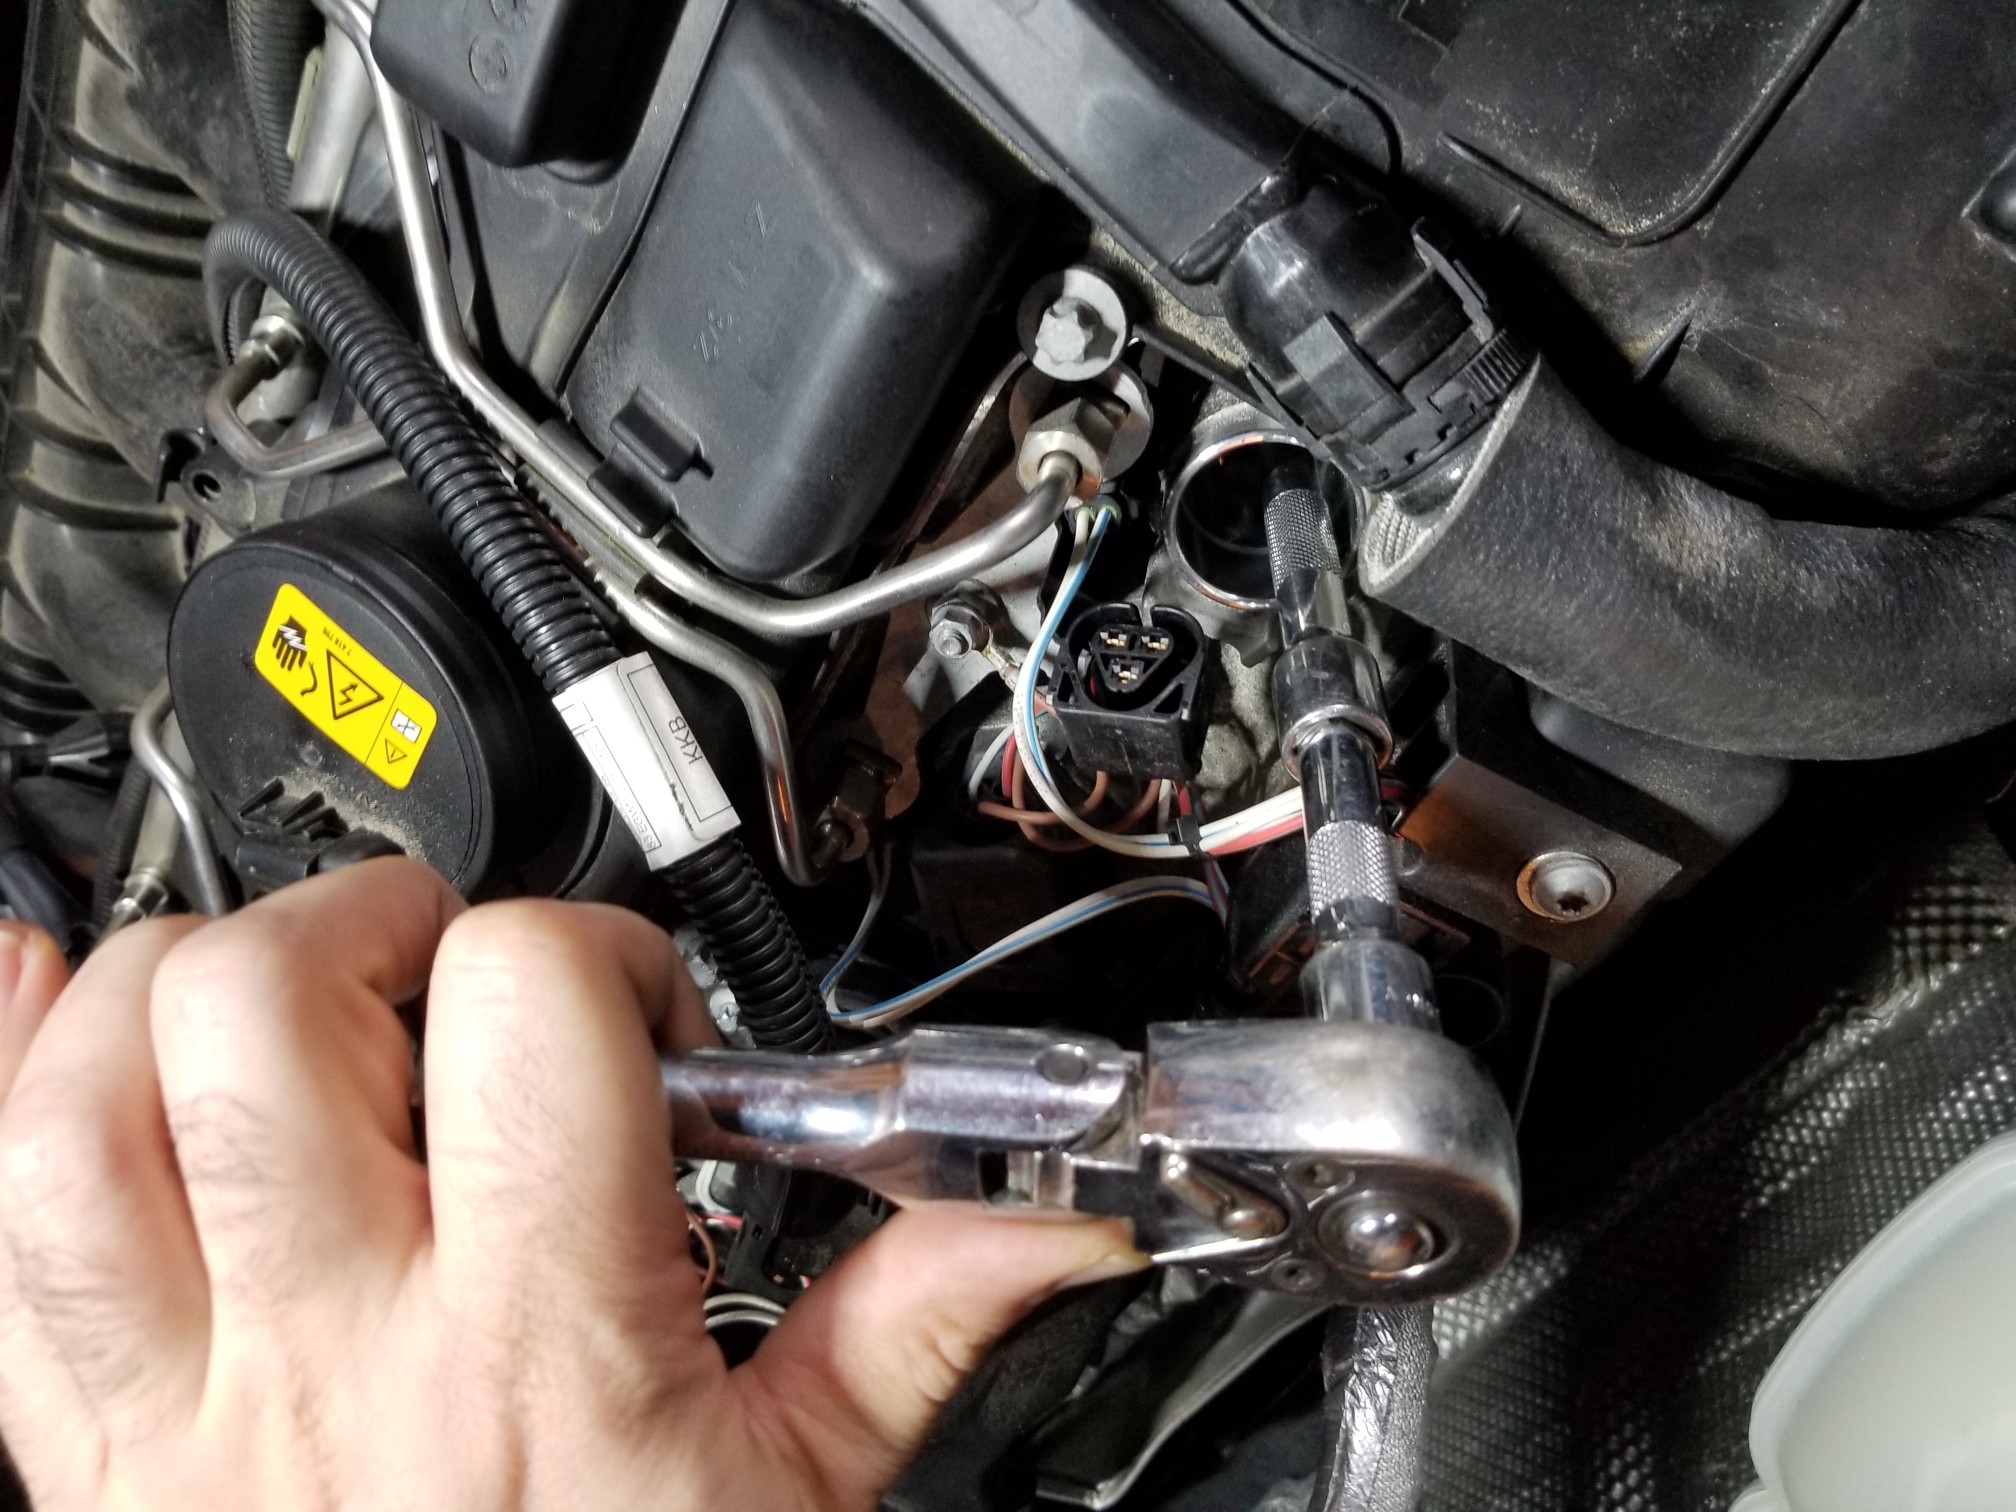
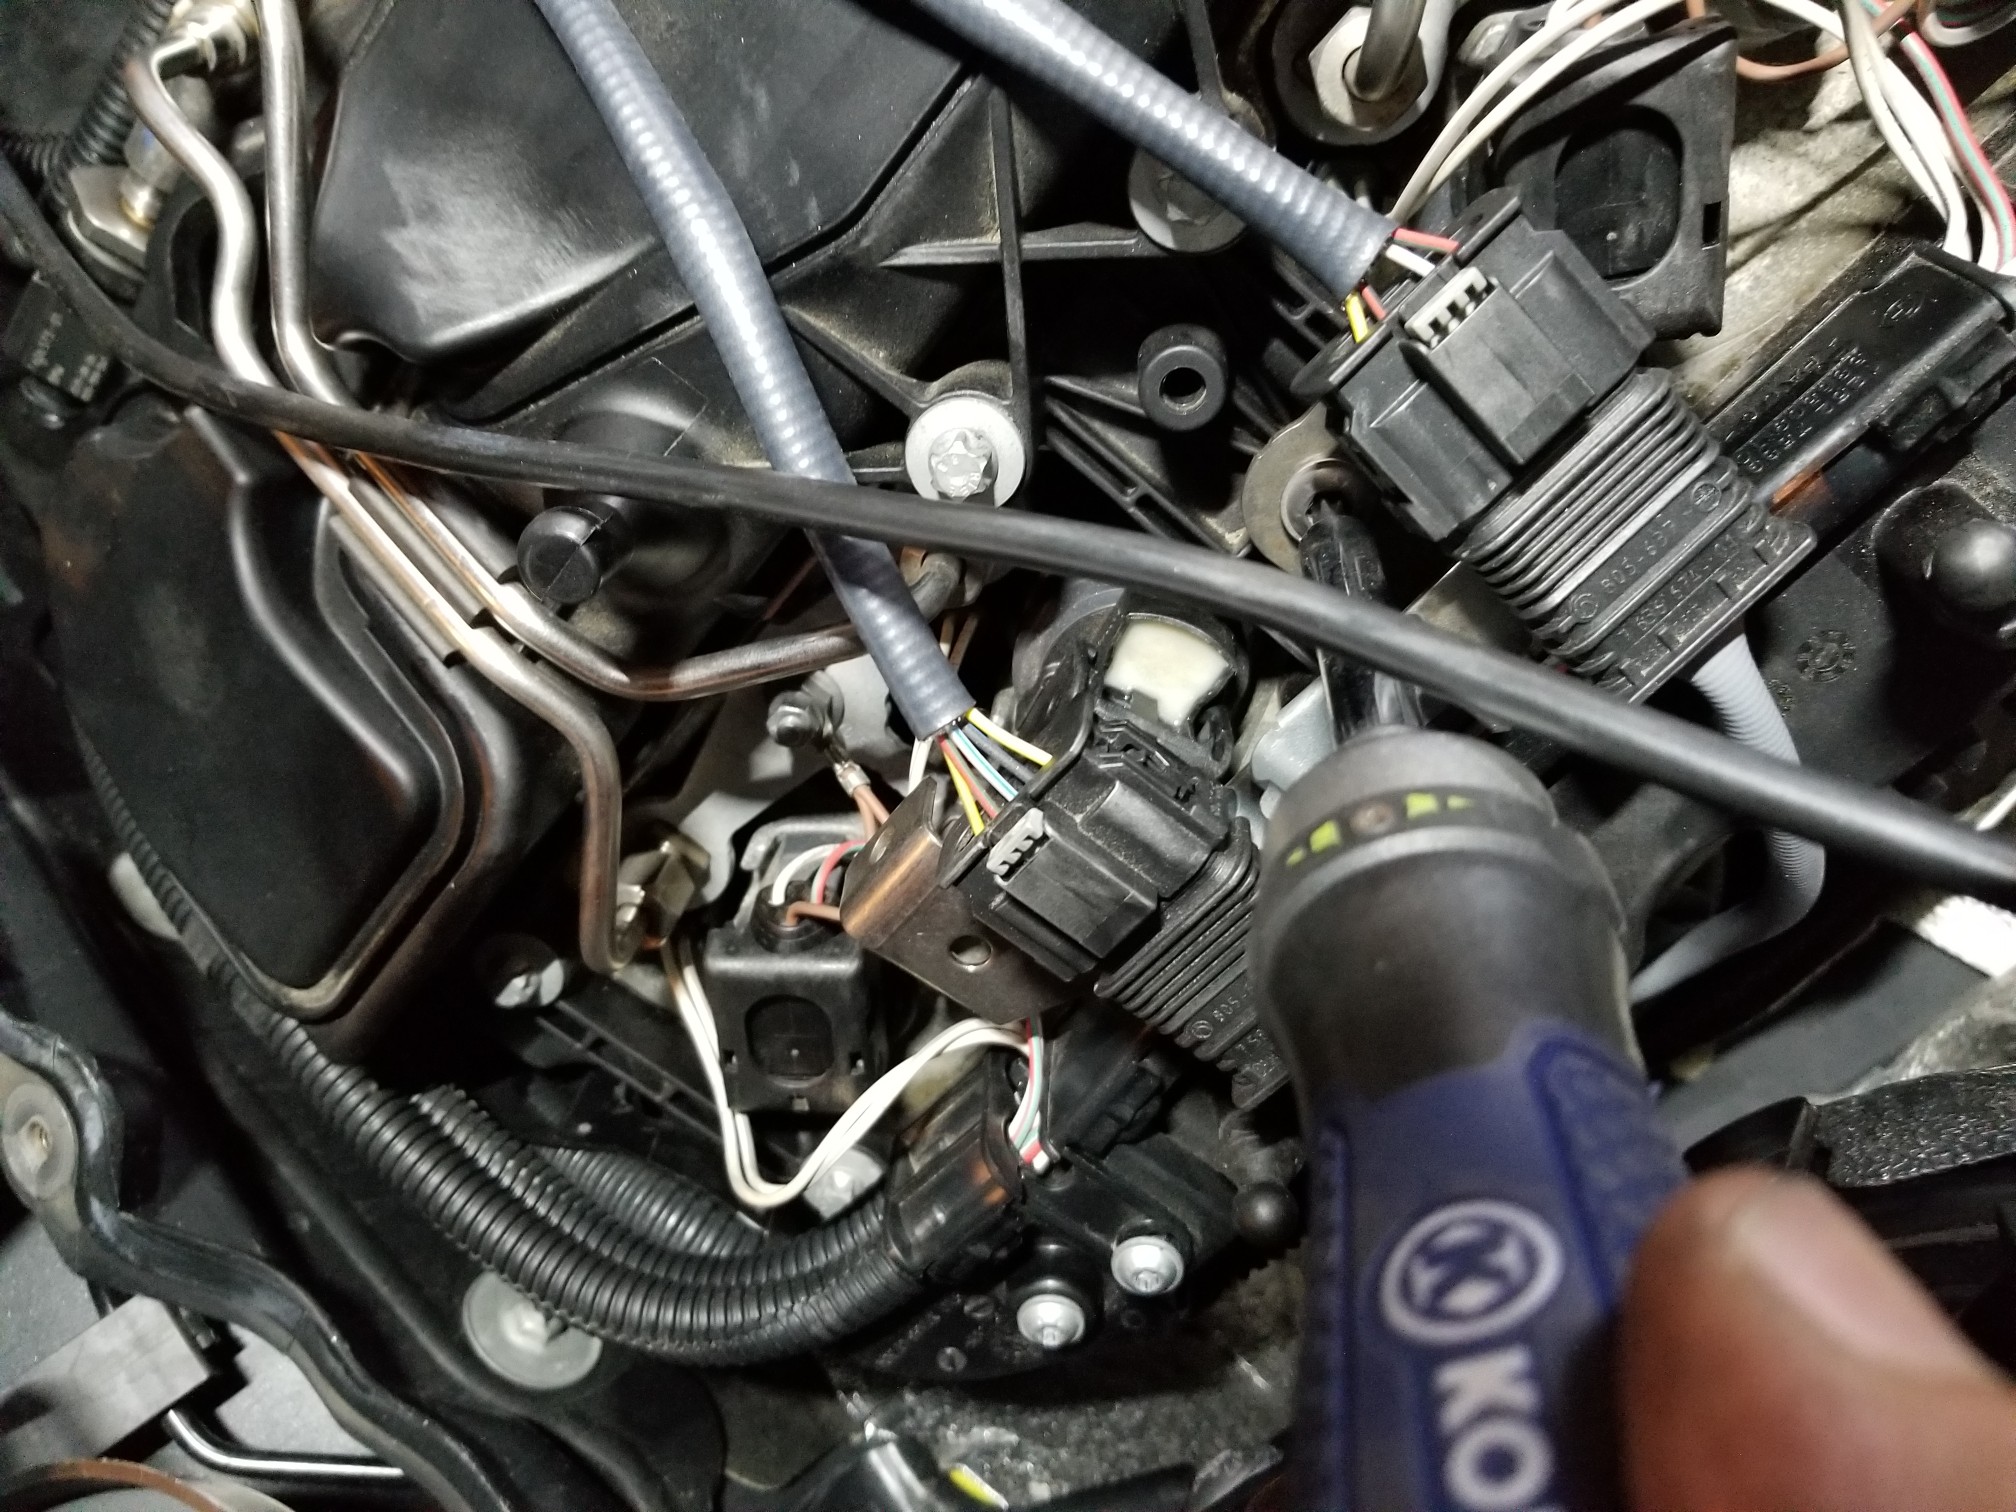
So that we have more room to work, we are going to remove the O2 sensor harness bracket out
of the way. We can do this with a T25 torx bit. Note, you should be able to just move the
harness bracket aside without disconnecting the harnesses.
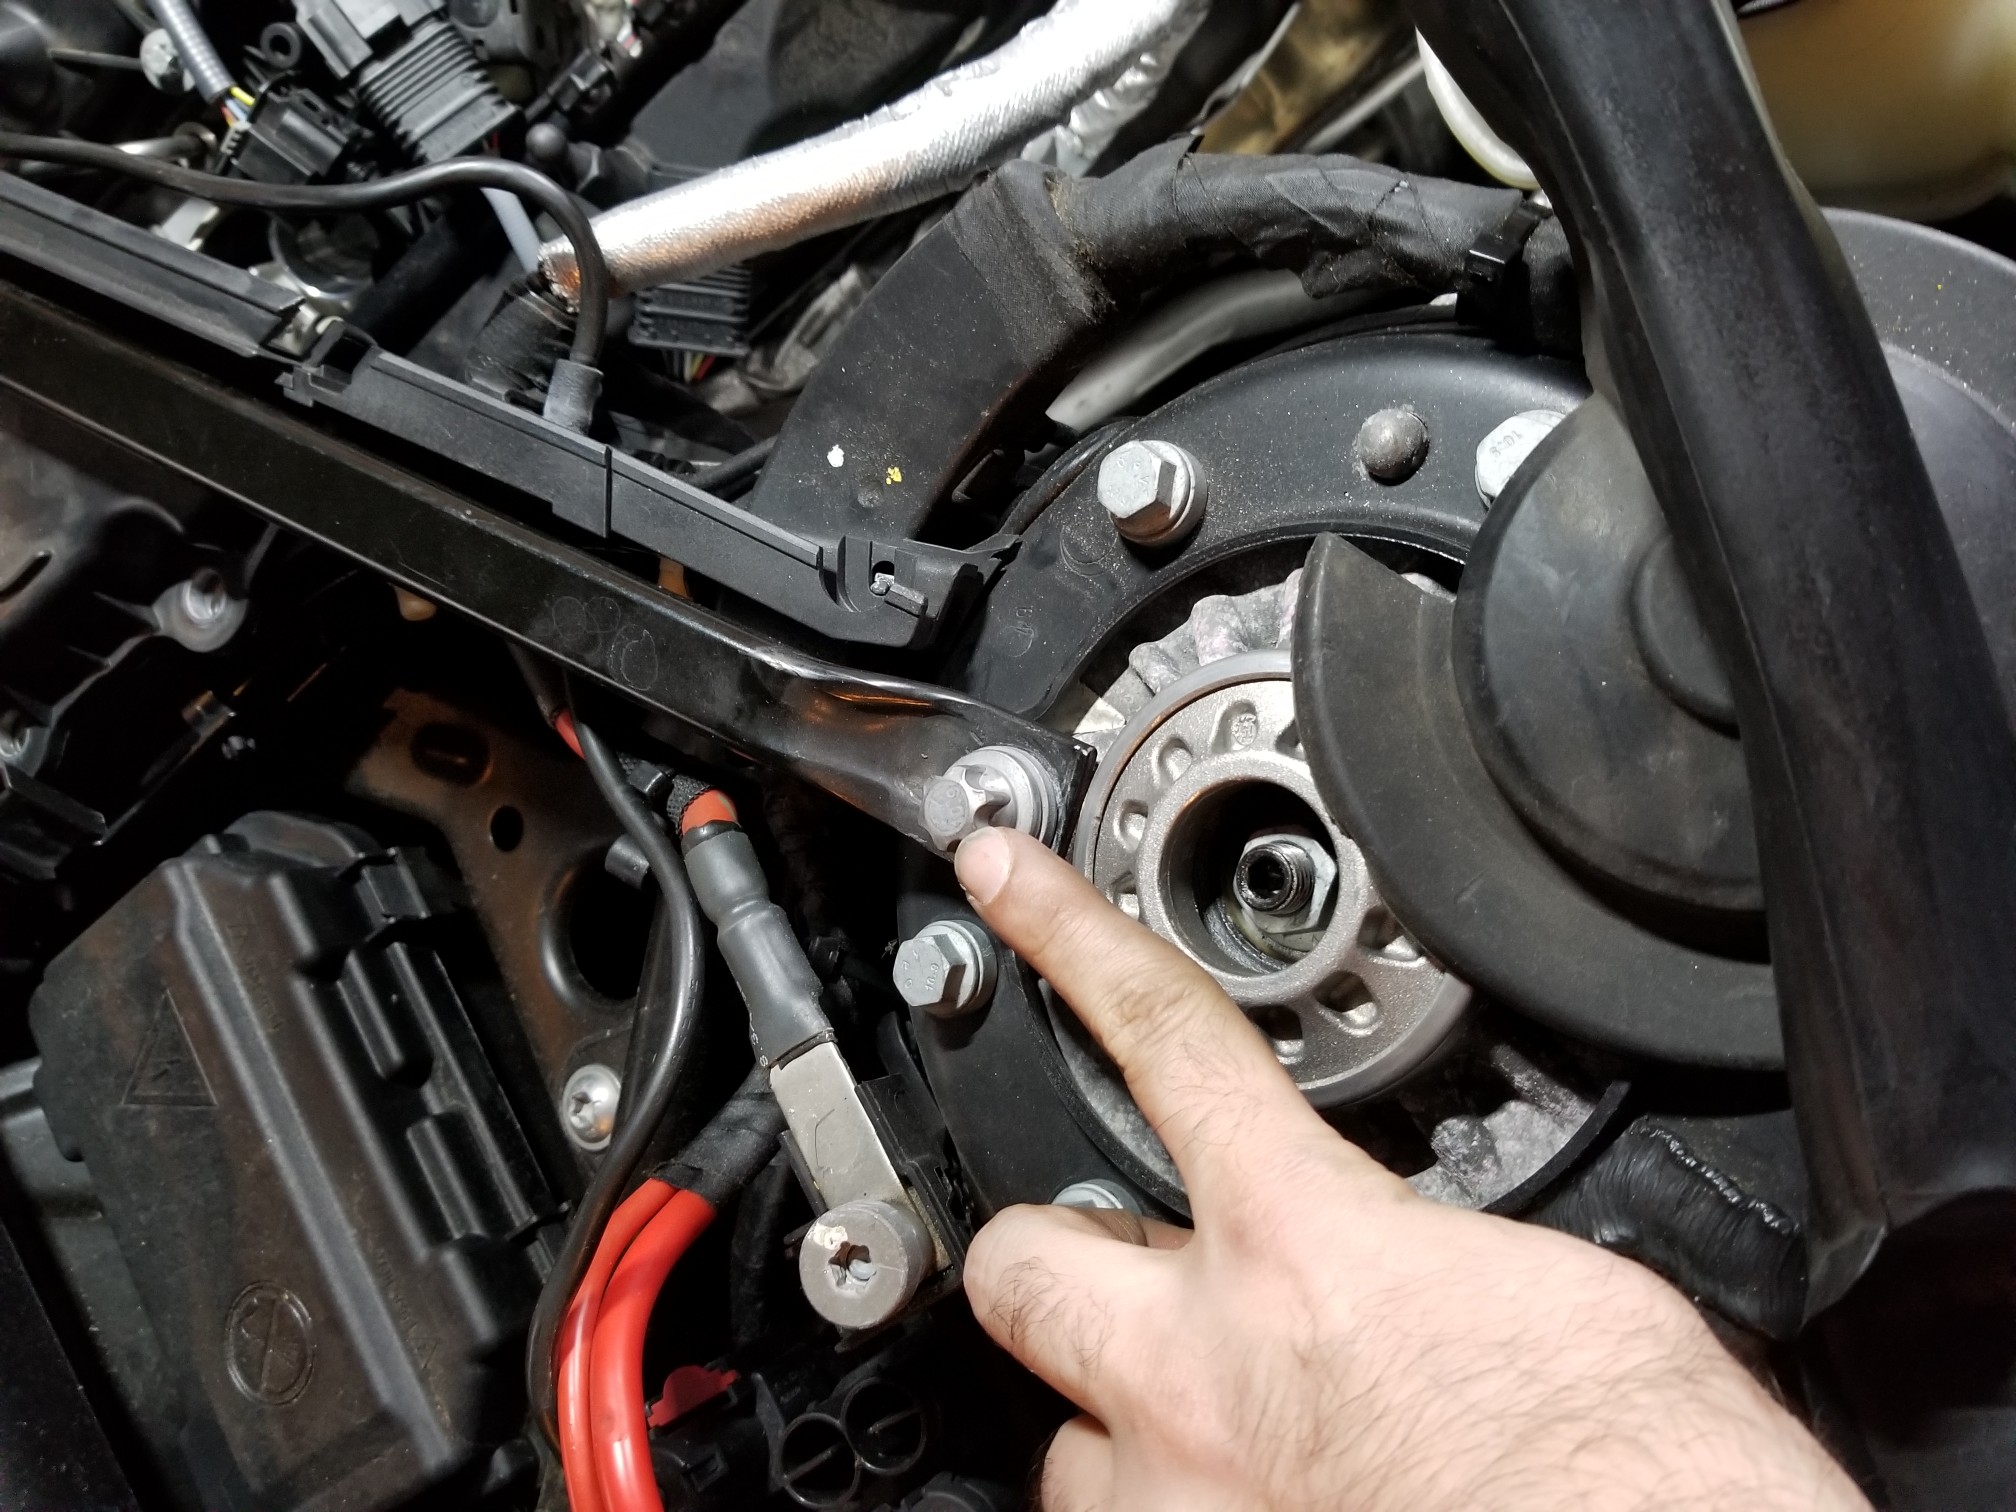
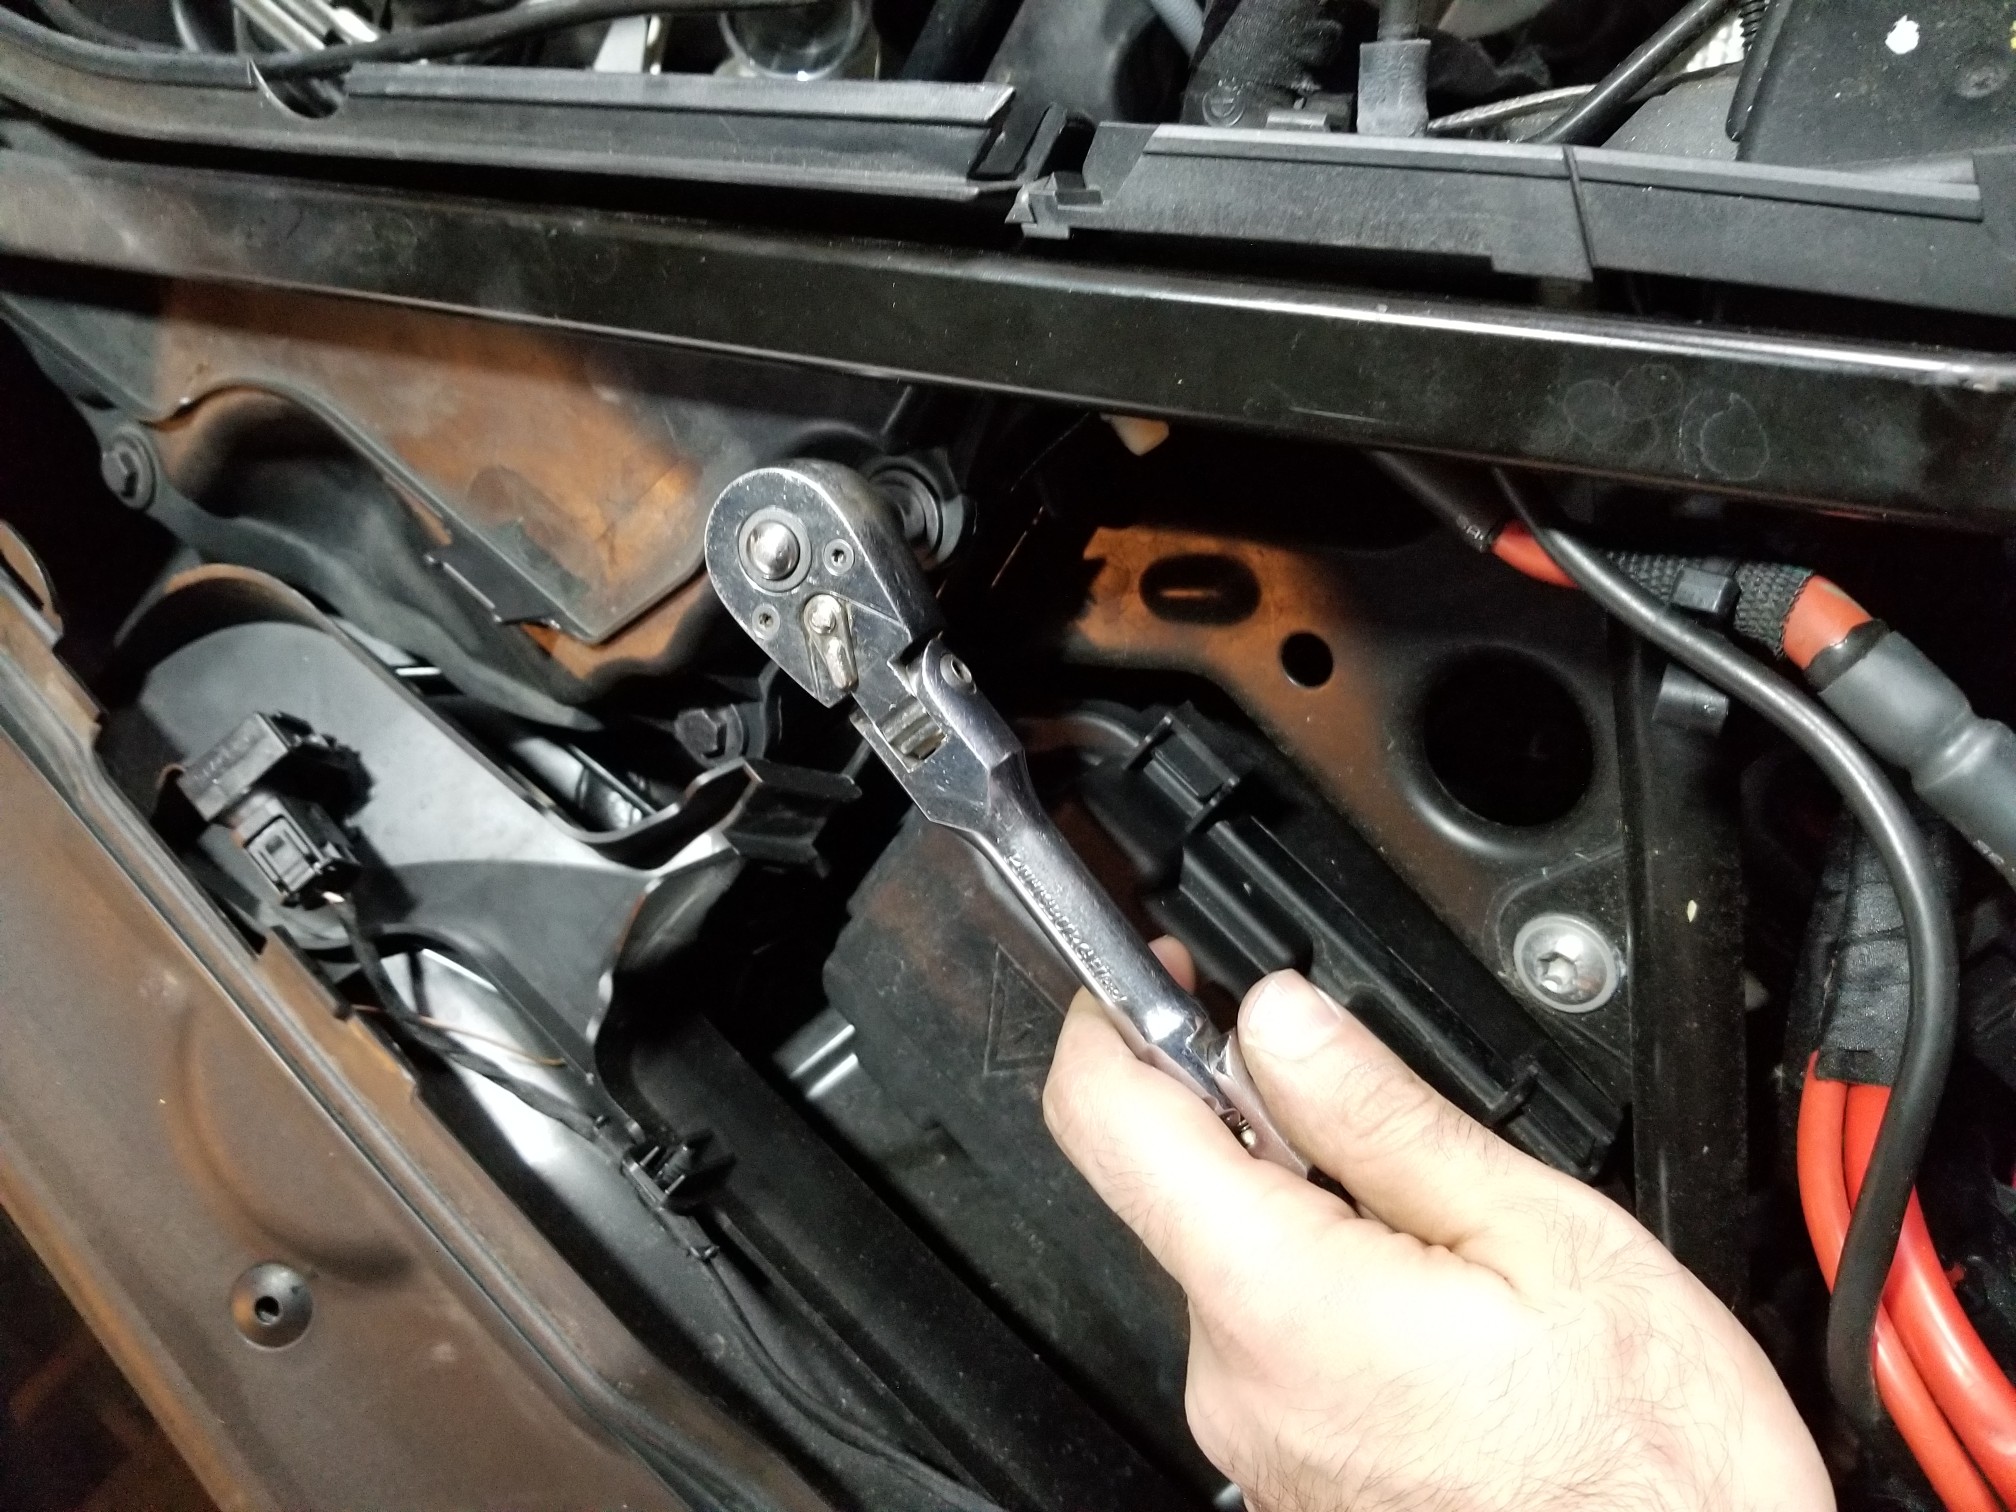
Grab the E20 external torx that was in the requirements, as well as a breaker bar so that you
can break free the bolts that are holding the strut bar in place. There is one bolt on each
shock tower that is holding the bar down.
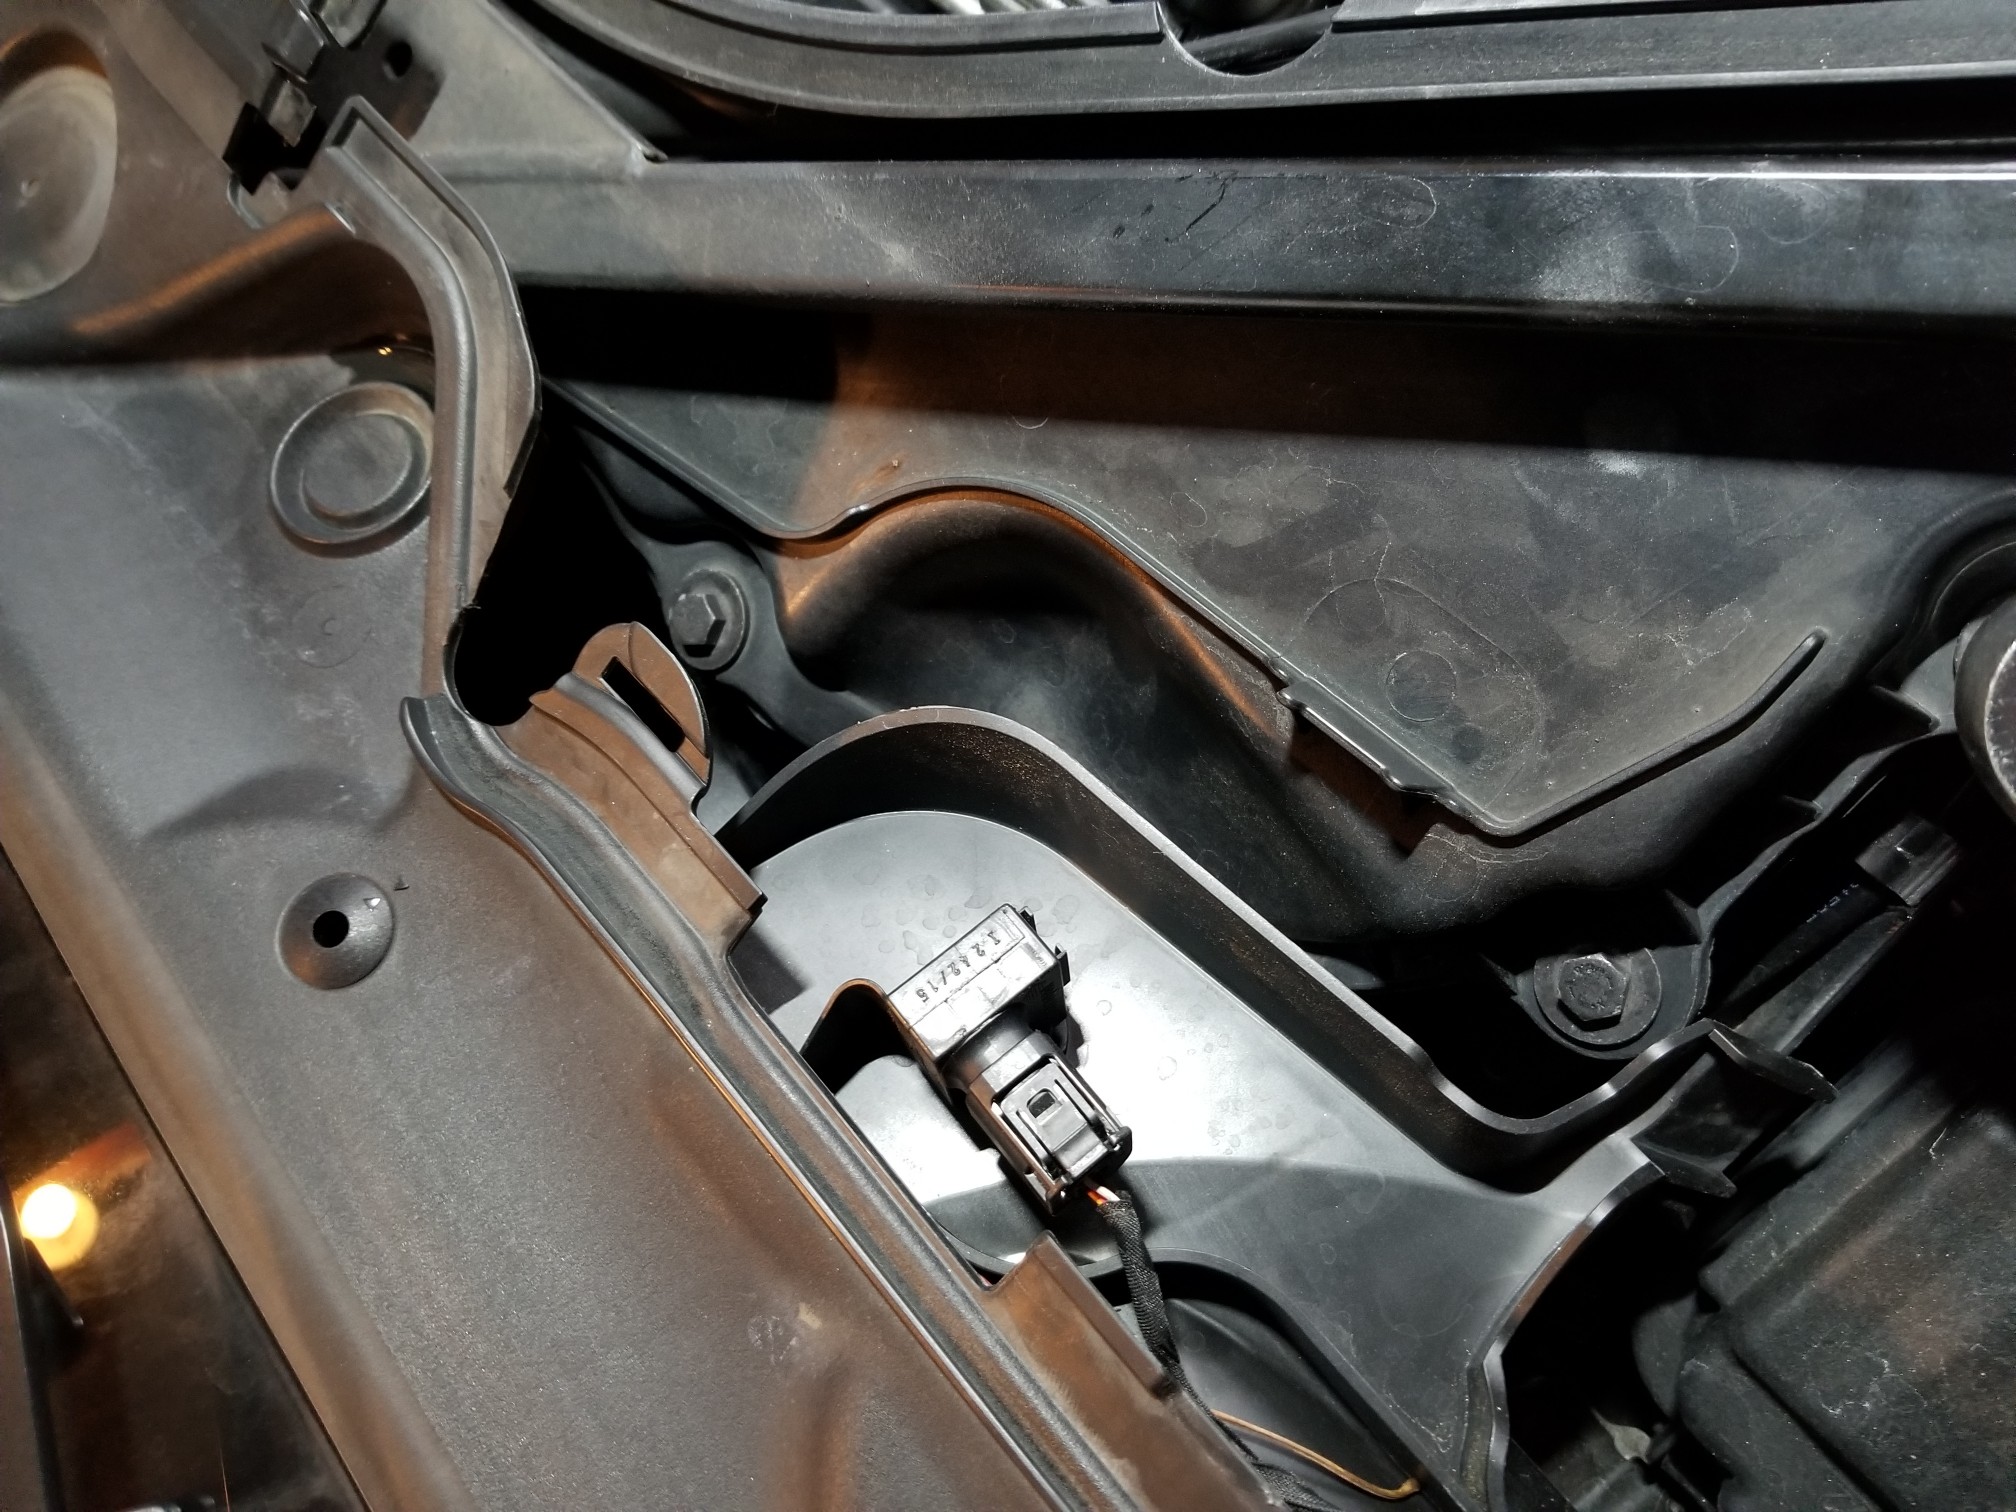
At the top middle, you will need to reach underneath the cowl to push out the circular covers that
are hiding the last two bolts that are holding the top part of the strut bar down. You can either
reach from underneath and pop the covers out, or if you have a pick tool, you can remove them that
way as well.
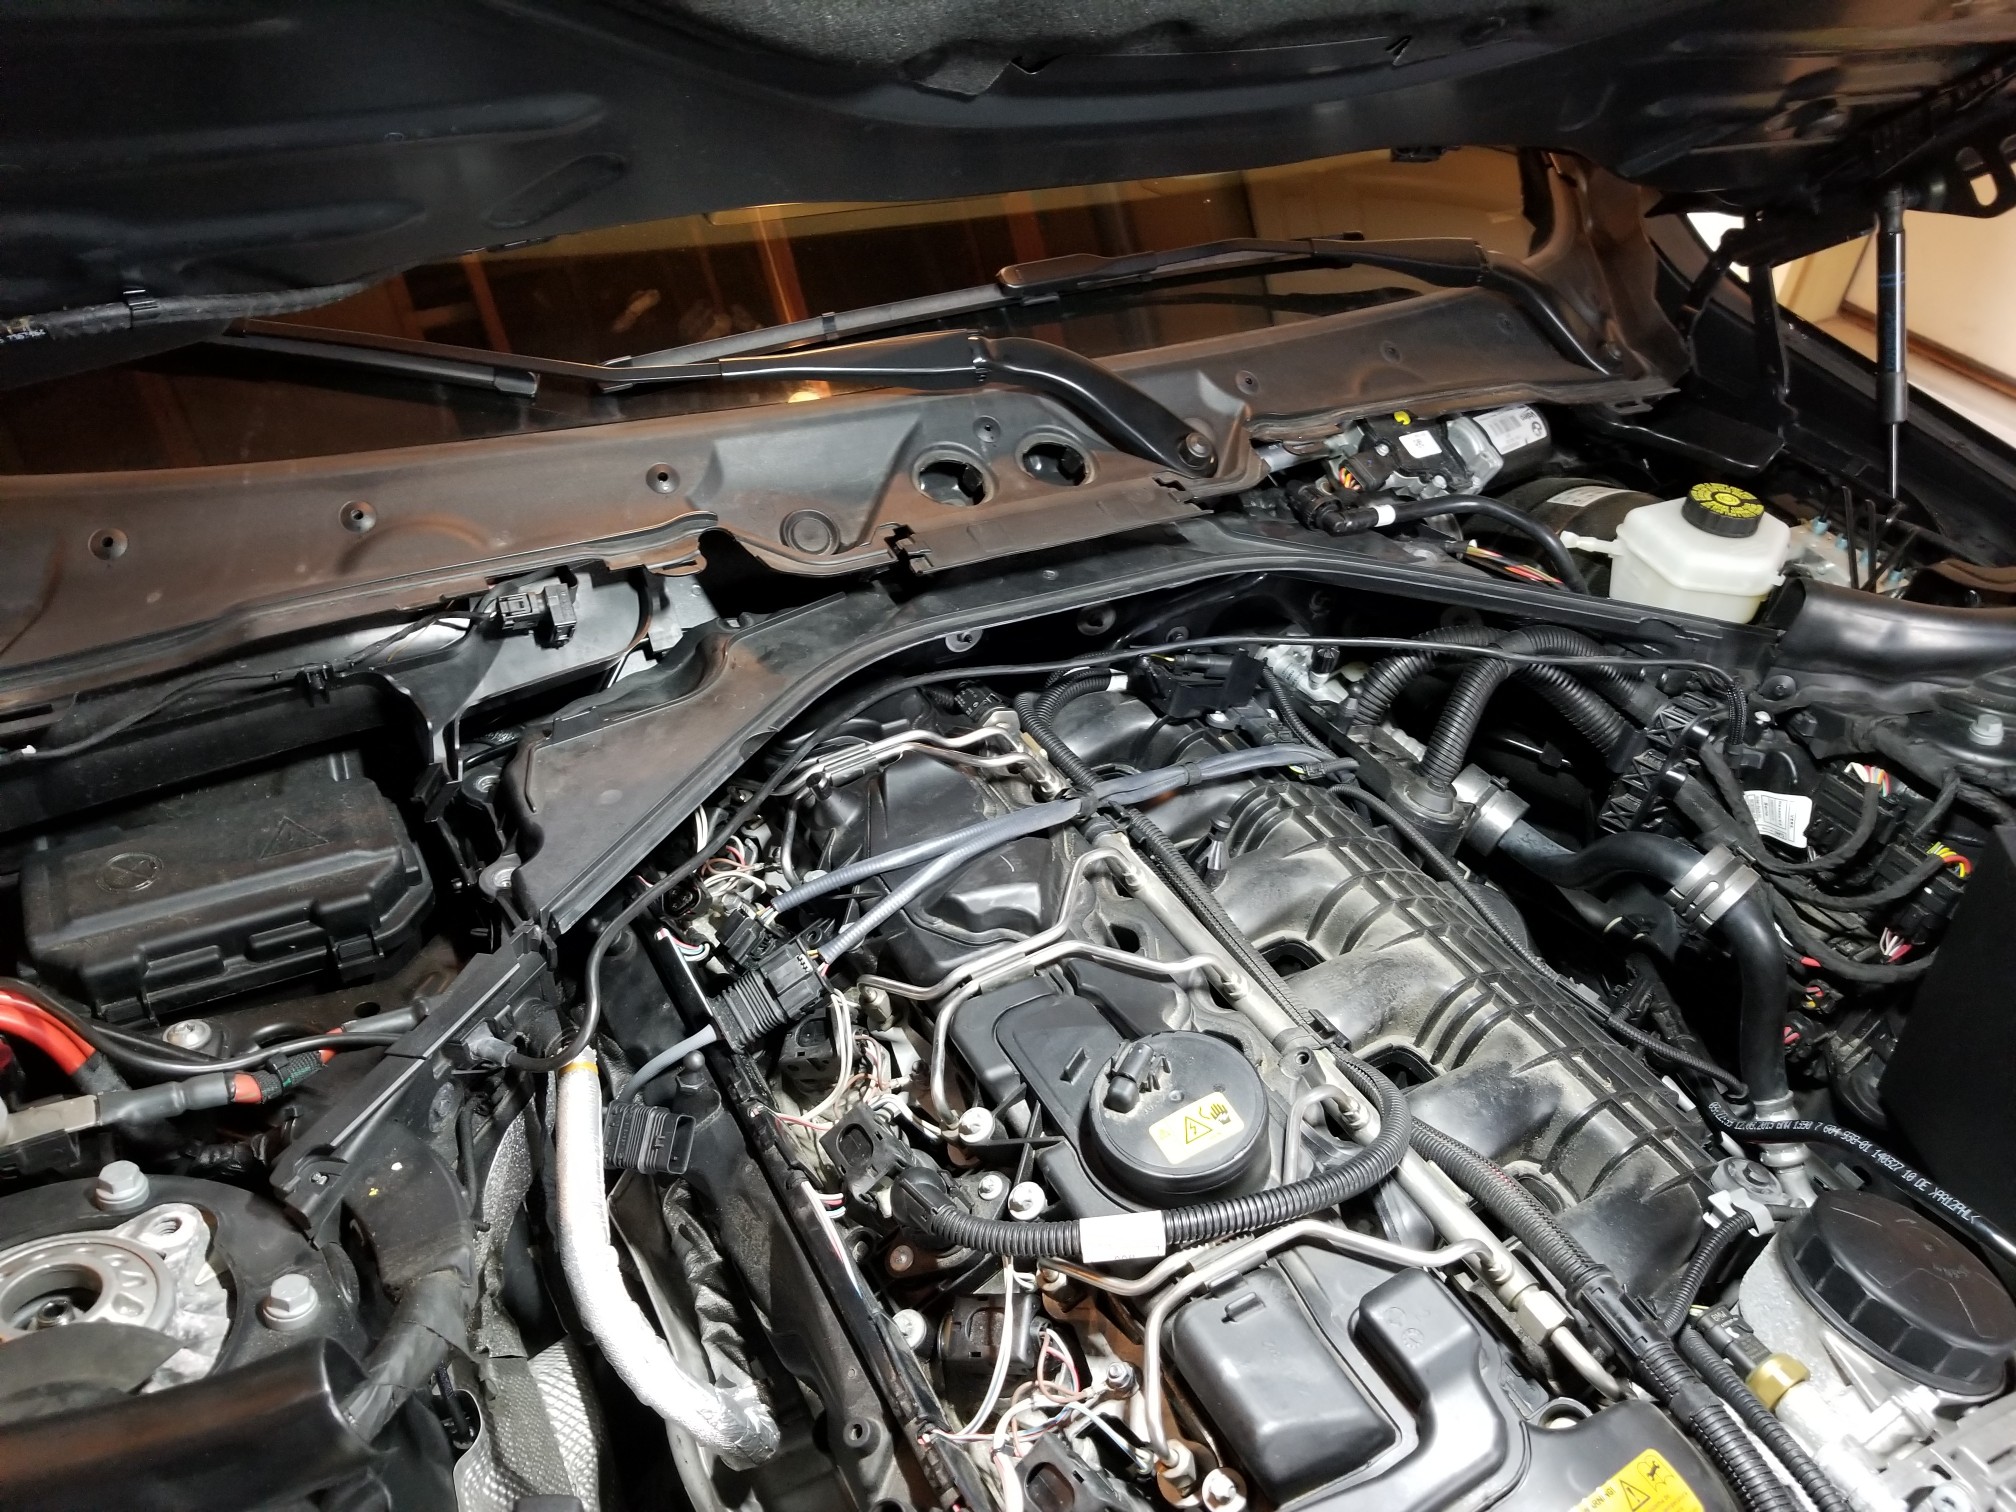
There is one last cowl to remove that was sitting under the strut bar. This can be removed with about
8 10mm bolts.
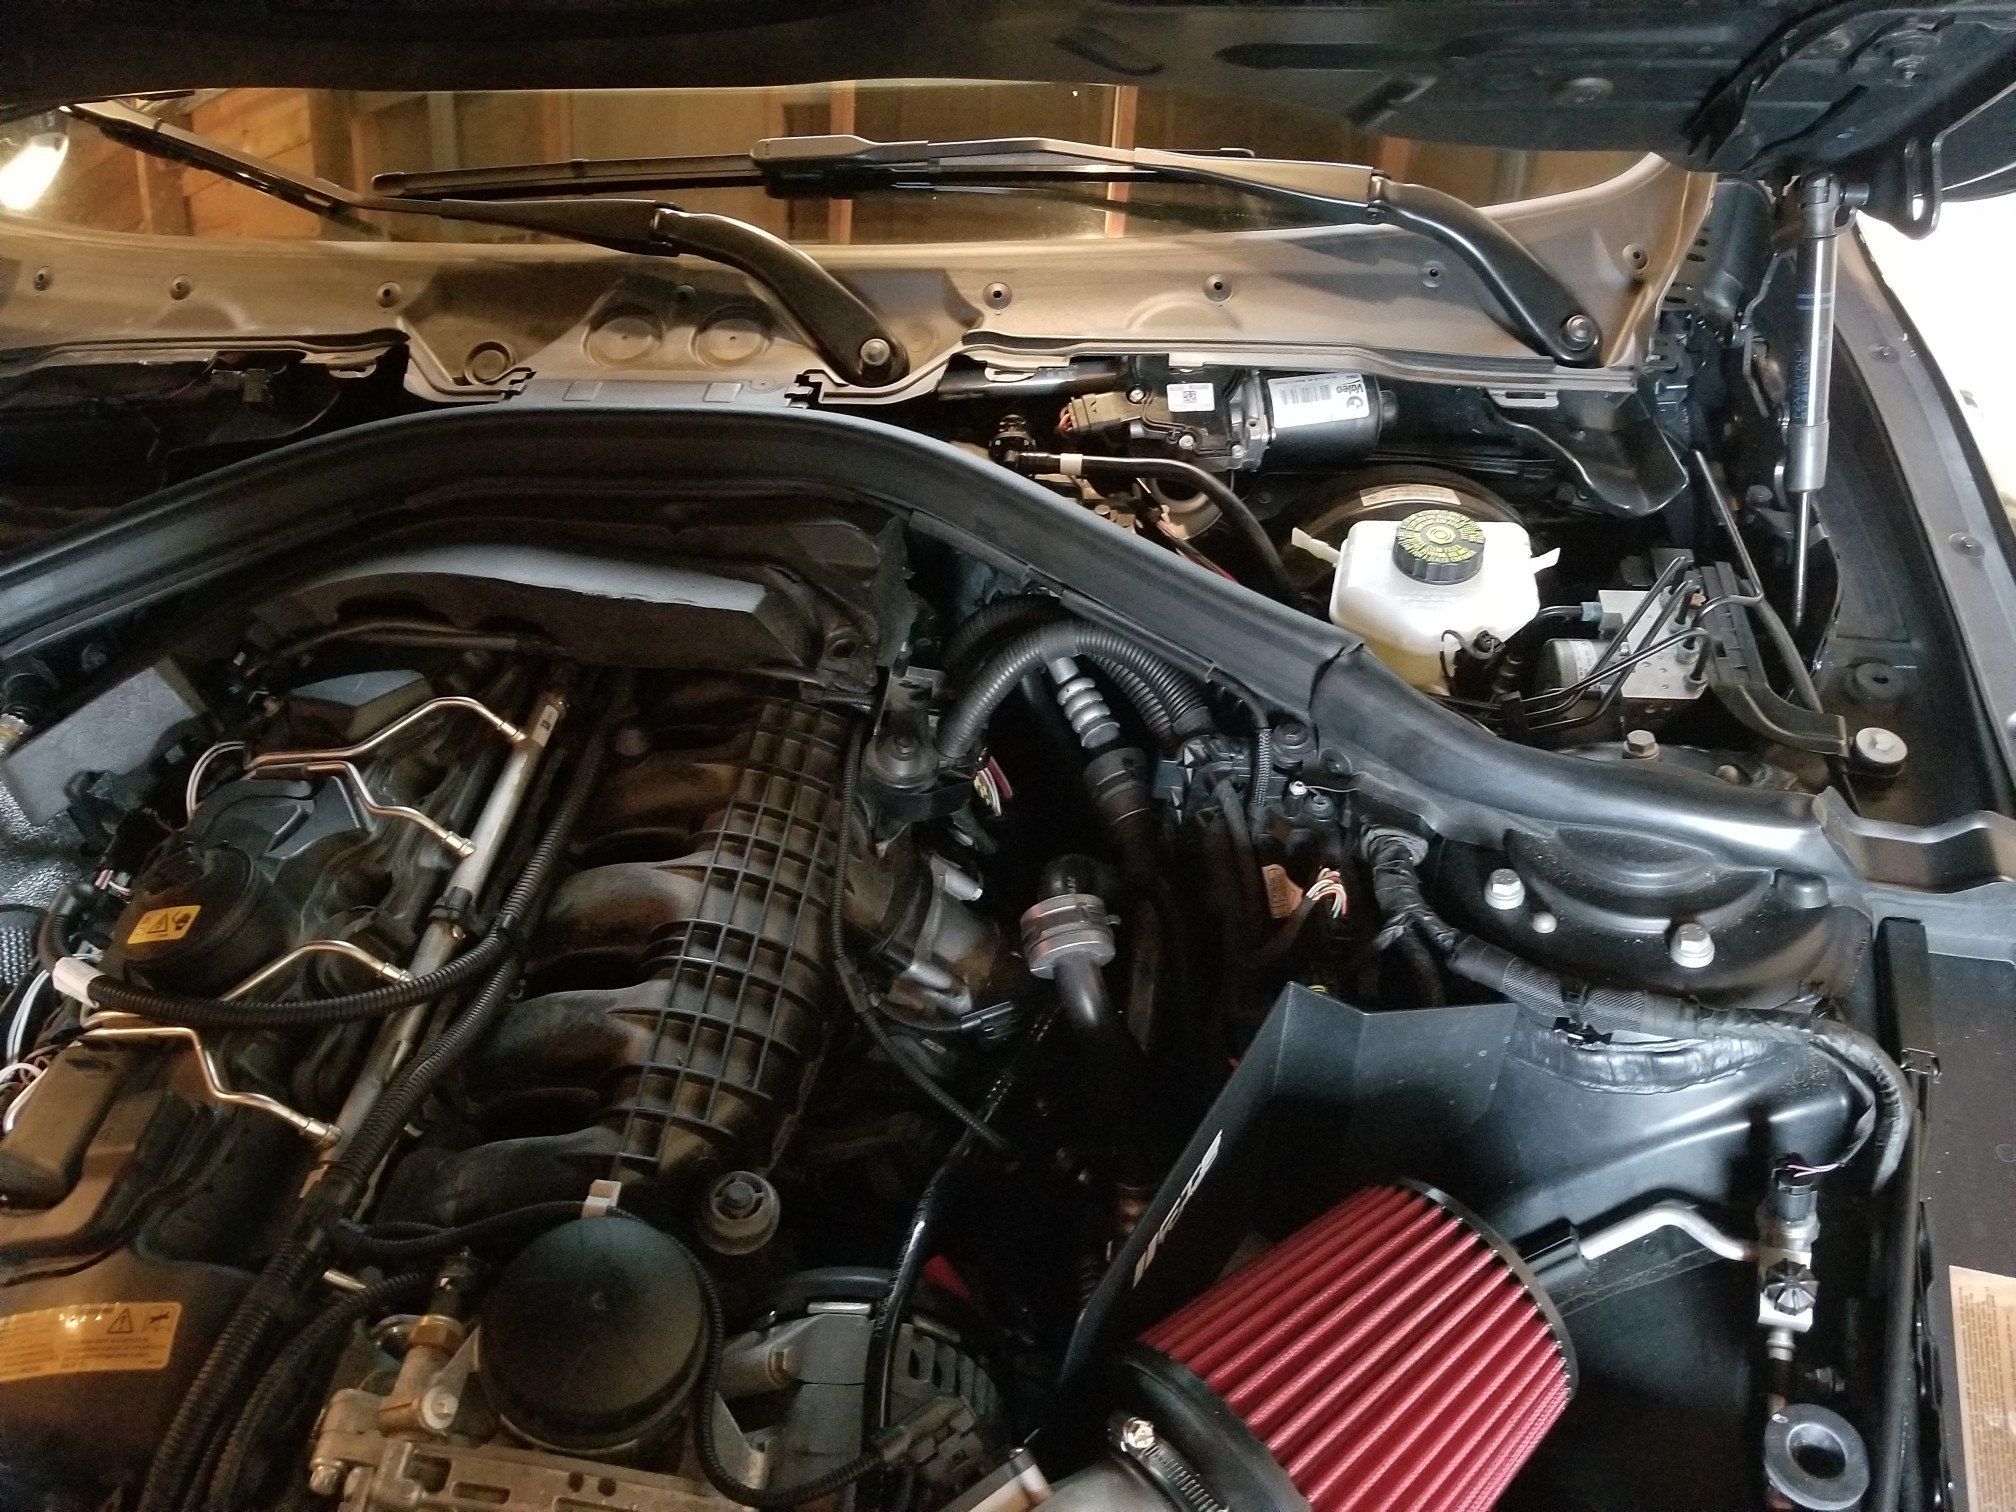
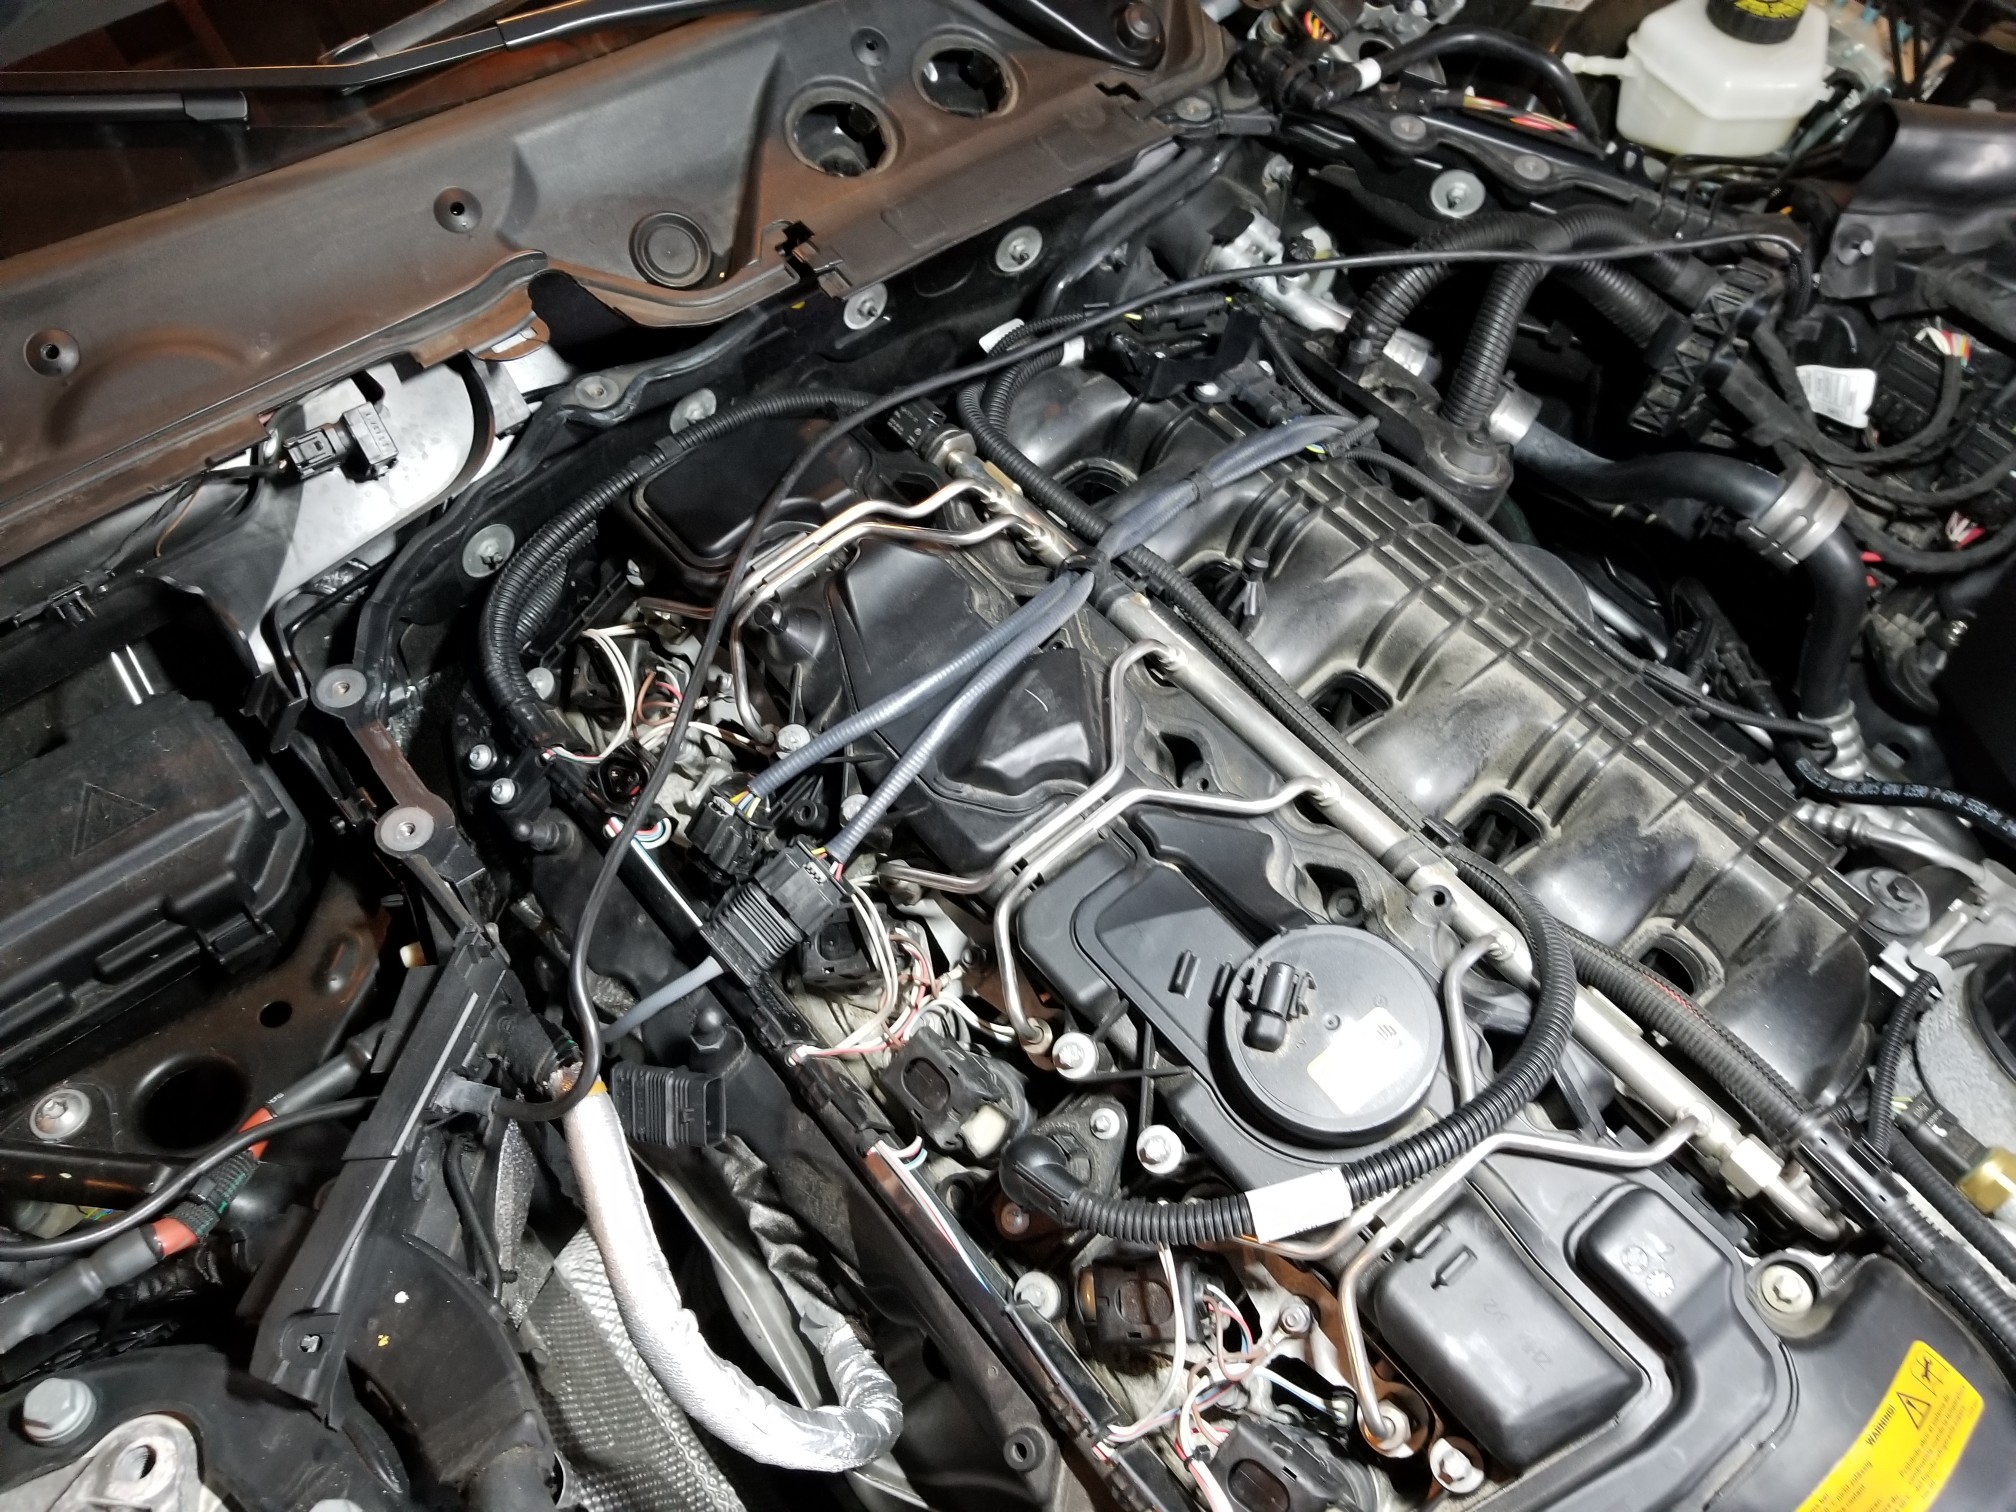
With that last plastic cowl removed, you should have plenty of room to remove the last foam engine cover
as well as enough room to get a reach at every plug coil.
Now with everything out of the way, you should be able to see all six spark plug coils. Removing them is
actually quite easy, although a little tough on the fingers if you dont wear some gloves.
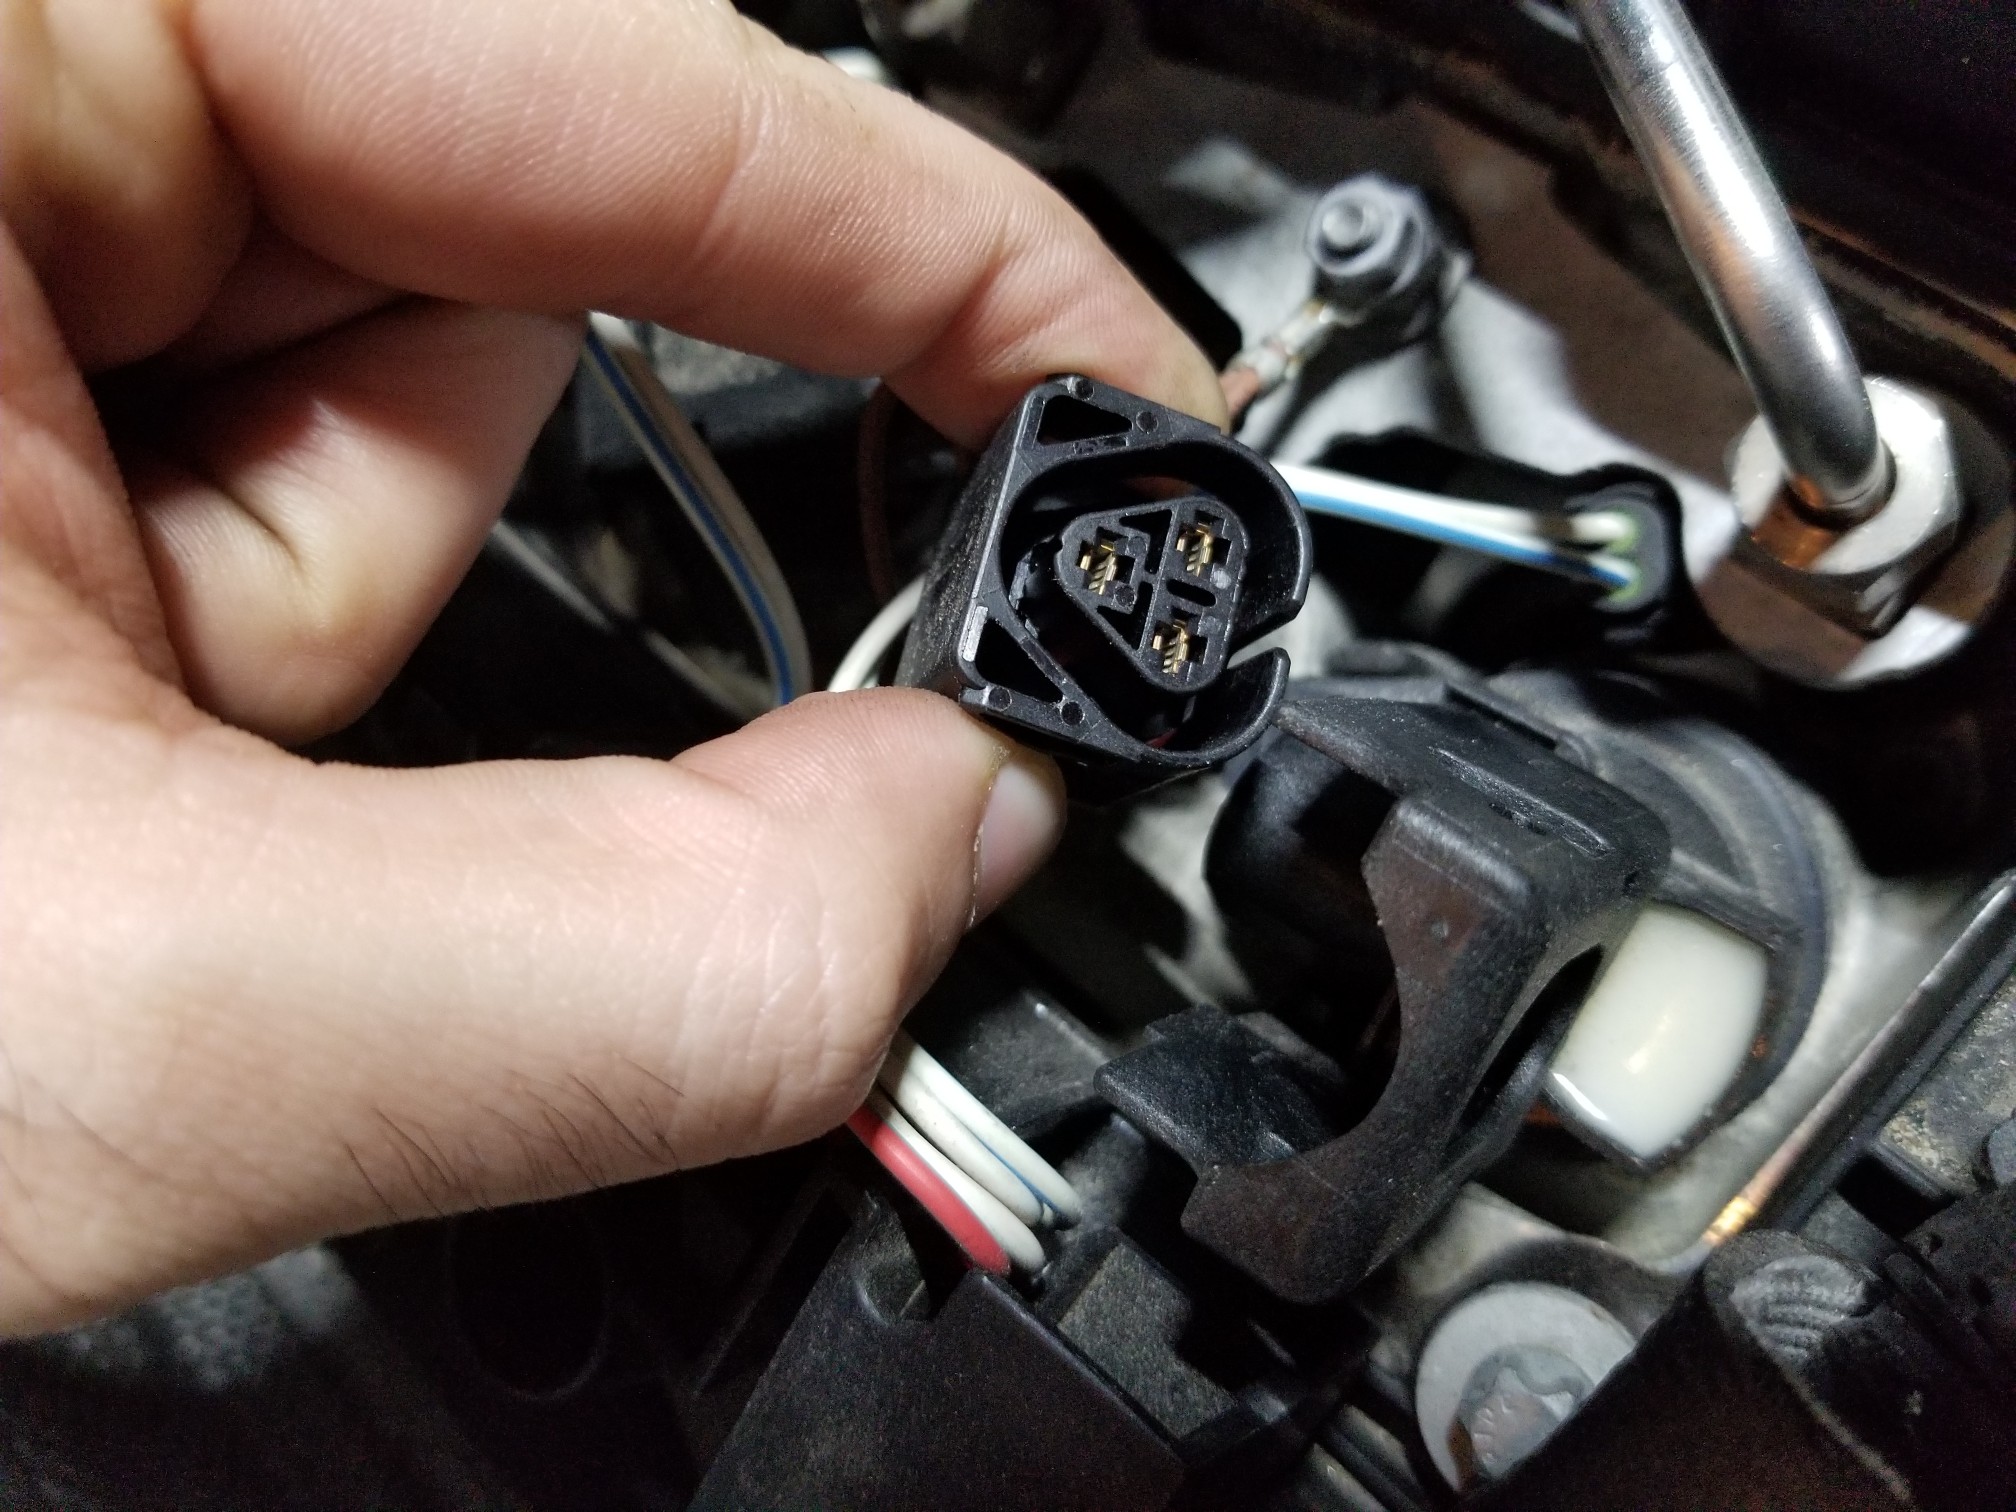
The coils have their harnesses clipped into place. The clips sit on top of the coil, and can be gently
pulled upwards.
As you start to pull the clip up, you will notice that the harness will start to slide outwards.
Eventually you will get the clip opened to about 90 degrees which will allow for the harness to come right
out. Gently pull the harness away.
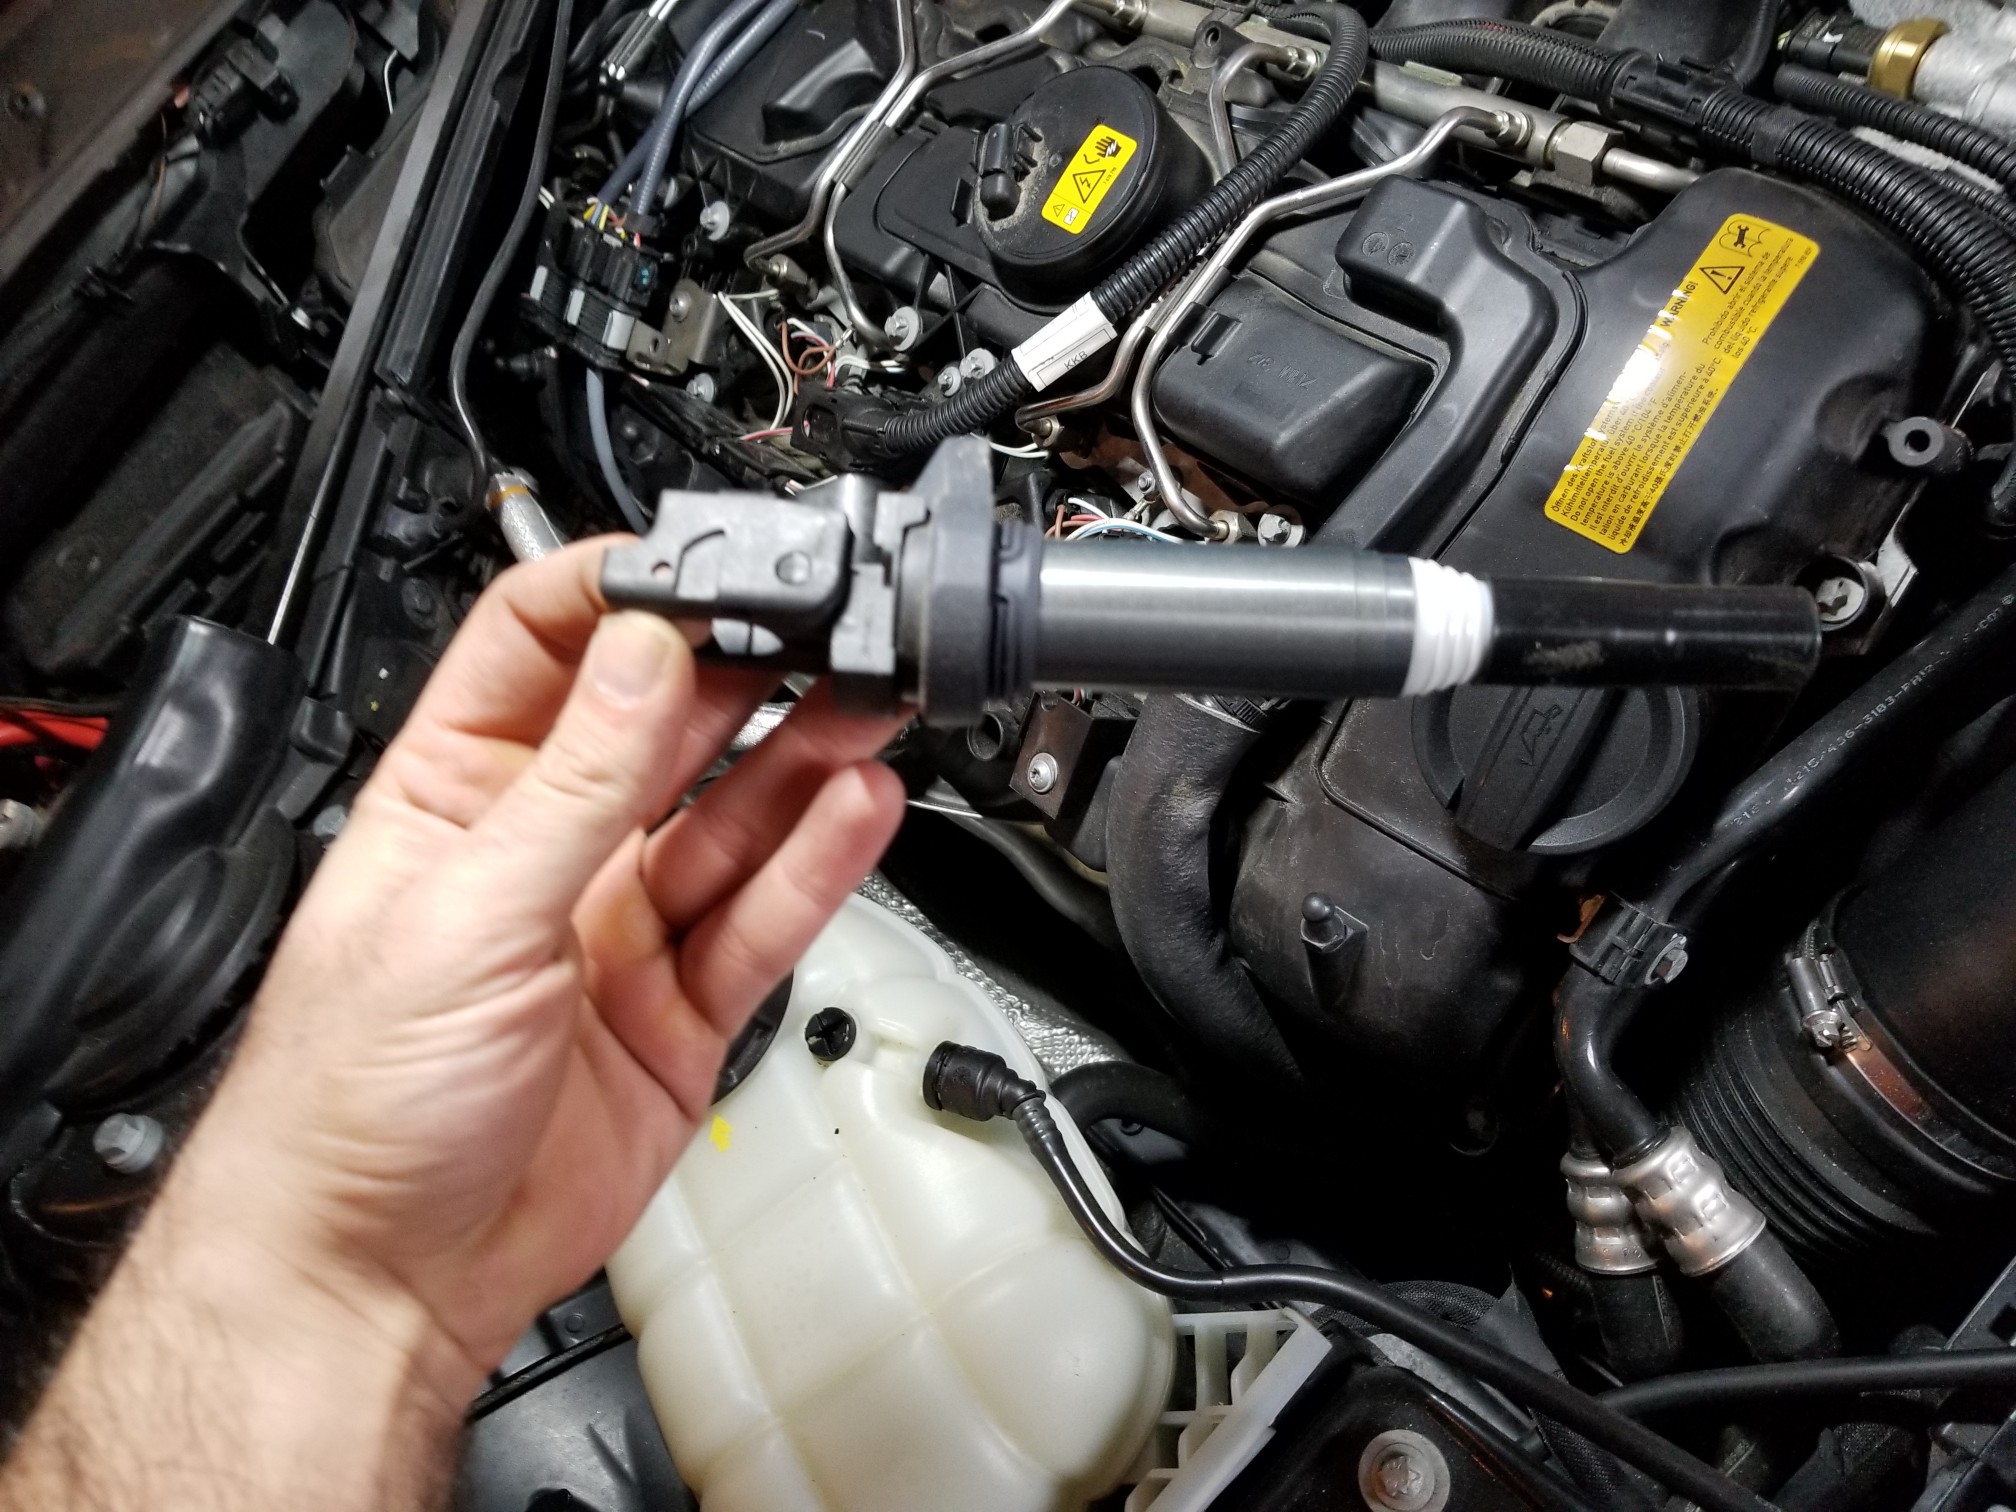
Finally, you can do one of two things to get the coils out. You can either slip your finger into the clip and
start pulling upwards, or, if it is putting too much stress on your fingers, slide one of the socket extensions
through, and use it as a T to help pull the coil out.
With the coil out, go ahead and start working out the spark plug. I actually had to use two extensions to get
comfortably to the spark plug. Gently back out the spark plug.
At this point, there isn't too much left in the job. Once the plug is out, go ahead and start installing the new
plug. Make sure to apply some anti-seize on the threads and then
tighten each plug down to 17 ft/lbs
Once all plugs are done, you can reverse all of the steps that you took to disassemble. Take note that when installing
the strut bar, each nut should be tightened down to 41 ft/lbs
Before You Get Started...

Pop The Hood, And Remove The Plastic Bits
Removing The Windshield Cowl
Moving The O2 Sensor Bracket Out of The Way
Strut Bar Goes Bye Bye
Another Cowl!?
Removing The Spark Plug Coils