RX8 Polyurethane Motor Mounts
-
Polyurethane Filled RX8 Motor Mounts
Unfortunately, the RX8 aftermarket doesn't have many options for strong motor mounts
to replace the damage prone OEM mounts. Many owners of older RX8's have had issues
where their motor mounts failed causing heavy vibration and undrivable conditions. This
custom solution is taken from a member of the RX8 community and is a bulletproof solution
to reinforcing OEM mounts.
-
Required Tools
There are a few tools required to be able to do this job successfully.
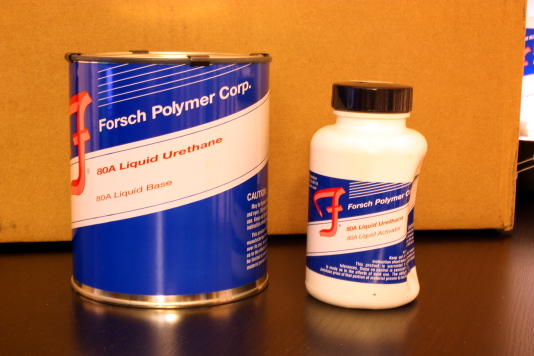
- 80A Urethane - http://www.mcmaster.com/#liquid-urethane/=it79vu
- 1/4" Drill Bit
- 1 1/4" Hole Saw
- Brake Cleaner
- Sharp Knife
-
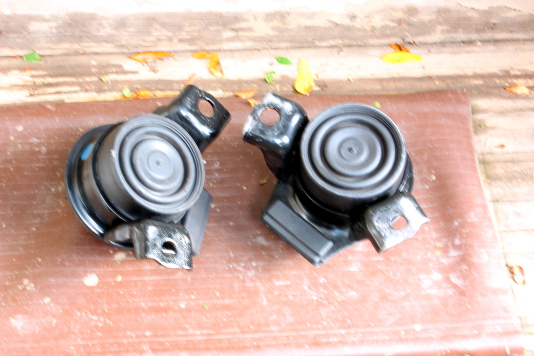
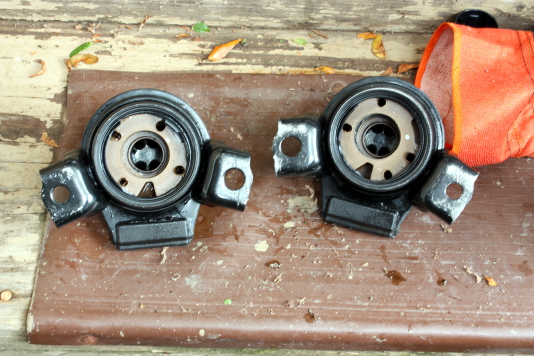
Step 1: Remove Motor Mounts From Vehicle
The first step in this process is to completely remove the mounts from the vehicle and
place them on a surface that you can work on. Removing the mounts doesn't take too much
work other than jacking up the motor from the oil pan (use a 2x4 to spread load evenly to
not damage the oil pan), undoing the bolts that hold the engine to the mounts, and the bolt
and nut holding the mount to the frame.
-
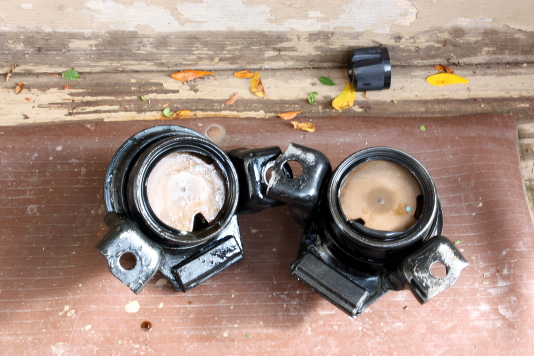
Step 2: Remove Rubber Seal
The next step is to use a sharp knife to cut out the rubber seal on the bottom of the mount. Be
aware that the mounts are filled with oil, so cutting open the seal will cause spillage of the oil.
Make sure to dispose of the oil properly. Once the rubber seal is off, turn the mount upside down
and shake around so you can get as much oil out as you can.
-
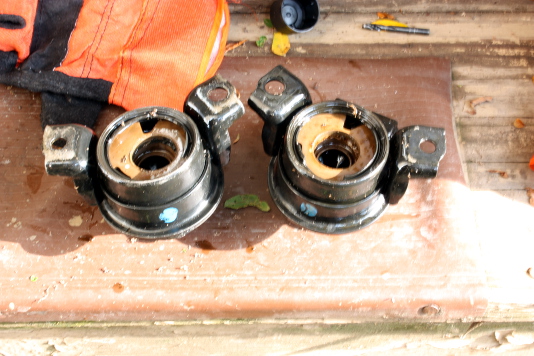
Step 3: Expose Internal Seal
Next, we will need to grab our hole saw to expose the internal seal. Do this by drilling a pilot
hole in the middle of the mount, and then drill out a 1 1/4" hole using the hole saw. The seal is
made of rubber, and you can extract it by using a thin screwdriver. Once the seal is out, more oil
will be exposed. Drain as you did in the previous set.
-
Step 4: Drill Relief Holes
To ensure that we fill the mount completely, including all the nooks and crannies, we will need to
drill a few relief holes. These holes will also serve as ways for air to escape the mount as we
pour the urethane in. I used a 1/4" drill bit to drill out 4 holes in the perimeter of the mount.
Make sure when drilling you take care not to drill too far and come out the other end.
-
Step 5: Clean Mounts
To make sure that the polyurethane bonds well to the internals of the mount, we want to make sure that
the mount is as clean as possible. We can accomplish this by using a solvent like brake parts cleaner.
Make sure to do a thorough job and allow time to let the mounts dry.
-
Step 6: Prepare Material
Once our mounts are ready for filling, we need to take them to a nice flat surface and make sure that
they are not only level, but will not fall over. I used a baking sheet with some aluminum foil to
support the mounts and prevent them from falling.
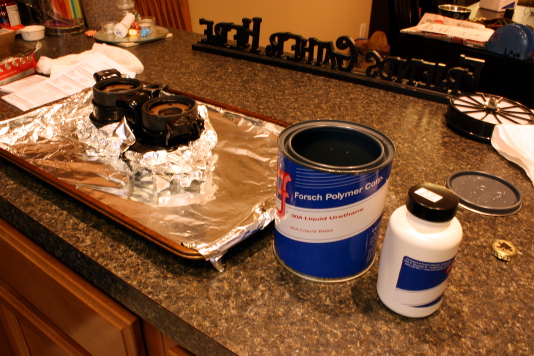
The polyurethane comes with everything in the kit to mix. Follow the instructions completely if you
are using a different kind of filler, but in this case, you mix the entire contents of the activator
with the polyurethane base. Mix thoroughly (2 minutes), this step is VERY important.
-
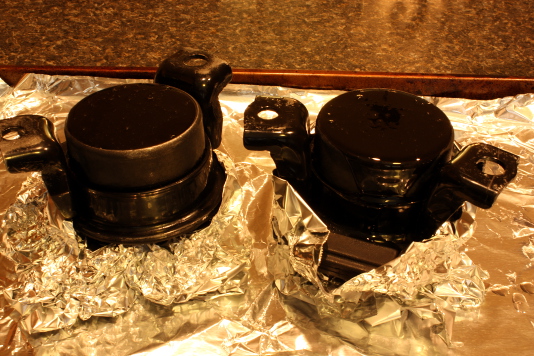
Step 7: Fill Mounts
The last step is to simply pour your mix into the motor mounts. Do this slowly to let all of the
air work its way up and out of the relief holes. Alternate pouring little by little from one mount
to the next. Once full, allow the mounts to sit for at least 15 minutes to harden before moving.
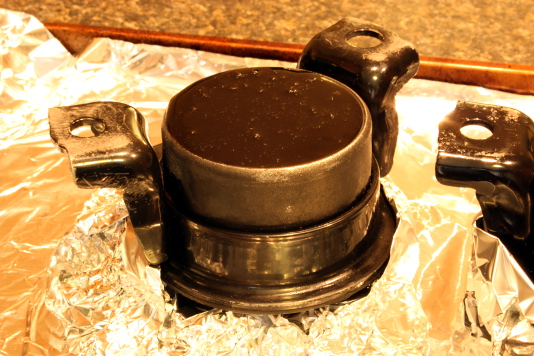
The polyurethane takes 2 days to harden to 90% strength, and 7 days to 100%.
Here you can see the air bubbles slowly making their way out as the polyurethane starts to harden.
-
Results
The results of this mod are fantastic. Albiet the only "con" is that there is an increase in idle
vibration through the chassis, but that is a small price to pay when you factor in the "pros". With
this mod the throttle response has greatly improved, there is less slop in shifting, and the car just
feels a lot more 'solid'. I am excited to see if there are any changes in the coming week as the
compound cures fully.
 Mobile Menu